Best Photo Scanners for Professional Archiving to Buy in June 2026
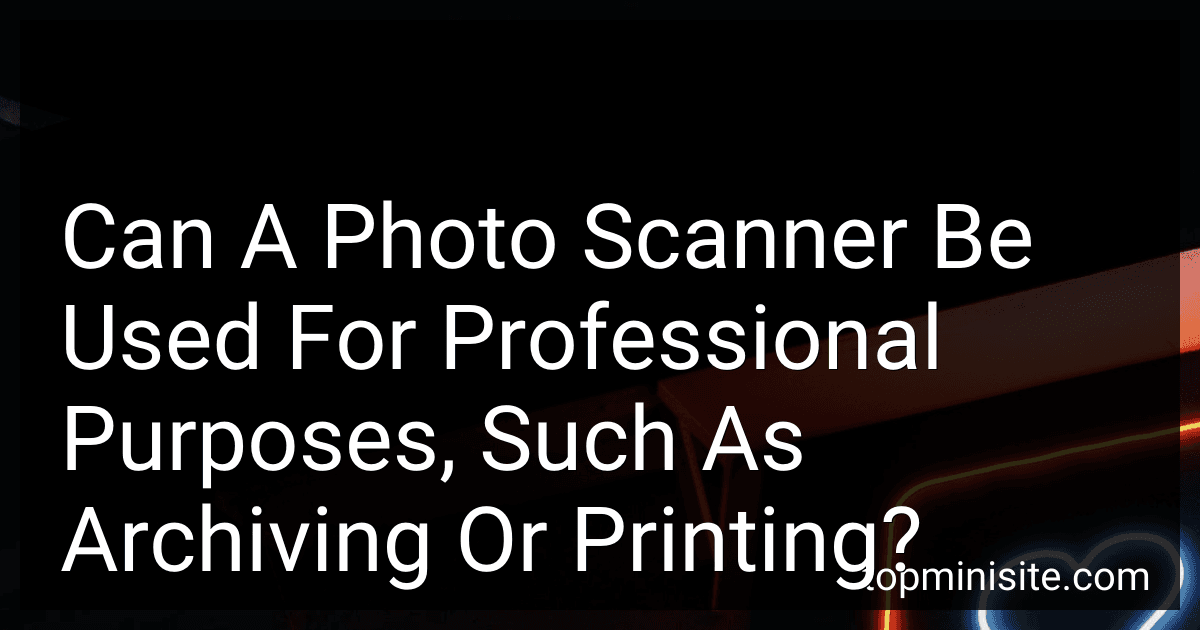
Plustek Photo Scanner ePhoto Z300, Scans 4x6 inch Photos in 2 Seconds, Auto crop and deskew with CCD Sensor, Supports Mac and PC
- SCAN PHOTOS IN JUST 2 SECONDS FOR QUICK DIGITIZATION!
- SUPPORTS MULTIPLE PHOTO SIZES AND LETTER/A4 DOCUMENTS.
- POWERFUL IMAGE ENHANCEMENT FOR RESTORING FADED MEMORIES.


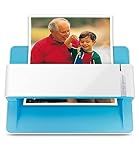
Epson FastFoto FF-680W Wireless High-Speed Photo and Document Scanning System, Black
- SCAN THOUSANDS OF PHOTOS AT 1 PHOTO/SEC-FASTEST ON THE MARKET!
- PRESERVE AND RESTORE ALL TYPES OF PHOTOS EFFORTLESSLY AND SECURELY.
- SMART APP FOR STORYTELLING: ADD VOICE, TEXT, AND CREATE SLIDESHOWS!
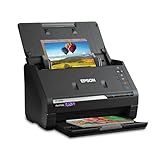
Digital Film & Photo Scanner – Converts 35mm/135 Slides, Negatives & 3.5x5, 4x6, 5x7 Photos to 22MP JPEG – Slide & Negative Scanner with 2.4" LCD, 4GB SD Card
- CONVERT OLD MEMORIES TO 22MP JPGS-QUICK AND HIGH-QUALITY RESULTS!
- ENJOY STANDALONE SCANNING IN JUST 3 SECONDS-NO PC NEEDED!
- EASILY SHARE & EDIT FILES VIA USB OR INCLUDED 4GB SD CARD!
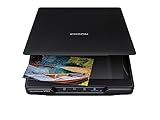
Epson Perfection V19 II Color Photo and Document Flatbed Scanner with 4800 dpi Optical Resolution, USB Power and High-Rise, Removable Lid
- STUNNING 4800 DPI CLARITY FOR PERFECT PHOTO ENLARGEMENTS.
- ONE-TOUCH SCANNING SIMPLIFIES YOUR WORKFLOW WITH EASE.
- QUICKLY RESTORE COLORS AND CONVERT TO EDITABLE DOCUMENTS!
Canon Canoscan Lide 300 Scanner (PDF, AUTOSCAN, COPY, SEND)
- EFFORTLESSLY DIGITIZE DOCUMENTS WITH AUTO SCAN MODE.
- STREAMLINE YOUR WORKFLOW WITH USB CONNECTIVITY.
- PERFECT FOR CAPTURING BOTH DOCUMENTS AND IMAGES EASILY!

Epson - Perfection V39 II - Color Photo and Document Flatbed Scanner - 4800 dpi Optical Resolution - High-Rise, Removable Lid - Scan to Cloud - USB Power - Image Scanning - Black
- STUNNING 4800 DPI SCANS: CAPTURES EVERY DETAIL, PERFECT FOR ENLARGEMENTS.
- VERSATILE SCANNING: EFFORTLESSLY DIGITIZE PHOTOS, DOCUMENTS, AND ARTWORK.
- SIMPLE ONE-TOUCH OPERATION: STREAMLINED SCANNING FOR QUICK AND EASY USE.
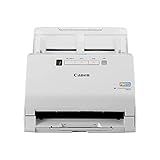
Canon imageFORMULA RS40 - Photo and Document Scanner, Auto Document Feeder, Windows and Mac, Scans Old and New Photos in Varying Sizes, USB Interface
- SEAMLESS SCANNING: SCAN 40 ITEMS/MIN, BOTH SIDES, IN ONE TOUCH!
- VERSATILE FORMATS: SAVE IN JPG, PDF, TIF, AND MORE FOR ANY NEED!
- EASY EDITING: ENHANCE PHOTOS WITH BUNDLED SOFTWARE TOOLS INCLUDED!
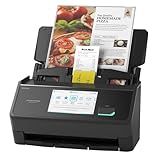
ScanSnap iX2500 Wireless or USB High-Speed Cloud Enabled Document, Photo & Receipt Scanner with Large 5" Touchscreen and 100 Page Auto Document Feeder for Mac or PC, Black
-
FAST 45PPM SCANNING: EFFICIENTLY PROCESS DOCUMENTS WITH DOUBLE-SIDED SPEED.
-
CUSTOMIZABLE TOUCHSCREEN PROFILES: EASILY SEND SCANS TO ANY DEVICE OR CLOUD.
-
STABLE WI-FI 6 CONNECTION: SECURELY CONNECT WITHOUT A COMPUTER FOR CONVENIENCE.
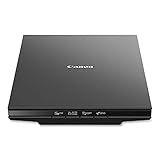
Canon CanoScan Lide 400 Slim Scanner, 7.7" x 14.5" x 0.4"
-
SCAN HIGH-SPEED IN JUST 8 SECONDS WITH USB TYPE-C CONVENIENCE!
-
PRESERVE STUNNING IMAGES AT 4800 X 4800 DPI WITH SMART ENHANCEMENTS.
-
EFFORTLESSLY SCAN AND SAVE EDITABLE PDFS WITH EZ BUTTONS!
Yes, a photo scanner can definitely be used for professional purposes such as archiving or printing. Photo scanners are specifically designed to scan images at high resolutions and capture every detail accurately. This makes them ideal for creating digital archives of important documents, photos, and other visual materials. Additionally, photo scanners can be used to create high-quality prints of scanned images, ensuring that the final output is crisp and clear. Many professionals, including photographers, archivists, and graphic designers, rely on photo scanners for their professional needs. With the right equipment and proper techniques, a photo scanner can be a valuable tool for various professional applications.
What is the importance of color depth in a professional photo scanner?
Color depth is an important factor to consider in a professional photo scanner because it determines the range of colors that the scanner can capture and reproduce accurately. A higher color depth means that the scanner can capture a wider range of colors, resulting in more accurate and detailed scans.
Having a higher color depth in a professional photo scanner is crucial for accurately reproducing the colors and details of photographs, especially for professional photographers who require high-quality scans for their work. It allows for more precise color reproduction and greater color accuracy, ensuring that the scanned images closely match the original photos.
In addition, a higher color depth can also provide more flexibility for editing and manipulating scanned images, as it allows for smoother gradients and more accurate color correction. This is particularly important for professional photographers who require precise control over the color and tone of their images.
Overall, the importance of color depth in a professional photo scanner cannot be overstated, as it directly impacts the quality and accuracy of scanned images. It is essential for achieving high-quality results and ensuring that the scanned images closely match the original photographs.
What is the best way to scan artwork professionally?
The best way to scan artwork professionally is to use a high-quality flatbed scanner that is designed specifically for scanning artwork. Here are some tips to ensure the best results:
- Use a scanner with a high resolution (at least 600 DPI) to capture all the details and colors of the artwork.
- Place the artwork face-down on the scanner bed, making sure it is aligned properly and there are no wrinkles or creases.
- If the artwork is framed or mounted, consider removing it from the frame or mount before scanning to avoid any reflections or shadows.
- Close the scanner lid to prevent any ambient light from affecting the scan.
- Make sure the scanner is calibrated and the color settings are adjusted to accurately capture the colors of the artwork.
- After scanning, check the image for any imperfections or color discrepancies and make any necessary adjustments using photo editing software.
- Save the scanned image in a high-quality file format such as TIFF or PNG to preserve the quality of the artwork.
By following these tips and using the right equipment, you can ensure that your artwork is scanned professionally and accurately.
How to batch scan multiple documents with a photo scanner?
To batch scan multiple documents with a photo scanner, follow these steps:
- Place all the documents you want to scan in the document feeder of your photo scanner. Make sure the documents are stacked neatly and all facing the same direction.
- Open the scanning software that came with your scanner or download a scanning app on your computer.
- Go to the scanning settings and choose the scanning resolution, file format, and destination folder for the scanned documents.
- Select the option for batch scanning or multiple page scanning in the software. This will enable the scanner to scan all the documents in the feeder in one go.
- Adjust any other settings such as color mode, scan quality, and page size as needed.
- Click on the scan button to start the batch scanning process. The scanner will automatically feed and scan each document one by one.
- Once all the documents have been scanned, save the scanned files to your computer or cloud storage.
- Review the scanned documents to make sure they are legible and properly scanned. If needed, make any adjustments or re-scan any documents that did not scan correctly.
- Organize and rename the scanned files as needed for easy retrieval and storage.
- Finally, backup the scanned documents to ensure that you have a copy stored safely.
How to scan negatives with a photo scanner?
Scanning negatives with a photo scanner may require a few additional steps compared to scanning regular photos. Here is a general guide on how to scan negatives using a photo scanner:
- Clean your negatives: Before scanning, make sure your negatives are clean and free of dust or debris. You can use a soft brush or cloth to gently clean the surface of the negatives.
- Set up your scanner: Make sure your photo scanner is properly set up and connected to your computer. Open the scanning software on your computer and select the option for scanning negatives or film.
- Place the negative on the scanner: Place the negative on the scanner bed with the emulsion side facing down. Make sure the negative is positioned properly and is flat on the scanner bed.
- Adjust the settings: In the scanning software, adjust the settings for scanning negatives. This may include selecting the type of negative (color or black and white), setting the resolution, adjusting the color balance, and choosing the file format.
- Preview and scan: Preview the image to make sure it is properly aligned and adjust any settings if needed. Once you are satisfied with the preview, click the scan button to begin scanning the negative.
- Save the scanned image: Once the scan is complete, save the scanned image to your computer in the desired file format (such as JPEG or TIFF). You can also make any additional adjustments or edits to the scanned image using photo editing software.
- Repeat for additional negatives: If you have multiple negatives to scan, repeat the process for each one, making sure to adjust the settings accordingly for each negative.
By following these steps, you should be able to successfully scan negatives using a photo scanner and digitize your old film negatives for digital use and preservation.