Best Photo Scanners to Buy in July 2026
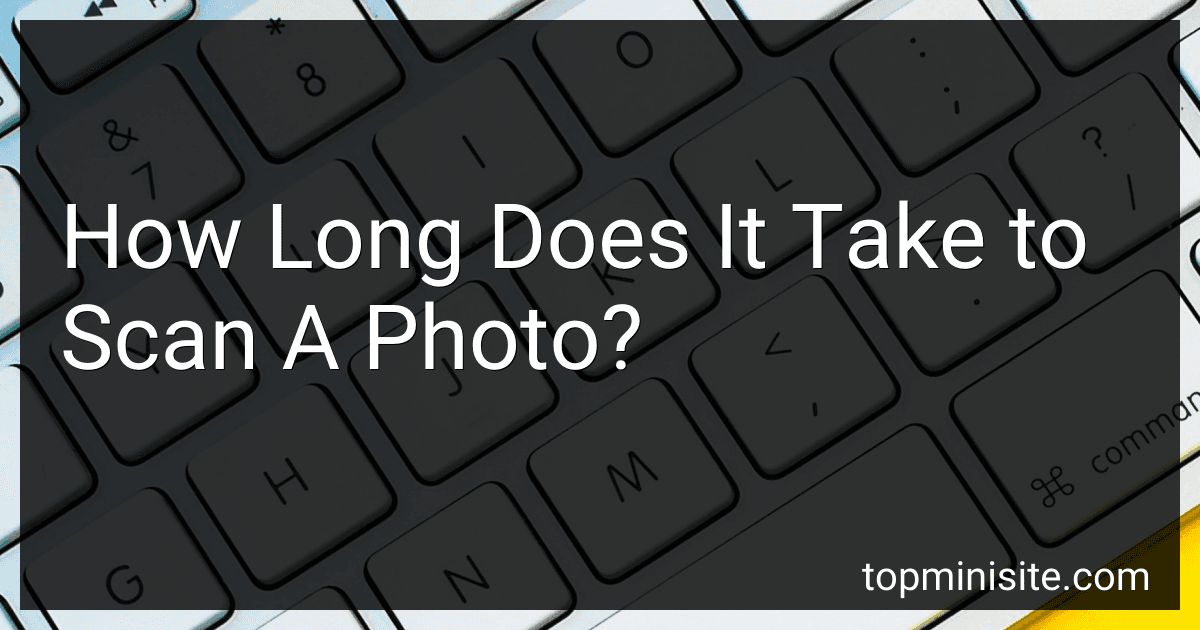
Plustek Photo Scanner ePhoto Z300, Scans 4x6 inch Photos in 2 Seconds, Auto crop and deskew with CCD Sensor, Supports Mac and PC
- RAPID SCANNING: JUST 2 SECONDS FOR A 4X6 PHOTO, 5 SECONDS FOR 8X10.
- HIGH-QUALITY RESOLUTION: STUNNING SCANS UP TO 600 DPI FOR CLARITY.
- EFFORTLESS PHOTO DIGITIZATION: CONVERT 1000 PHOTOS IN ONE AFTERNOON!


Epson FastFoto FF-680W Wireless High-Speed Photo and Document Scanning System, Black
-
SCAN 1 PHOTO PER SECOND IN 300 DPI; BATCH-SCAN 36 AT ONCE!
-
RESTORE AND SHARE ALL PHOTO TYPES, PRESERVING MEMORIES FOR GENERATIONS.
-
EFFORTLESSLY CONNECT AND BACK UP PHOTOS VIA DROPBOX AND GOOGLE DRIVE.
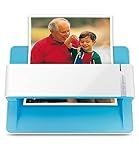
Digital Film & Photo Scanner – Converts 35mm/135 Slides, Negatives & 3.5x5, 4x6, 5x7 Photos to 22MP JPEG – Slide & Negative Scanner with 2.4" LCD, 4GB SD Card
-
CONVERT OLD MEMORIES TO 22MP JPGS FOR LASTING PRESERVATION.
-
STANDALONE SCANNING IN JUST 3 SECONDS-NO PC NEEDED.
-
EASY SHARING VIA USB OR SD FOR CONVENIENT FILE ACCESS.

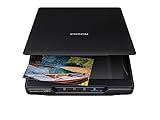
Epson Perfection V19 II Color Photo and Document Flatbed Scanner with 4800 dpi Optical Resolution, USB Power and High-Rise, Removable Lid
- STUNNING 4800 DPI CLARITY-PERFECT FOR PHOTO ENLARGEMENTS!
- EFFORTLESS ONE-TOUCH SCANNING-SAVE TIME WITH EASY BUTTONS!
- QUICK PDF CONVERSION-TURN SCANS INTO EDITABLE DOCS INSTANTLY!
Canon Canoscan Lide 300 Scanner (PDF, AUTOSCAN, COPY, SEND)
- AUTO SCAN MODE: EFFORTLESSLY DETECTS AND SCANS YOUR DOCUMENTS.
- USB CONNECTIVITY: SIMPLE AND FAST CONNECTIONS FOR SEAMLESS USE.
- DIGITIZE EFFORTLESSLY: EASILY CONVERT DOCUMENTS AND IMAGES INTO DIGITAL FILES.
Epson - Perfection V39 II - Color Photo and Document Flatbed Scanner - 4800 dpi Optical Resolution - High-Rise, Removable Lid - Scan to Cloud - USB Power - Image Scanning - Black
- UNMATCHED 4800 DPI CLARITY FOR STUNNING PHOTO ENLARGEMENTS!
- VERSATILE SCANNING FOR PHOTOS, DOCUMENTS, AND MORE-COMPACT & EASY!
- ONE-CLICK PHOTO RESTORATION KEEPS YOUR MEMORIES VIBRANT EFFORTLESSLY!
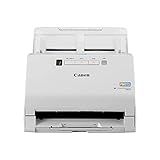
Canon imageFORMULA RS40 - Photo and Document Scanner, Auto Document Feeder, Windows and Mac, Scans Old and New Photos in Varying Sizes, USB Interface
- QUICK SCANNING: DIGITIZE UP TO 40 ITEMS PER MINUTE WITH EASE.
- VERSATILE FORMATS: SAVE PHOTOS AND DOCS IN MULTIPLE FORMATS EFFORTLESSLY.
- ENHANCED SOFTWARE: INCLUDES TOOLS FOR PHOTO CORRECTION AND EDITING.
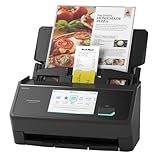
ScanSnap iX2500 Wireless or USB High-Speed Cloud Enabled Document, Photo & Receipt Scanner with Large 5" Touchscreen and 100 Page Auto Document Feeder for Mac or PC, Black
-
FAST SCANNING: 45PPM DOUBLE-SIDED SCANNING FOR EFFICIENT WORKFLOW.
-
TOUCHSCREEN CUSTOMIZATION: PERSONALIZE PROFILES FOR QUICK, EASY ACCESS.
-
STABLE CONNECTIVITY: WI-FI 6 FOR SECURE, WIRELESS SCANNING ANYTIME, ANYWHERE.
The time it takes to scan a photo can vary depending on several factors. These factors include the resolution of the scan, the quality of the scanner, the size of the photo, and the speed of the computer being used to perform the scan. Generally, scanning a photo at a standard resolution on a decent quality scanner should take no more than a few minutes. However, scanning a high-resolution photo on a slower scanner may take considerably longer. It is important to consider these factors when estimating the time it will take to scan a photo for a project or task.
What is the best scanning software for photos?
There are several scanning software options for photos that are highly recommended by users and professionals, including:
- Adobe Photoshop: This software offers a wide range of features for editing and enhancing scanned photos.
- VueScan: VueScan is a popular scanning software that is known for its compatibility with a wide range of scanners and its advanced features for image enhancement.
- SilverFast: SilverFast is a professional scanning software that offers high-quality image processing and color correction tools.
- Epson Scan: If you have an Epson scanner, the Epson Scan software is a reliable option for scanning and editing photos.
- ABBYY FineReader: This software is known for its advanced OCR capabilities and is a great choice for scanning and digitizing printed photos and documents.
Ultimately, the best scanning software for photos will depend on your specific needs and preferences, so it is recommended to try out a few different options to see which one works best for you.
How to scan a large photo without losing quality?
Scanning a large photo without losing quality can be achieved through the following steps:
- Use a high-quality scanner: Make sure the scanner you are using is of good quality and capable of scanning high resolution images.
- Set the scan resolution: Adjust the scan resolution to a high DPI (dots per inch) setting. For a large photo, a resolution of 300-600 DPI is recommended to capture fine details without losing quality.
- Use proper scanning techniques: Place the photo flat on the scanner bed, ensuring it is aligned properly. Avoid using excessive force or pressure on the scanner lid to prevent distortion of the image.
- Scan in TIFF format: Save the scanned image in a lossless file format such as TIFF, which preserves the image quality without compression or loss of detail.
- Perform post-scan editing: Use image editing software such as Adobe Photoshop to enhance the scanned image, adjust colors, and remove any imperfections while preserving the original quality.
By following these steps, you can scan a large photo without losing quality and ensure that the digital copy retains all the details and clarity of the original image.
How to scan a photo with creases or tears?
Scanning a photo with creases or tears can be a little challenging, but with some patience and attention to detail, you can still create a high-quality digital copy of the image. Here are some tips to help you scan a photo with creases or tears:
- Clean the photo: Before scanning the photo, carefully clean it with a soft brush or cloth to remove any dust or debris. This will help ensure that the scan turns out clear and crisp.
- Use a flatbed scanner: If possible, use a flatbed scanner for scanning the photo. This type of scanner will allow you to lay the photo flat on the scanning bed, which can help minimize the appearance of creases and tears in the final scan.
- Flatten the photo: If the photo has creases or tears, try to flatten it as much as possible before scanning. You can place a heavy book or object on top of the photo for a few hours to help smooth out any wrinkles.
- Adjust the settings: When scanning the photo, adjust the settings on your scanner to the highest resolution possible for the best quality scan. You may also want to adjust the color and contrast settings to enhance the clarity of the image.
- Scan in sections: If the creases or tears are located in a specific area of the photo, you may want to scan that section separately and then stitch the images together using image editing software.
- Use image editing software: After scanning the photo, use image editing software like Photoshop or GIMP to touch up any creases or tears in the digital image. You can use the clone stamp tool or healing brush tool to carefully repair any damage and restore the photo to its original condition.
By following these tips, you can successfully scan a photo with creases or tears and create a digital copy that preserves the memories captured in the image.
What is the best lighting for scanning a photo?
The best lighting for scanning a photo is natural daylight or a daylight-balanced light source. This will provide accurate colors and details without any unwanted color casts or shadows. Avoid using fluorescent or incandescent lighting, as they can distort the colors and affect the quality of the scan. Additionally, make sure to place the photo on a flat surface and minimize any glare or reflections by using a matte surface or anti-glare cover.
What is the best way to scan photos for digital sharing?
The best way to scan photos for digital sharing is to use a high-quality flatbed scanner with a resolution of at least 300 dpi (dots per inch). Make sure the photo is clean and free of any dust or smudges before scanning. Place the photo face down on the scanner bed and adjust the settings to your desired resolution and file format (JPEG is commonly used for digital sharing). Scan the photo and save it to your computer or external storage device. If you want to further enhance the image, you can use photo editing software to adjust the color, brightness, and contrast before sharing online.
How to improve the quality of a scanned photo?
- Increase the resolution: When scanning a photo, make sure to use the highest resolution available on your scanner. A higher resolution will capture more detail and result in a clearer image.
- Use a flatbed scanner: Flatbed scanners are typically better for scanning photos as they provide a more accurate and detailed image compared to other types of scanners.
- Clean the photo and scanner bed: Before scanning, make sure the photo is clean and free of any dirt or dust. Also, clean the scanner bed to prevent any particles from affecting the quality of the scanned image.
- Adjust the settings: Most scanning software allows you to adjust settings such as brightness, contrast, and color balance. Experiment with these settings to enhance the quality of the scanned photo.
- Use photo editing software: After scanning, you can further enhance the image using photo editing software such as Adobe Photoshop or GIMP. You can adjust levels, remove blemishes, and enhance colors to improve the overall quality of the scanned photo.
- Save the image in a high-quality format: When saving the scanned photo, make sure to choose a high-quality file format such as TIFF or PNG to preserve the quality of the image.
- Consider professional scanning services: If you have a valuable or important photo that you want to preserve, consider using a professional scanning service that specializes in digitizing photos. These services often have high-quality equipment and expertise to ensure the best possible result.