Best Custom Domains to Buy in July 2026

Custom 3D Printed Name Keychain
- PERSONALIZE YOUR KEYCHAIN WITH NAMES UP TO 12 LETTERS, IN ANY COLOR!
- LIGHTWEIGHT AND DURABLE: A STYLISH ACCESSORY FOR EVERYDAY USE.
- PERFECT GIFT IDEA FOR BIRTHDAYS AND CUSTOM-LOVING FRIENDS!

3D Printed Custom Backpack Name Tag & Keychain
- FULLY CUSTOMIZABLE-CREATE A ONE-OF-A-KIND NAME TAG!
- VIBRANT COLOR OPTIONS FOR A UNIQUE PERSONAL TOUCH!
- DURABLE, LIGHTWEIGHT DESIGN-PERFECT FOR DAILY USE!

Custom Wooden Ruler – Back to School Gift
- PERSONALIZE GIFTS WITH CUSTOM ENGRAVING FOR A UNIQUE TOUCH!
- DURABLE, ECO-FRIENDLY WOOD ENSURES LONG-LASTING USE.
- IDEAL FOR STUDENTS, TEACHERS, AND SPECIAL BACK-TO-SCHOOL GIFTS.

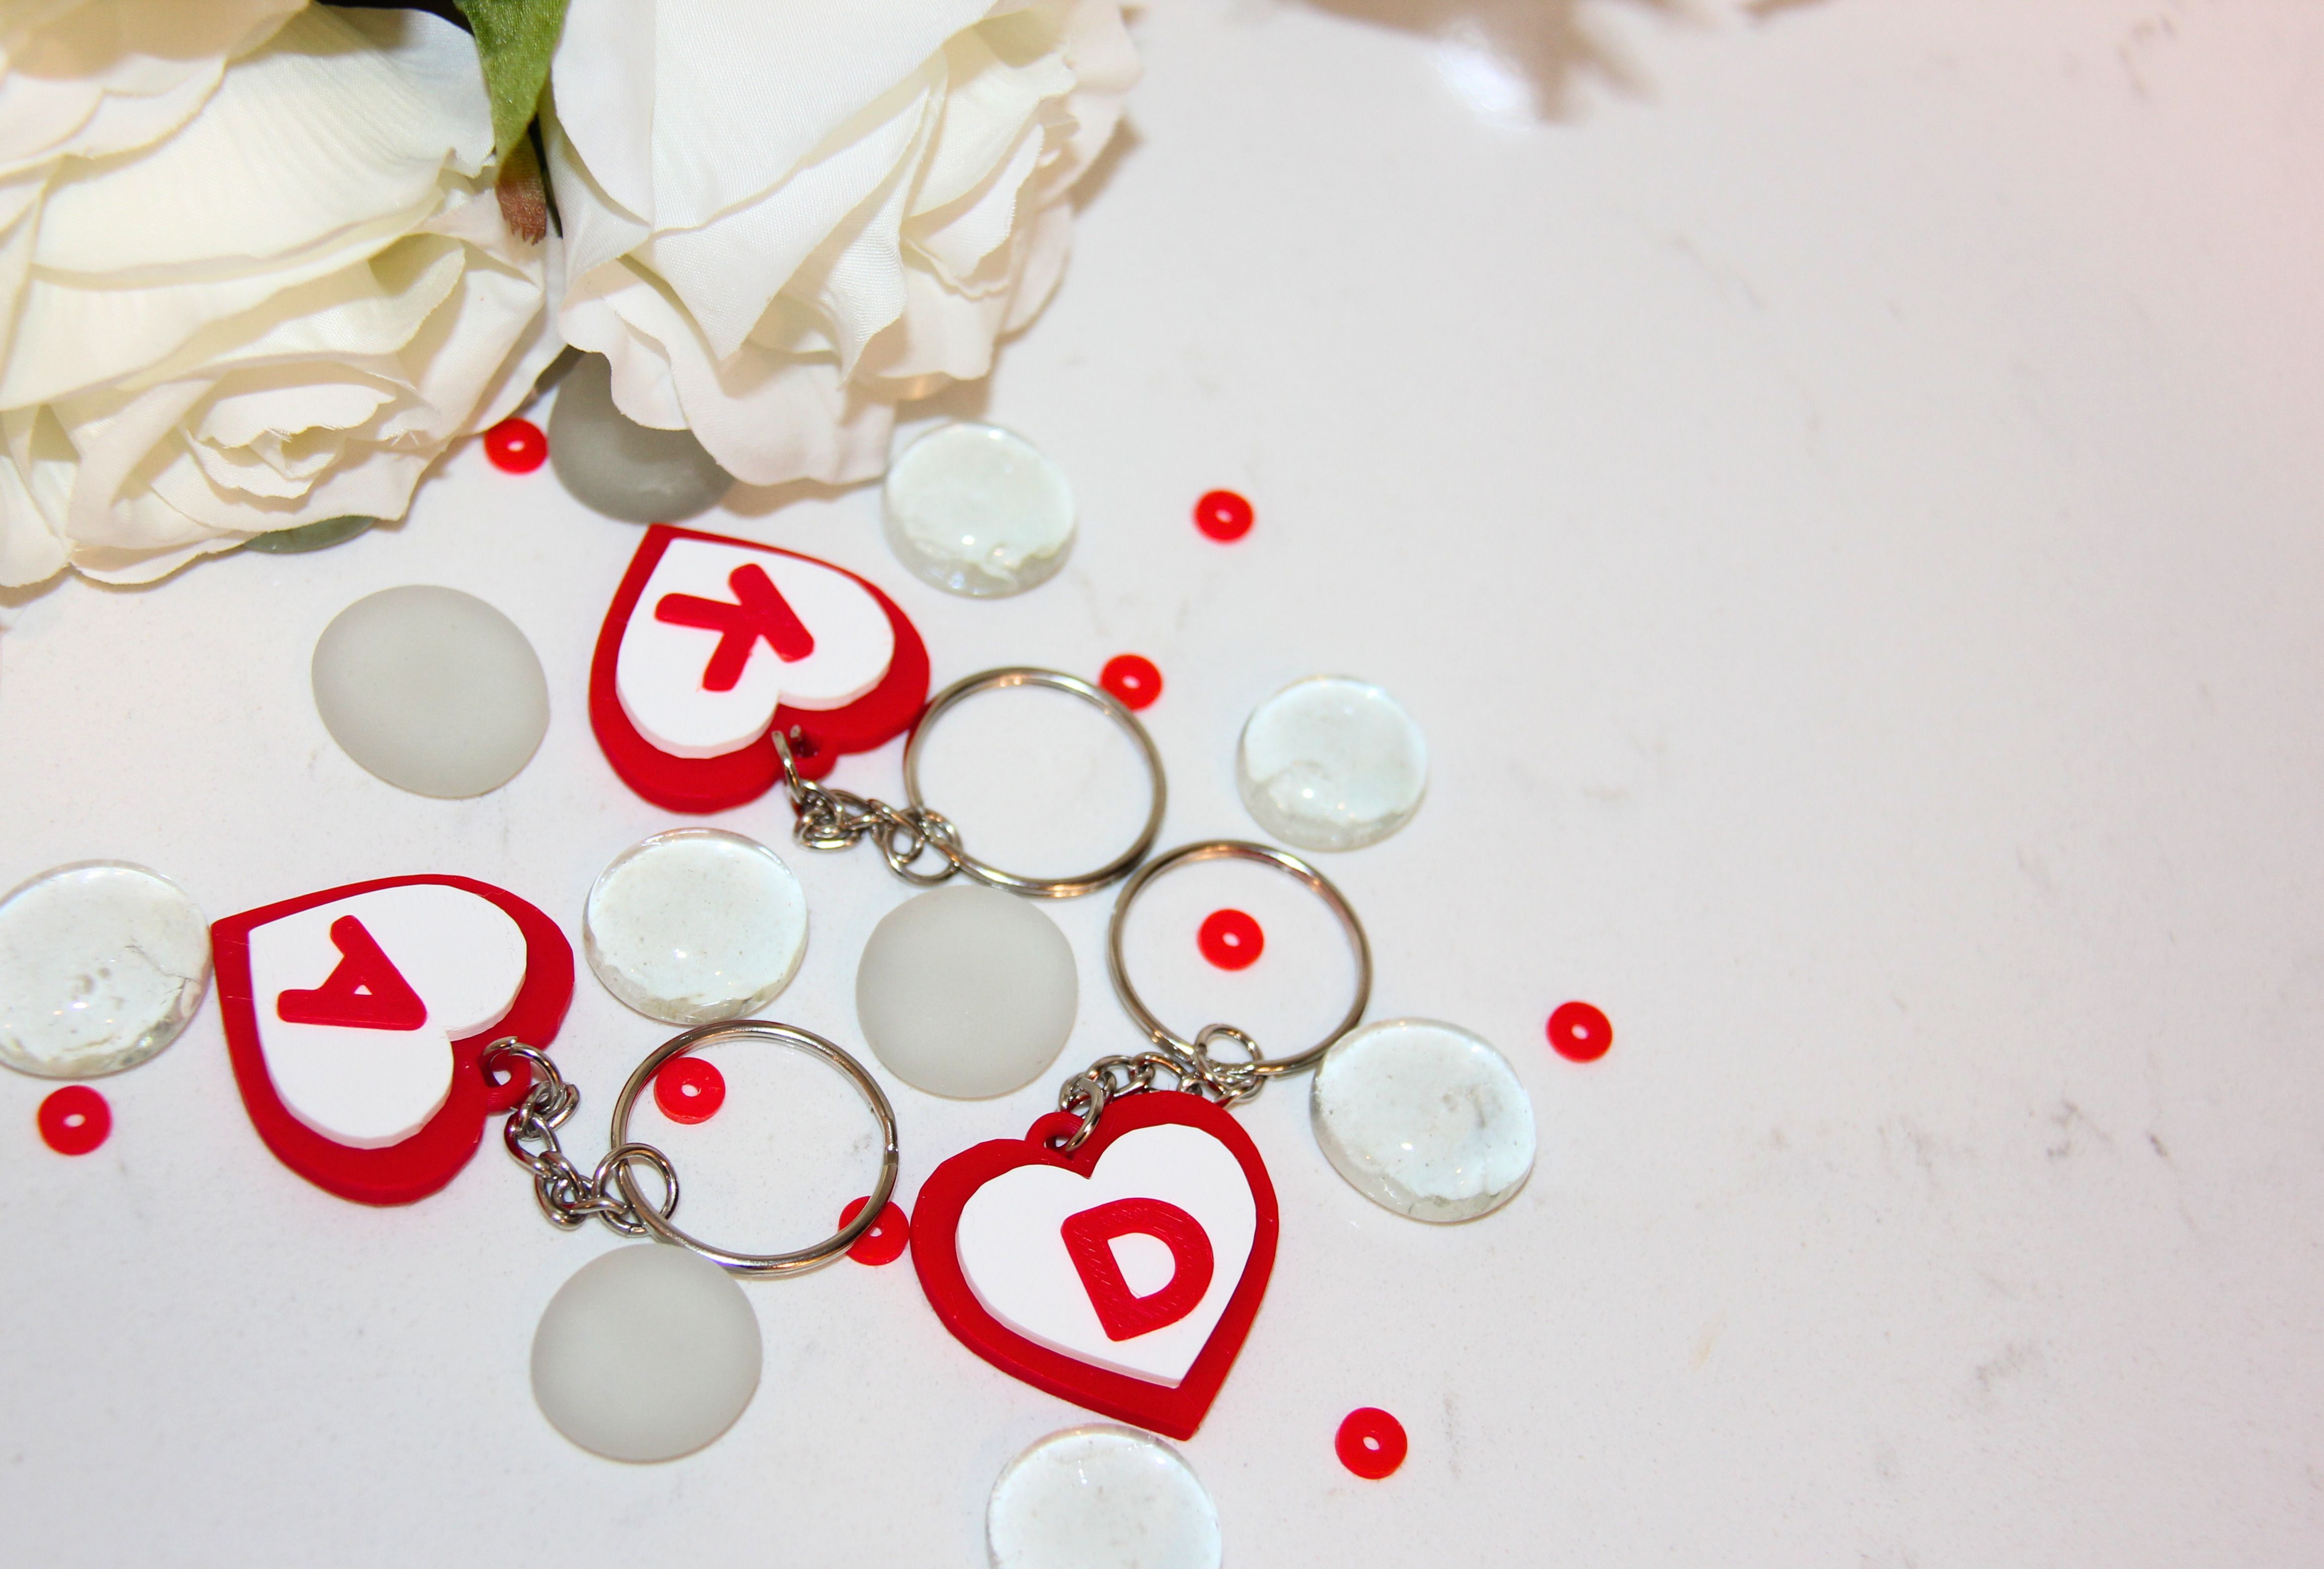
Personalized Red Heart Keychain with Initial - I Love You
- PERSONALIZE WITH INITIALS FOR A UNIQUE, HEARTFELT GIFT.
- LIGHTWEIGHT, DURABLE DESIGN PERFECT FOR EVERYDAY WEAR.
- IDEAL FOR VALENTINE'S DAY, ANNIVERSARIES, AND SPECIAL MOMENTS.
Personalized 3D Printed Heart Keychain with Initial
-
PERSONALIZED WITH YOUR CUSTOM INITIAL, MAKING EACH KEYCHAIN UNIQUE!
-
STYLISH DOUBLE HEART DESIGN-PERFECT GIFT FOR LOVED ONES!
-
HIGH-QUALITY 3D PRINTED MATERIAL ENSURES DURABILITY AND STYLE!
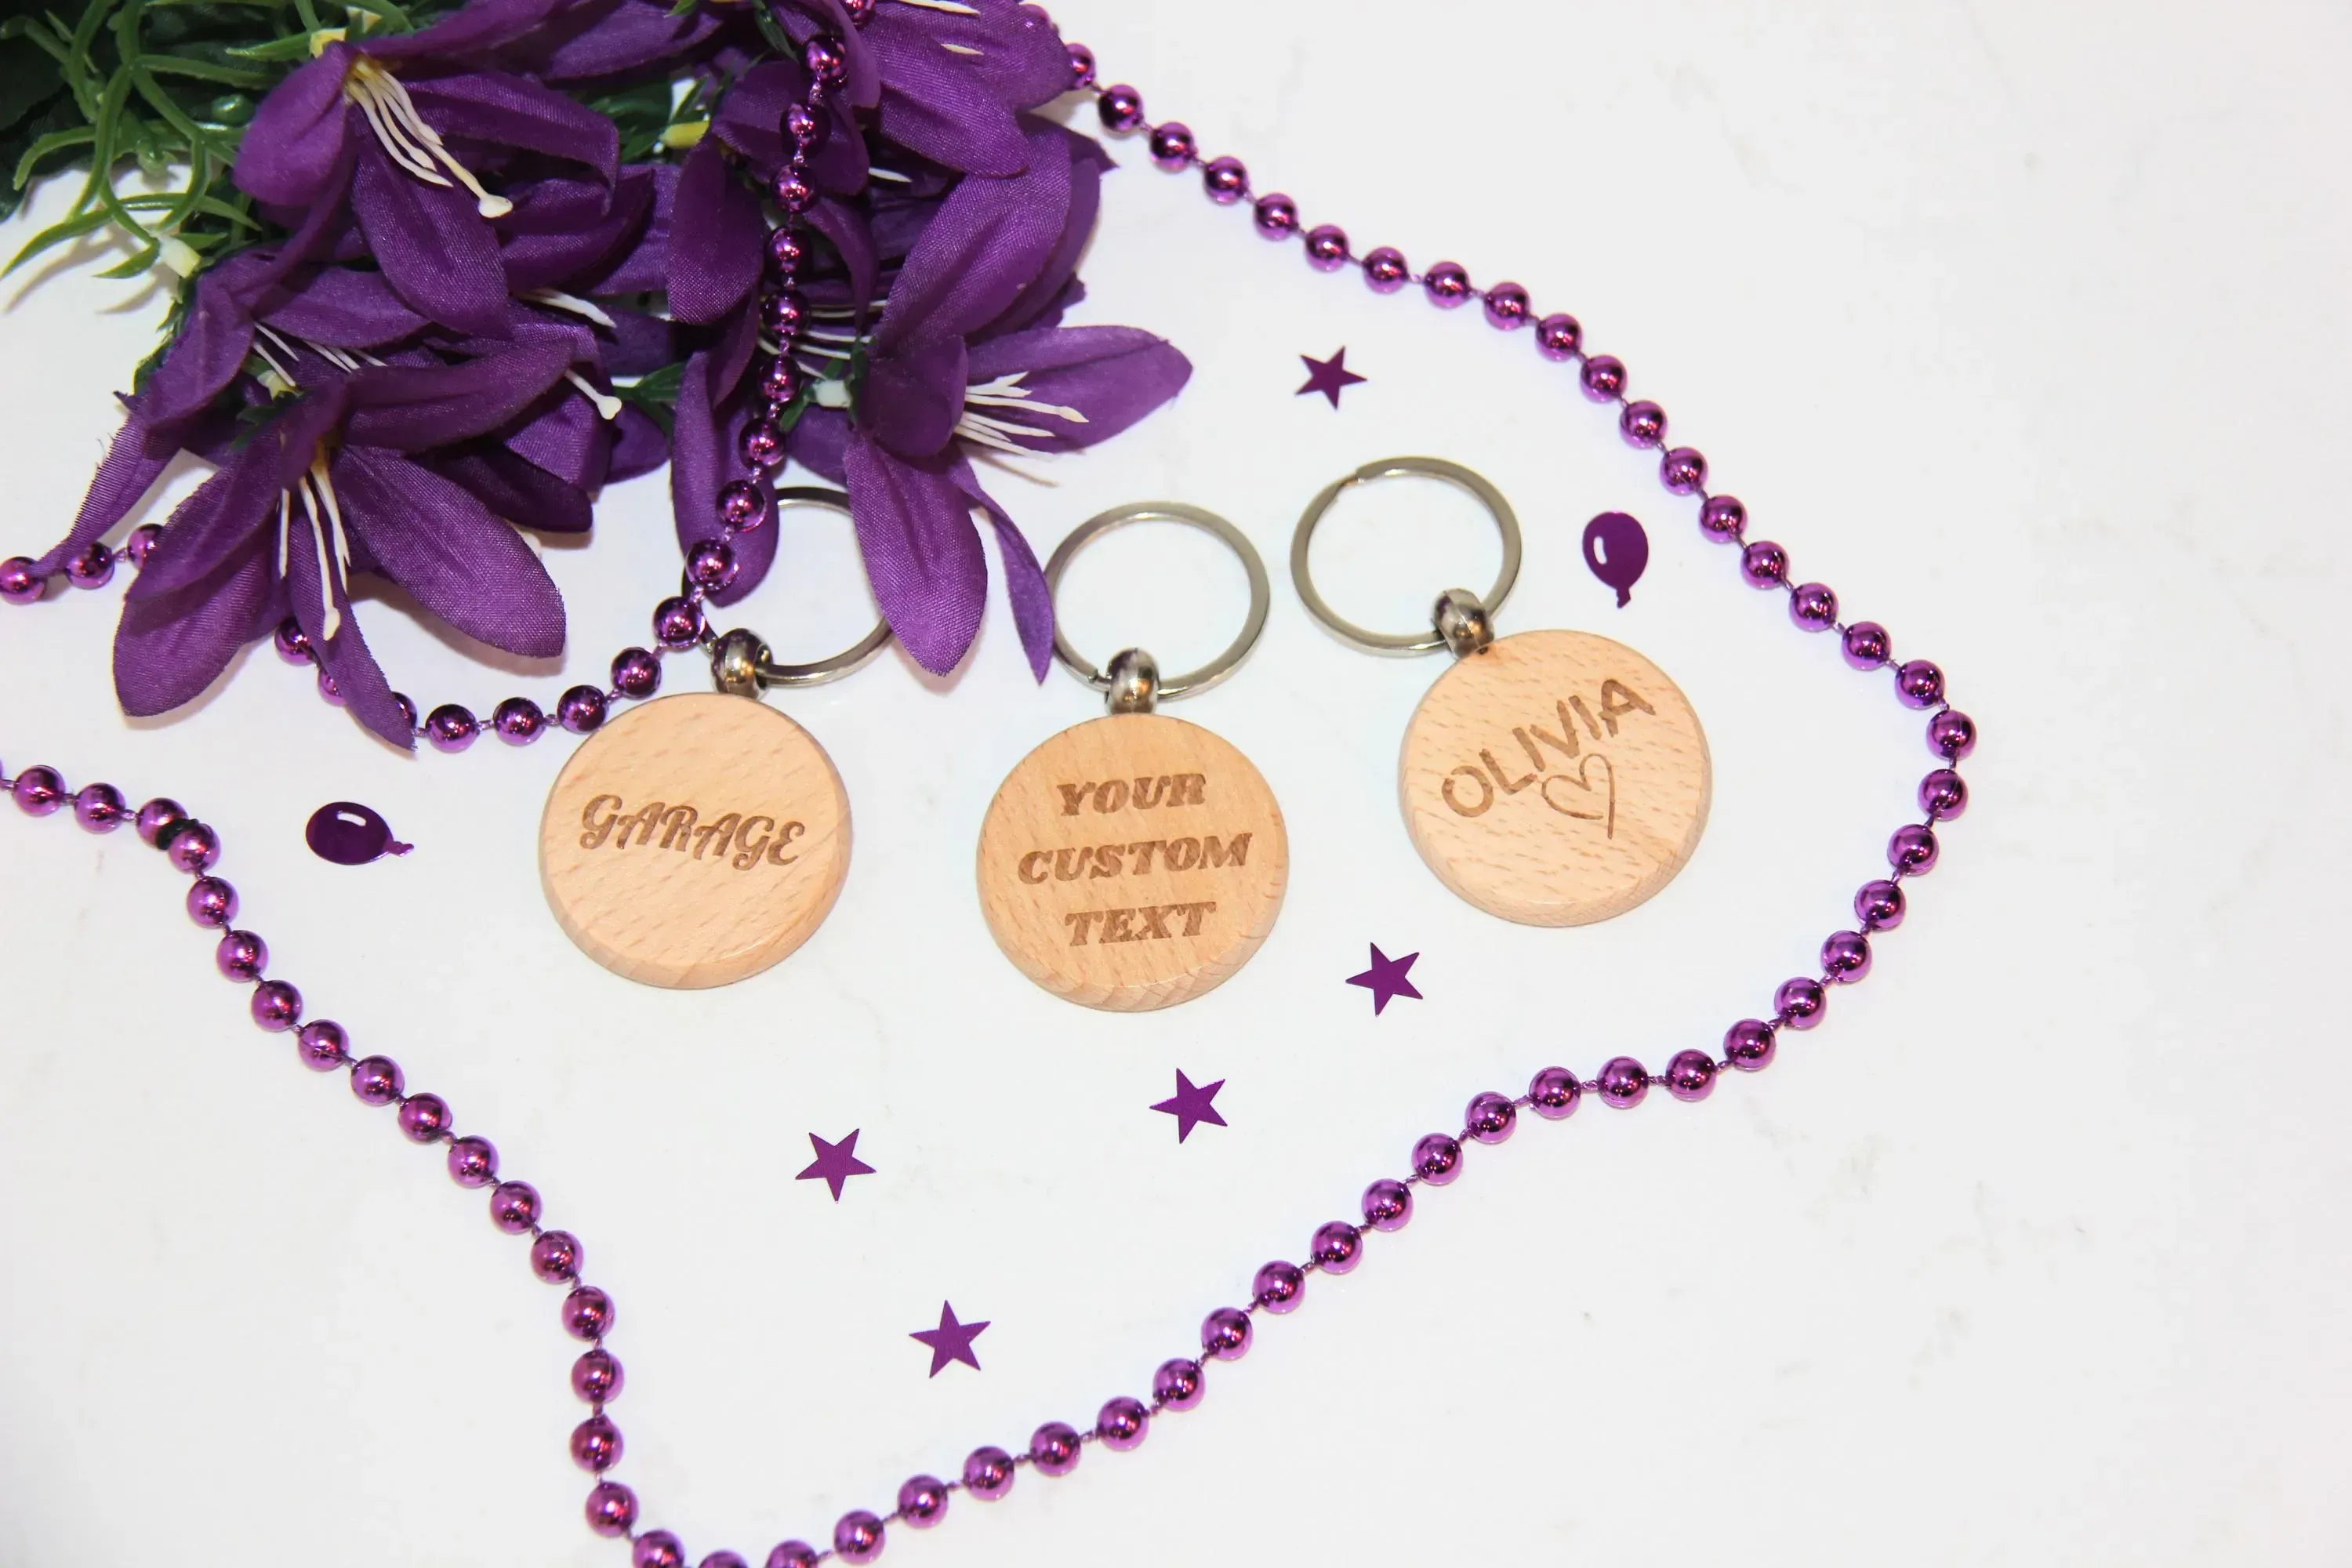
Personalized Wooden Keychain
- CUSTOM ENGRAVINGS FOR A PERSONAL TOUCH ON EVERYDAY ESSENTIALS.
- HIGH-QUALITY WOOD ENSURES DURABILITY AND A STYLISH MINIMALIST DESIGN.
- PERFECT GIFT FOR FRIENDS AND FAMILY, IDEAL FOR ANY SPECIAL OCCASION!
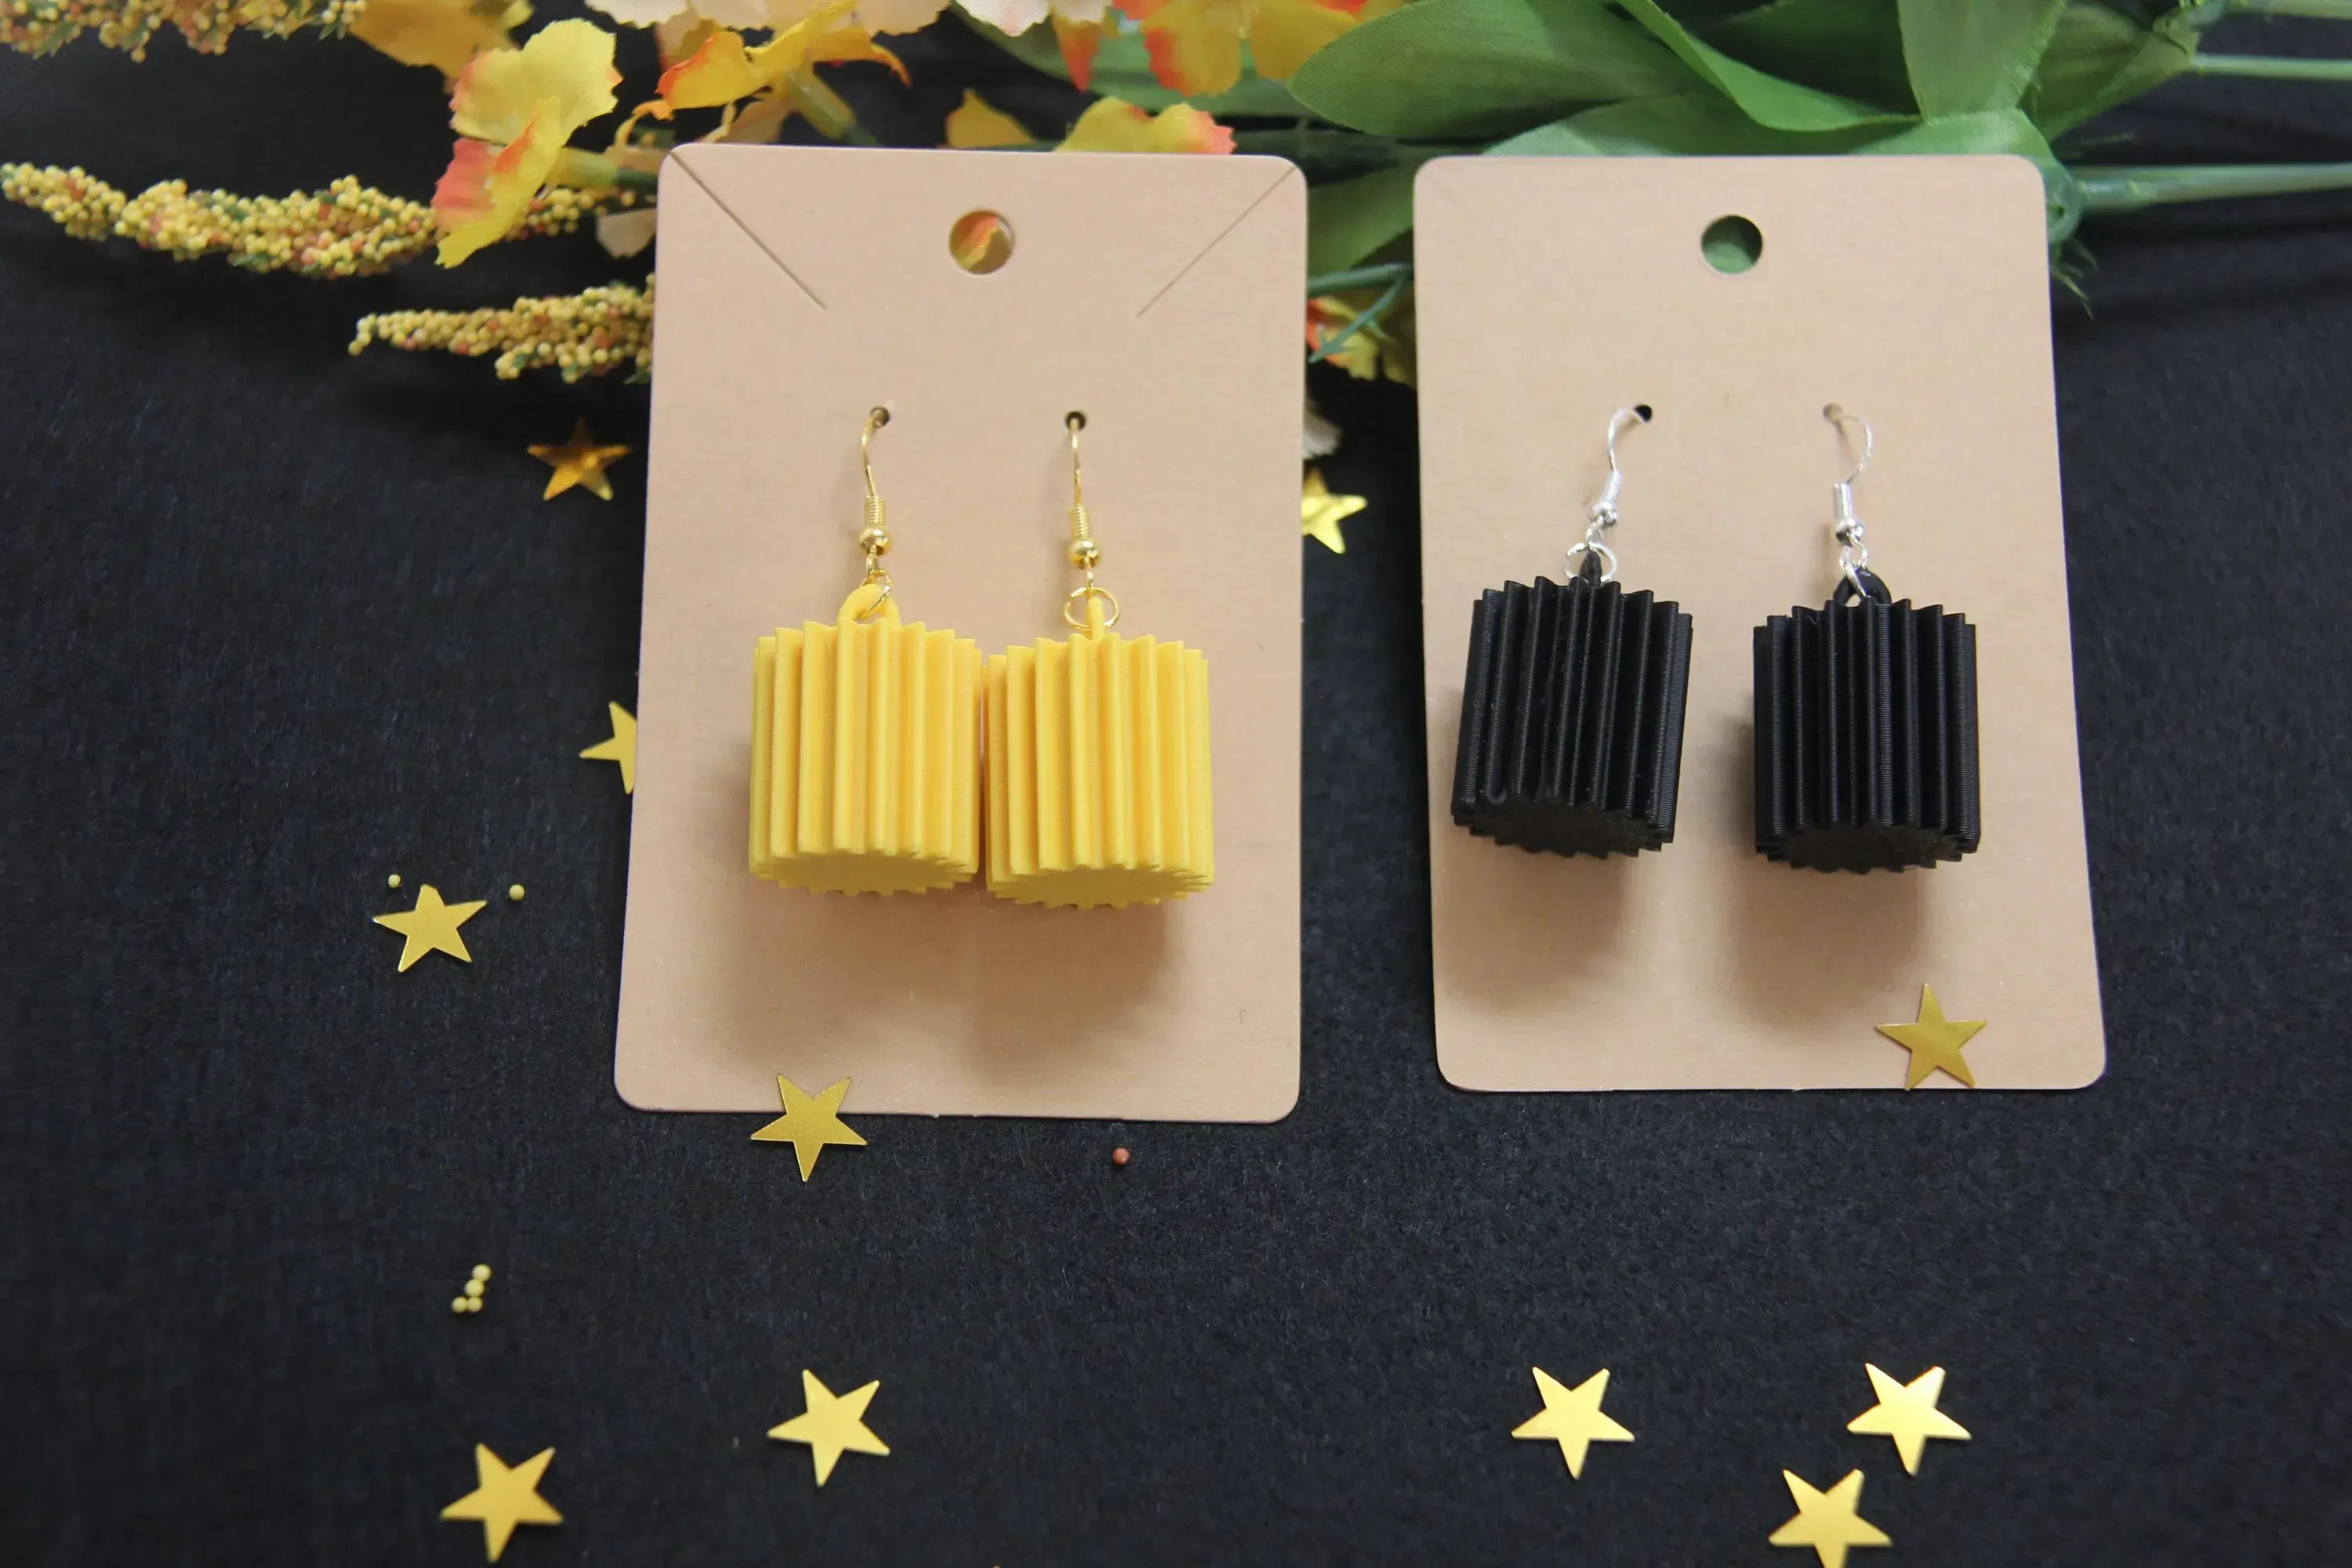
Lightweight 3D Printed Earrings
- ULTRA-LIGHT DESIGN FOR ALL-DAY COMFORT AND EFFORTLESS STYLE.
- HYPOALLERGENIC OPTIONS AVAILABLE IN GOLD TONE OR STERLING SILVER.
- CUSTOM COLORS TO MATCH YOUR UNIQUE STYLE FOR ANY OCCASION!

ClickFunnels Custom Domain Manual: Complete Guide for Japanese Domain Servers: Compatible with Japanese Servers How to Set Up Custom Domains in ClickFunnels (Japanese Edition)


To add a custom domain to your Shopify store, you need to first purchase a domain from a domain registrar or use an existing one you already own. Once you have the domain, you can go to your Shopify admin dashboard and navigate to the "Online Store" section. From there, click on "Domains" and then "Connect existing domain." Enter your custom domain and follow the prompts to verify and connect it to your Shopify store. You may need to update your DNS settings with your domain registrar to point to Shopify's servers. After the domain is successfully connected, your custom domain will now be associated with your Shopify store.
How to set up domain aliases for my Shopify store?
To set up domain aliases for your Shopify store, follow these steps:
- Log in to your Shopify admin dashboard.
- Go to Online Store > Domains.
- Click on "Connect existing domain".
- Enter the domain name you want to use as an alias for your main domain.
- Check the box next to "Create domain alias".
- Click on "Connect domain".
- You will be prompted to verify ownership of the domain by adding a DNZ record or TXT record to your domain's DNS settings. Follow the instructions provided by Shopify to complete the verification process.
- Once the domain alias is successfully verified, it will be connected to your Shopify store. You can now use this domain as a secondary URL for your store.
Please note that setting up domain aliases may vary slightly depending on your domain registrar or hosting provider. It's recommended to follow Shopify's specific instructions for setting up domain aliases for your store.
How to check if a domain is available for my Shopify store?
To check if a domain is available for your Shopify store, follow these steps:
- Log in to your Shopify admin panel.
- Go to Online Store > Domains.
- Click on "Buy new domain".
- Enter the domain name you want to check for availability.
- Shopify will show you if the domain is available or not. If the domain is available, you can proceed with purchasing it directly through Shopify.
- If the domain is not available, you can try different variations or choose a different domain name.
Alternatively, you can use a domain name registrar like GoDaddy or Namecheap to check the availability of a domain name. Simply enter the domain name you want to check on their website and they will show you if it is available for purchase. Once you find an available domain, you can then connect it to your Shopify store.
How to update contact information for a custom domain on Shopify?
To update contact information for a custom domain on Shopify, you will need to log in to your Shopify account and access your domain settings. Here are the steps to update your contact information:
- Go to your Shopify admin dashboard
- Click on "Online Store" in the left-hand menu
- Select "Domains" from the dropdown menu
- Find your custom domain in the list and click on it
- Click on the "Edit Contact Information" button
- Update the contact information fields with the new information
- Click Save to save the changes
If you are having trouble finding the domain settings or need further assistance, you can contact Shopify's customer support for help.
What is a domain expiration date and how can I renew it for Shopify?
A domain expiration date is the date when your domain name registration expires. If you do not renew your domain before this date, you may lose ownership of the domain and it could be made available for others to purchase.
To renew your domain for Shopify, you can follow these steps:
- Log in to your Shopify account.
- Go to Online Store > Domains.
- Click on the domain name you want to renew.
- Click on Renew subscription.
- Select the number of years you want to renew for and click Renew domain.
- Follow the on-screen instructions to complete the renewal process and make the payment.
After renewing your domain, make sure to update your billing information to ensure that your domain remains active and in good standing.
What is a domain registrar and why do I need one for Shopify?
A domain registrar is a company that allows you to purchase and register domain names for your website. Domain registrars manage the reservation of domain names and their associated IP addresses, as well as provide services such as domain transfers and DNS management.
If you are setting up an online store on Shopify, you will need a domain registrar to purchase and register a custom domain for your website. This custom domain will make your website more professional and memorable for your customers, as opposed to using a generic Shopify domain.
Additionally, having your own custom domain can help improve your website's search engine optimization (SEO) and branding, and can provide a more cohesive online presence for your business.
Overall, a domain registrar is essential for establishing and maintaining your online presence on Shopify, and ensuring that your website is easily accessible to customers.
How to set up a 301 redirect for my old domain on Shopify?
To set up a 301 redirect for your old domain on Shopify, you can follow these steps:
- Log in to your Shopify admin dashboard and go to Online Store > Domains.
- Click on the domain you want to set up the redirect for.
- Under the "Redirects" section, click on the "Add a redirect" button.
- In the "Source URL" field, enter the URL of the old domain that you want to redirect from.
- In the "Target URL" field, enter the URL of the new domain that you want to redirect to.
- Select the "301 Permanent" option from the "Redirect type" drop-down menu.
- Click on the "Add" button to save the redirect.
Once you have set up the 301 redirect, all traffic from the old domain will be automatically redirected to the new domain. This helps to maintain your search engine rankings and ensure that visitors are directed to the correct website.