Best Desktop Tablet Kiosks for Self-Service to Buy in July 2026
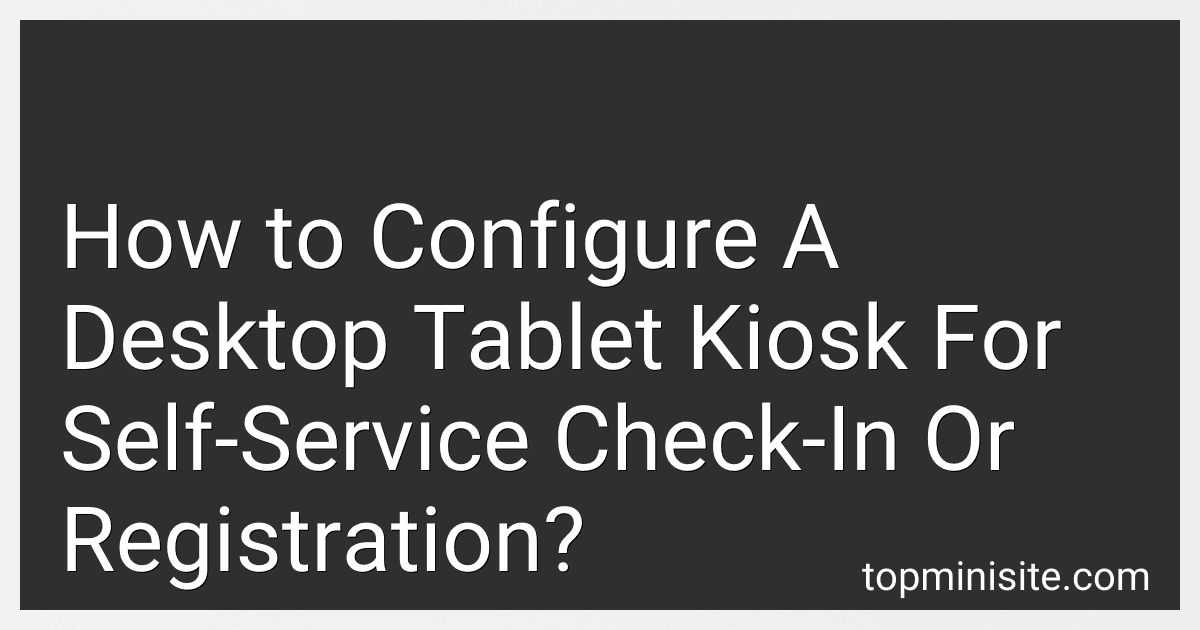
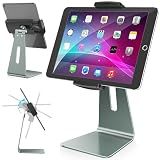
AboveTEK Elegant Tablet Stand, Aluminum iPad Stand Holder, Desktop Kiosk POS Stands for 7-15.6 inch iPad/Portable Monitor, Tablet Mount for Showcase Office Reception Countertop


AboveTEK Business Kiosk Aluminum Tablet iPad Stand, 360° Swivel Tablet & Phone Holders for Any 4"-15.6" Display Tablets/Cell Phones/Portable Monitor, Sturdy for Store POS Office (Grey)
woleyi Anti-Theft Desktop Tablet Kiosk Stand Holder, Heavy Duty Countertop Tablet POS Display Mount with Security Lock and Key, Compatible with iPad Pro/Air/Mini, Galaxy Tabs, More 7-11" Tablets
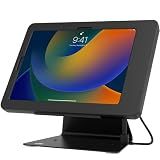
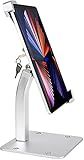
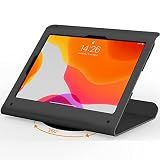
CTA Digital Desktop Anti-Theft Stand – Kiosk Stand with Stylus, Tether, and Aluminum Enclosure for iPad 11th Gen A16 11” - 10th Gen 10.9” - Air 4th & 5th Gen - 11” Pro & More - Black (PAD-DASB109)
AboveTEK Elegant Tablet Stand, Aluminum Holder for 7-13 inch Tablets, Desktop Kiosk POS Stand Compatible w/iPad Pro Air Mini, Galaxy Tab, Tablet Mount for Store Office Reception Kitchen (Gray)
BUSIVYTA Secure Tablet Kiosk Stand for 10"-14" iPad Pro Air and Samsung, Heavy-Duty Steel Anti-Theft Countertop POS Mount Holder for Business Retail, Height Adjustable, 360° Rotation, Black
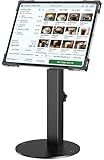
Anti Theft Tablet Security Stand - Table Mount Desktop Ipad Kiosk Stand w/Lock and Key Mechanism, 90° Rotate 75° Tilt - iPad, iPad Air, iPad Pro, Samsung Galaxy Tab A (2021) - Pyle PSPADLK18, White
Beelta Tablet POS Stand - Heavy Duty Steel Kiosk Stand with 360° Swivel Base Anti-Theft - Compatible with 10.9" iPad 10th, Pro 11" 1 2 3 4, Air 4 5, Air 11"(M2/M3/M4), iPad 11"(A16)
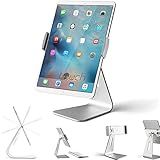
Tablet Holder Stand, Stouch 360° Rotatable Aluminum Desktop Holder Mount Compatible for 7-13 inch Galaxy Tab S8, iPad Pro/Air/Mini,Nexus, Surface Pro 4 Kiosk POS Silver
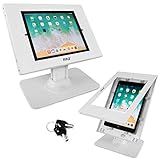
AboveTEK POS Tablet Kiosk Stand - Universal Tablet Locking Mount for 7.9"-11" Devices, 360° Swivel Anti-Theft Security Stand for iPad, iPad Air, Samsung, Height Adjustable Desk Countertop
To configure a desktop tablet kiosk for self-service check-in or registration, start by selecting a suitable software system that allows for customization of the check-in process. This software should have the ability to create a user-friendly interface with clear instructions for users.
Next, ensure that the tablet is securely mounted on a stand or wall to prevent theft or damage. The kiosk should also be positioned in a convenient location with clear signage directing users to the self-service check-in area.
Configure the software to capture the necessary information from users, such as name, contact details, and reason for check-in. You can also include options for users to sign forms electronically or take photos for identification purposes.
Provide instructions on how to use the kiosk, including how to navigate the interface and input information. Consider adding a help button or contact information for users who may need assistance.
Regularly monitor the kiosk to ensure it is functioning properly and address any technical issues promptly. Additionally, collect feedback from users to make improvements to the self-service check-in process.
Overall, configuring a desktop tablet kiosk for self-service check-in or registration involves selecting the right software, securing the tablet, creating a user-friendly interface, and regularly monitoring and improving the system for a seamless user experience.
What are the benefits of using a desktop tablet kiosk for self-service check-in?
- Efficiency: Desktop tablet kiosks can help streamline the check-in process, allowing customers to easily check themselves in without the need for staff assistance. This can help reduce wait times and speed up the overall check-in process.
- Cost-effective: Using desktop tablet kiosks for self-service check-in can help businesses save money on staffing costs, as they require less manpower to operate compared to traditional check-in methods.
- Customer convenience: By offering self-service check-in options through desktop tablet kiosks, businesses can provide customers with the convenience and flexibility to check themselves in at their own pace.
- Increased accuracy: Desktop tablet kiosks can help reduce errors in the check-in process, as customers can input their information directly into the system without the need for manual data entry.
- Enhanced branding: Desktop tablet kiosks can be customized with company branding and logos, providing businesses with a unique opportunity to promote their brand and create a positive impression on customers.
- Data collection: Desktop tablet kiosks can also be used to collect valuable customer data, such as email addresses and preferences, which can be used for marketing purposes and to improve the overall customer experience.
- Versatility: Desktop tablet kiosks can be easily reprogrammed and repurposed for different functions, making them a versatile and adaptable solution for businesses looking to enhance their self-service check-in process.
How to secure data on a desktop tablet kiosk?
Securing data on a desktop tablet kiosk involves implementing various security measures to protect sensitive information and prevent unauthorized access. Here are some steps you can take to secure data on a desktop tablet kiosk:
- Use strong passwords: Require users to create strong, unique passwords to access the kiosk. Implement password policies that require a combination of letters, numbers, and special characters, and regularly change passwords to enhance security.
- Enable screen locking: Set up automatic screen locking after a period of inactivity to prevent unauthorized access to the kiosk. Require users to enter a password or PIN to unlock the screen.
- Implement encryption: Encrypt data stored on the tablet kiosk to protect it from unauthorized access. Use encryption tools such as BitLocker or FileVault to secure sensitive information.
- Restrict access: Limit access to the tablet kiosk by restricting user accounts and permissions. Only authorized users should be able to access certain features or applications on the kiosk.
- Install security software: Install antivirus software and security patches to protect the tablet kiosk from malware and cyber threats. Regularly update software and security features to ensure maximum protection.
- Secure physical access: Physically secure the tablet kiosk by mounting it in a locked enclosure or using cable locks to prevent theft or tampering. Consider installing security cameras or alarms to monitor the kiosk.
- Monitor and audit activity: Monitor user activity on the tablet kiosk and keep logs of user interactions. Conduct regular audits to identify potential security vulnerabilities or breaches.
- Educate users: Train users on security best practices and the importance of protecting sensitive data on the tablet kiosk. Encourage users to report any security incidents or suspicious behavior.
By following these steps, you can enhance the security of data on a desktop tablet kiosk and protect sensitive information from unauthorized access.
How to set up a printer for a desktop tablet kiosk?
Setting up a printer for a desktop tablet kiosk involves the following steps:
- Choose a compatible printer: Make sure the printer you choose is compatible with the tablet kiosk and has the necessary connectivity options, such as USB, Ethernet, or wireless.
- Connect the printer to the tablet kiosk: Depending on the connectivity options of the printer and tablet kiosk, connect the two devices using a USB cable, Ethernet cable, or set up a wireless connection.
- Install printer drivers: Install the necessary printer drivers on the tablet kiosk to enable communication between the two devices. You may need to download and install the drivers from the printer manufacturer's website.
- Configure printer settings: Once the printer drivers are installed, configure the printer settings on the tablet kiosk. This may involve setting the default printer, paper size, print quality, and other preferences.
- Test the printer: Print a test page or document from the tablet kiosk to ensure that the printer is set up correctly and printing properly.
- Set up printing options: If desired, you can set up additional printing options on the tablet kiosk, such as enabling duplex printing, color printing, or setting up a print queue.
- Monitor printer status: Make sure to monitor the printer status on the tablet kiosk to ensure that it is functioning correctly and has enough ink or toner.
By following these steps, you can successfully set up a printer for a desktop tablet kiosk and enable printing functionality for your kiosk users.
How to customize the interface of a desktop tablet kiosk?
- Start by determining the purpose of the tablet kiosk and the specific needs of your users. This will help guide you in customizing the interface to meet these needs effectively.
- Choose a user-friendly and intuitive interface design that aligns with the brand or organization's branding and aesthetic.
- Consider the layout of the interface, including the placement of buttons, icons, and navigation menus. Make sure that these elements are easy to access and understand for users.
- Customizing the colors and fonts used in the interface can help create a cohesive and visually appealing design. Be mindful of color contrast to ensure readability for all users.
- Use high-quality images and graphics to enhance the overall look and feel of the interface. Avoid cluttering the interface with too many visuals, as this can overwhelm users.
- Incorporate interactive elements, such as touch gestures or animations, to make the interface more engaging and user-friendly.
- Test the customized interface on the tablet kiosk with a diverse group of users to gather feedback and make any necessary adjustments.
- Regularly update and maintain the interface to ensure optimal performance and usability for users. Consider incorporating new features or functionalities based on user feedback and emerging trends in interface design.
How to design a user-friendly interface on a desktop tablet kiosk?
Designing a user-friendly interface for a desktop tablet kiosk involves several key considerations to ensure ease of use and a positive experience for users. Here are some tips to help you create a user-friendly interface on a desktop tablet kiosk:
- Keep the layout simple and intuitive: Make sure the layout of the interface is clean and organized, with clearly labeled icons and buttons. Use a familiar navigation structure, such as tabs or a menu bar, to help users easily find the information they are looking for.
- Use large, touch-friendly buttons: Since users will interact with the interface using their fingers, make sure buttons and icons are large enough to be easily tapped with a finger. Avoid cluttering the screen with small buttons or text that may be difficult to read or select.
- Provide clear instructions and guidance: Include clear instructions and prompts on the interface to guide users on how to interact with the kiosk. Use simple language and visual cues to help users understand how to navigate the interface and complete tasks.
- Offer feedback and confirmation: Provide visual feedback when users interact with buttons or input fields to let them know that their actions have been registered. Use animation, sound, or color changes to indicate when an action has been successfully completed.
- Include search and filter options: If the kiosk features a large amount of content or information, include search and filter options to help users quickly find what they are looking for. Allow users to search by keywords or filter content by categories or tags.
- Customize the interface for different users: If the kiosk will be used by a diverse group of users, consider offering customization options that allow users to adjust settings or preferences to suit their needs. This could include changing the font size, adjusting the color scheme, or choosing their preferred language.
- Test and iterate: Before launching the interface, conduct usability testing with a diverse group of users to gather feedback on the design and identify any areas for improvement. Use this feedback to make iterative updates to the interface before it is deployed to ensure a user-friendly experience for all users.