Best Countertop Dishwasher Connection Kits to Buy in July 2026
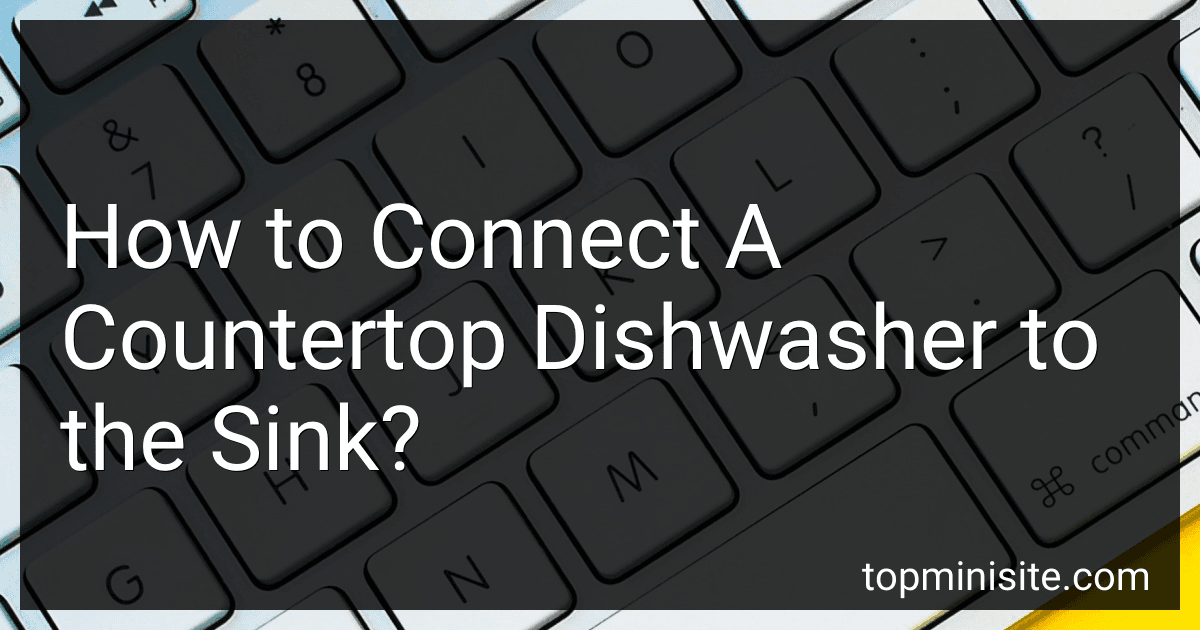
Shark Industrial 6 FT Countertop Dishwasher Fill and Drain Hose Kit with faucet adapter for all major brands (6)
- COMPATIBLE WITH MAJOR BRAND COUNTERTOP DISHWASHERS.
- DURABLE DESIGN OUTPERFORMS COMPETITORS IN RIGOROUS TESTS.
- INCLUDES FAUCET FILTER AND VERSATILE FITTING FOR STANDARD FAUCETS.


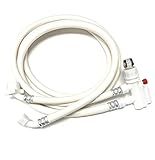
Shark Industrial 8 FT Countertop Dishwasher Fill and Drain Hose Kit with faucet adapter for all major brands (8)
- UNIVERSAL FIT FOR ALL MAJOR BRAND COUNTERTOP DISHWASHERS.
- DURABLE CONSTRUCTION WITH SUPERIOR PERFORMANCE IN RIGOROUS TESTS.
- EASY INSTALLATION WITH INCLUDED ADAPTER, SEALANT TAPE, AND WRENCH.
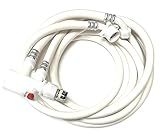
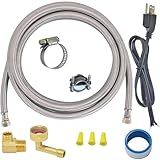
Universal Dishwasher Installation Kit with 6' Connector and Power Cord, Stainless Steel
- UNIVERSAL FIT FOR EASY INSTALLATION WITH ANY DISHWASHER BRAND.
- COMPLETE KIT INCLUDES POWER CORD AND 6-FOOT CONNECTOR FOR CONVENIENCE.
- DURABLE MATERIALS ENSURE LONG-LASTING USE AND RUST RESISTANCE.
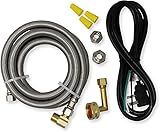
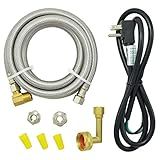
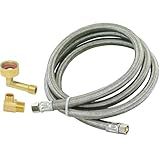
Eastman 6 Ft. Dishwasher Installation Kit, Braided Stainless Steel Supply Line with 3/8 Inch Compression Ends, 3-Prong Straight Power Cord, 41150
- COMPLETE KIT ENSURES HASSLE-FREE DISHWASHER INSTALLATIONS-NO EXTRA PARTS NEEDED.
- DURABLE, KINK-RESISTANT DESIGN GUARANTEES LONG-LASTING, RELIABLE PERFORMANCE.
- EASY DROP-IN INSTALLATION SAVES TIME-NO SOLDERING OR CRIMPING REQUIRED!
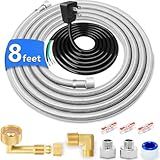
Dishwasher Installation Kit - 8 FT Stainless Steel Dishwasher Hose with 3/8" Compression Connections,Food Grade PEX Inner Tube Dishwasher Water Supply Line with Elbows,Adapters and 6 FT Power Cord
-
UNIVERSAL FIT: COMPATIBLE WITH MOST BRANDS AND MODELS OF DISHWASHERS.
-
QUICK & EASY SETUP: DIY INSTALLATION IN MINUTES WITH SECURE CONNECTIONS.
-
DURABLE & SAFE: PREMIUM MATERIALS ENSURE LONG-LASTING, RELIABLE PERFORMANCE.
TT FLEX Universal Dishwasher Installation Kit,6 Ft Stainless Steel Dishwasher Hose,Burst Proof Water Supply Line with 3/8" Compression Connections
-
UNIVERSAL FIT FOR EASY INSTALLATION WITH ALL DISHWASHER BRANDS!
-
COMPLETE KIT: EVERYTHING YOU NEED IN ONE CONVENIENT PACKAGE!
-
DURABLE, LEAD-FREE MATERIALS BACKED BY A 10-YEAR WARRANTY!
KAINGA 6 FT Dishwasher Installation Kit, Braided Stainless Steel Dishwasher Water Supply Line with 3/8" Compression Dishwasher Connectors, Burst-Resistant Inner Tube, Certified Safe
-
UNIVERSAL FIT: ADAPT TO VARIOUS DISHWASHERS WITH PRECISION CONNECTORS.
-
DURABLE & RELIABLE: HEAVY-DUTY DESIGN RESISTS KINKS, LEAKS, AND CORROSION.
-
SAFE INSTALLATION: BPA-FREE MATERIALS ENSURE SAFE, TASTELESS WATER SUPPLY.
Eastman 5 Ft. Dishwasher Installation Kit, Braided Stainless Steel Supply Line with 3/8 Inch Compression Ends, 41041
-
DURABLE STAINLESS STEEL HOSE ENSURES LONG-LASTING PERFORMANCE AND SAFETY.
-
EASY, TOOL-FREE INSTALLATION IN TIGHT SPACES WITH INCLUDED FITTINGS.
-
RELIABLE PERFORMANCE WITH 200 PSI RATING FOR PEACE OF MIND.
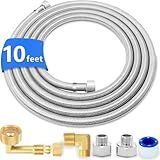
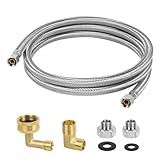
Dishwasher Installation Kit - 10 FT Stainless Steel Dishwasher Hose with 3/8" Compression Connections,Food Grade PEX Inner Tube Dishwasher Water Supply Line with Elbows,Adapters
- UNIVERSAL FIT: COMPATIBLE WITH MOST DISHWASHERS; VERSATILE INSTALLATION.
- QUICK & EASY SETUP: DIY INSTALLATION IN MINUTES; NO PROFESSIONAL NEEDED.
- DURABLE & SAFE: PREMIUM MATERIALS ENSURE LONGEVITY AND SAFE USE.
To connect a countertop dishwasher to the sink, you will need to first attach the adapter that comes with the dishwasher to the faucet. This adapter will allow the dishwasher to be connected to the sink's water supply. Next, connect the drainage hose from the dishwasher to the sink's drain. Make sure the hose is securely attached. Finally, plug the dishwasher into an electrical outlet and turn on the water supply to the sink. Your countertop dishwasher should now be ready to use.
How to connect a countertop dishwasher to a one-hole faucet?
To connect a countertop dishwasher to a one-hole faucet, you will need a faucet adapter that is designed for this purpose. Here is how you can do it:
- Start by turning off the water supply to the faucet.
- Remove the aerator from the end of the faucet by twisting it counterclockwise.
- Attach the faucet adapter that came with your countertop dishwasher to the end of the faucet. Make sure it is securely tightened to prevent leaks.
- Connect the dishwasher hose to the faucet adapter. Most countertop dishwashers come with a hose that is designed to fit onto the adapter.
- Turn on the water supply to the faucet and check for any leaks. If you see any leaks, tighten the connections further.
- Test the dishwasher by running a cycle to make sure it is properly connected and working correctly.
- Once you are done using the dishwasher, disconnect the hose from the faucet and store it away until the next use.
By following these steps, you should be able to easily connect your countertop dishwasher to a one-hole faucet and enjoy the convenience of having a portable dishwasher in your kitchen.
What tools are needed to connect a countertop dishwasher to the sink?
To connect a countertop dishwasher to the sink, you will typically need the following tools:
- Adjustable wrench or pliers
- Screwdriver
- Bucket or bowl for catching water
- Dishwasher installation kit, which may include: Hose clamps Hose adapter or coupler Faucet adapter Hose extension (if needed) Teflon tape (to seal connections) Instructions for specific dishwasher model
It is important to carefully follow the manufacturer's instructions for installing the countertop dishwasher to ensure proper connection and function.
How to connect a countertop dishwasher without damaging the sink?
- Choose the right location: Before connecting your countertop dishwasher, make sure to choose a suitable location near your sink. This will make it easier to connect the dishwasher to the faucet without stretching the hoses or causing any damage.
- Prepare the sink: Before connecting the dishwasher, clean and dry the area around your sink where you will be attaching the hose. This will ensure a secure connection and prevent any leaks.
- Attach the hose: Most countertop dishwashers come with a hose that connects to your sink faucet. You will need to unscrew the aerator from your faucet and attach the hose securely. Make sure to tighten the connection to prevent any leaks.
- Use a sink adapter: If your sink faucet is not compatible with the hose provided, you can purchase a sink adapter from a hardware store. This will allow you to connect the hose to your faucet without causing any damage.
- Test for leaks: Once the hose is securely attached, turn on the water and check for any leaks. If you notice any leaks, tighten the connection or replace the washer to prevent water damage.
- Run a test cycle: Before using your countertop dishwasher for the first time, run a test cycle to ensure everything is connected properly and there are no leaks. If everything is working properly, you can start using your dishwasher regularly without damaging your sink.
How to adjust the hose length when connecting a countertop dishwasher to a wall-mounted faucet?
- First, start by measuring the distance between the countertop dishwasher and the wall-mounted faucet. This will give you an idea of how much hose length you need to cover this distance.
- Next, disconnect the existing hose from the wall-mounted faucet and the dishwasher. You may need to use pliers or an adjustable wrench to loosen and remove any hose clamps or connections.
- If the existing hose is too long, you may need to cut it to the appropriate length. Use a sharp pair of scissors or a utility knife to carefully cut the hose to the desired length.
- If the existing hose is too short, you will need to purchase a new hose that is the appropriate length. Make sure to measure the distance accurately before purchasing a new hose.
- Once you have the correct length of hose, attach one end to the wall-mounted faucet and the other end to the countertop dishwasher. Make sure to tighten the hose connections securely using pliers or an adjustable wrench to prevent any leaks.
- Turn on the water supply and run a test cycle on the dishwasher to ensure that the hose is properly connected and functioning correctly. Adjust the hose length if necessary to ensure a proper fit.
- Once you have confirmed that the hose is the correct length and securely connected, you can use the dishwasher as normal. Make sure to check the hose connections regularly for any signs of leaks or wear and tear.