Best Electric Guitar Amplifiers for Studio Recording to Buy in July 2026
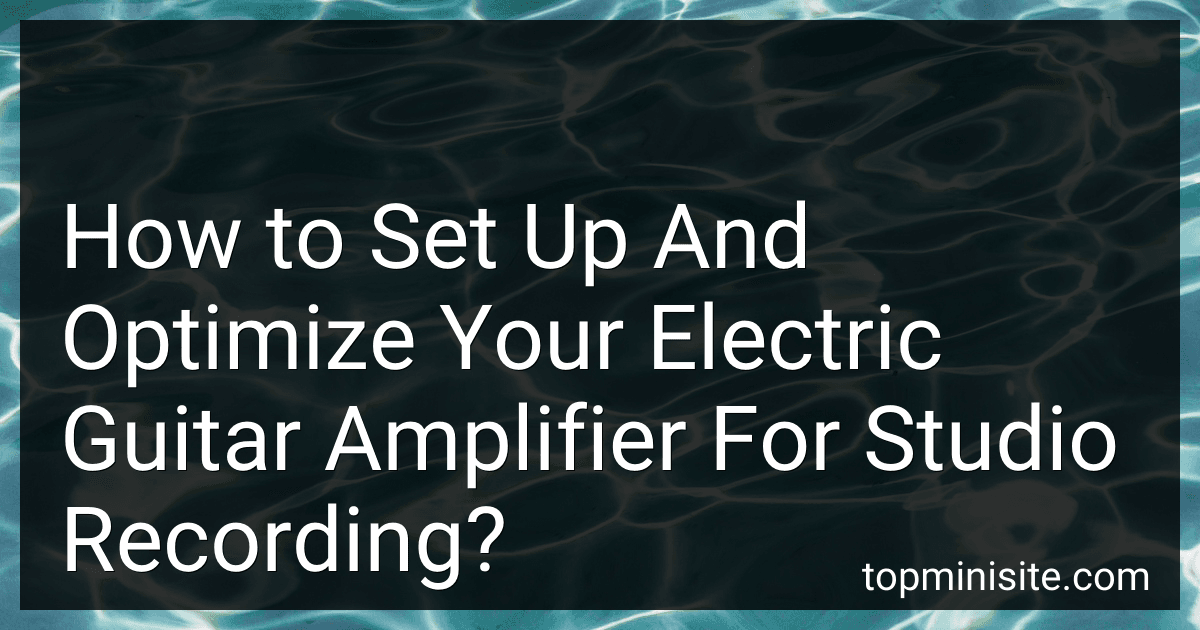
Fender Frontman 10G Guitar Amp, 10 Watts, with 2-Year Warranty, 6 Inch Fender Special Design Speaker, 5.75Dx10.25Wx11H Inches
- POWERFUL 10W OUTPUT FOR VERSATILE SOUND ACROSS GENRES.
- QUALITY 6 SPEAKER DELIVERS RICH TONES FROM BLUES TO METAL.
- INCLUDES 2-YEAR WARRANTY FOR PEACE OF MIND AND RELIABILITY.


CXLWZ Electric Guitar Amp 20 Watt Amplifier Portable Amp with Headphone Input Gain Powe Including Professional Noise Reduction Cable (Black)
- POWERFUL 20W AMP DELIVERS PROFESSIONAL SOUND FOR PRACTICE AND GIGS.
- EASY CONTROLS FOR GAIN, BASS, TREBLE, AND VOLUME-CUSTOMIZE YOUR TONE!
- LIGHTWEIGHT AND PORTABLE DESIGN PERFECT FOR TRAVEL AND LIVE PERFORMANCES.
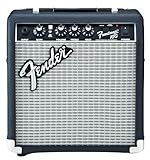
Fender Frontman 20G Guitar Amp, 20 Watts, with 2-Year Warranty 6 Inch Fender Special Design Speaker, 10x16x16 inches
- INTUITIVE DESIGN FOR BEGINNERS AND PROS, EASY TO USE!
- VERSATILE CLEAN AND DRIVE CHANNELS FOR SONIC FLEXIBILITY.
- SILENT PRACTICE WITH HEADPHONE JACK; 2-YEAR WARRANTY INCLUDED.
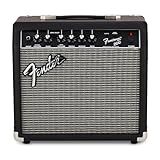
Flatsons FBA-10 Guitar Amp, 10W Mini Electric Guitar Amplifier with Clean/Drive Channel, 6H Working, USB-C Rechargeable, 3.5mm Headphone/AUX Jack, Wireless Portable Amp for Indoor Practice, Traveling
- CRYSTAL-CLEAR ANALOG SOUND WITH 10W POWER FOR ANY SETTING.
- DUAL TONE MODES FOR VERSATILE SOUND: CLEAN AND DRIVE.
- WIRELESS STREAMING & 6-HOUR BATTERY FOR ON-THE-GO PLAY.

Fender Mustang LT25 Guitar Amp, 25-Watt Combo Amp, with 2-Year Warranty, 30 Preset Effects with USB Audio Interface for Recording
- COMPACT 25W AMP WITH 8 SPEAKER FOR RICH FENDER SOUND.
- USER-FRIENDLY INTERFACE AND COLOR DISPLAY PERFECT FOR BEGINNERS.
- 30 VERSATILE PRESETS FOR EXPLORING DIVERSE MUSICAL STYLES.
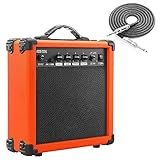
CXLWZ Electric Guitar Amp 20 Watt Amplifier Portable Amp with Headphone Input Gain Powe Including Professional Noise Reduction Cable (Orange)
-
POWERFUL 20W OUTPUT FOR PRACTICE AND PERFORMANCE ANYWHERE!
-
EASY-TO-USE CONTROLS FOR PERFECT SOUND CUSTOMIZATION!
-
LIGHTWEIGHT AND PORTABLE DESIGN FOR MUSICIANS ON THE GO!
Setting up and optimizing an electric guitar amplifier for studio recording involves several important steps. First, make sure the amplifier is in good working condition and that all the settings are functioning properly. Next, consider the microphone placement in front of the amplifier speaker. Experiment with different distances and angles to find the best sound for your recording. It's important to capture the tone and dynamics of the amplifier accurately. In addition, consider using different microphones or microphone combinations to achieve a full and balanced sound. It's also recommended to experiment with different EQ settings on the amplifier to ensure that the recording has the desired tone. Lastly, consider adding effects pedals or a direct input box to enhance the sound and add depth to the recording. With proper setup and optimization, you can achieve a high-quality recording of your electric guitar amplifier in the studio.
What is the importance of using a power conditioner with your amplifier for recording?
Using a power conditioner with your amplifier for recording is important because it helps to ensure a stable and clean power supply. Power conditioners filter out any noise or interference that can be present in the power supply, which can cause hums, buzzes, or other unwanted artifacts in your recordings.
A stable power supply is essential for maintaining consistent sound quality and performance from your amplifier. Power conditioners also provide surge protection to safeguard your equipment from power spikes or surges that can potentially damage your amplifier.
Overall, using a power conditioner with your amplifier helps to improve the reliability, performance, and longevity of your equipment, resulting in higher-quality recordings.
How to properly set the gain on your electric guitar amplifier for studio recording?
- Start by setting all EQ controls on your amplifier to the neutral or 12 o’clock position. This will provide a good starting point for adjusting the gain.
- Plug your electric guitar into the amplifier and set the volume controls on your guitar to their maximum level. This will ensure that your guitar’s signal is strong enough to drive the amplifier properly.
- Turn on your amplifier and set the Master volume control to a comfortable listening level. Avoid cranking the volume too high to prevent clipping or distortion.
- Play a few notes on your guitar at your normal playing intensity to get a feel for the amplifier’s tone and overall sound.
- Slowly increase the gain control on your amplifier while playing to find the sweet spot where the tone is warm and full without becoming overly distorted or thin. It’s important to find the right balance between gain and volume to achieve the desired tone.
- Keep in mind that different styles of music may require different levels of gain. Experiment with different gain settings to find the one that best suits your recording needs.
- Use your ears as the ultimate guide when setting the gain on your amplifier. Trust your judgment and adjust the gain control accordingly until you are satisfied with the tone and sound quality.
- Remember to record short samples at different gain settings to compare and choose the one that works best for your recording project.
- Once you’ve set the gain to your liking, you can fine-tune your tone with the amplifier’s EQ controls to further shape your sound for recording.
- Make sure to monitor your signal levels throughout the recording process to avoid clipping and ensure a clean and balanced recording. Adjust the gain settings as needed to maintain a consistent and professional sound quality.
What is the difference between a dynamic and condenser microphone for recording guitar amps?
The main difference between a dynamic and condenser microphone for recording guitar amps lies in their design and the way they capture sound.
Dynamic microphones are rugged, durable, and capable of handling high sound pressure levels, making them ideal for recording loud sound sources like guitar amps. They are also less sensitive to high frequencies and therefore tend to capture a warmer, more natural tone from the amplifier. Additionally, dynamic microphones do not require phantom power to operate, making them easier to use in a live setting.
On the other hand, condenser microphones are more sensitive and accurate, making them better suited for capturing the nuances and details of a guitar amp's sound. They are also capable of capturing a wider frequency range, which can result in a more detailed and transparent sound. However, condenser microphones are more fragile and can be easily damaged by high sound pressure levels. They also require phantom power to operate, which may not be available in all recording setups.
In general, dynamic microphones are preferred for recording guitar amps in live settings or when a more warm and natural sound is desired, while condenser microphones are preferred for capturing the finer details and nuances of a guitar amp's sound in a controlled studio environment.
What is the role of compression in recording guitar amps?
Compression in recording guitar amps helps to even out the dynamics of the signal, making the quieter parts louder and the louder parts quieter. This can help to control peaks and provide a more balanced sound overall. Compression can also add sustain to the guitar signal, making notes ring out longer and creating a more consistent sound. Additionally, compression can help to smooth out any harsh or unwanted high frequencies, resulting in a more polished and professional sound. Overall, compression can enhance the tone and dynamics of a recorded guitar amp signal.