Best Mirrorless Cameras for Macro Photography to Buy in July 2026

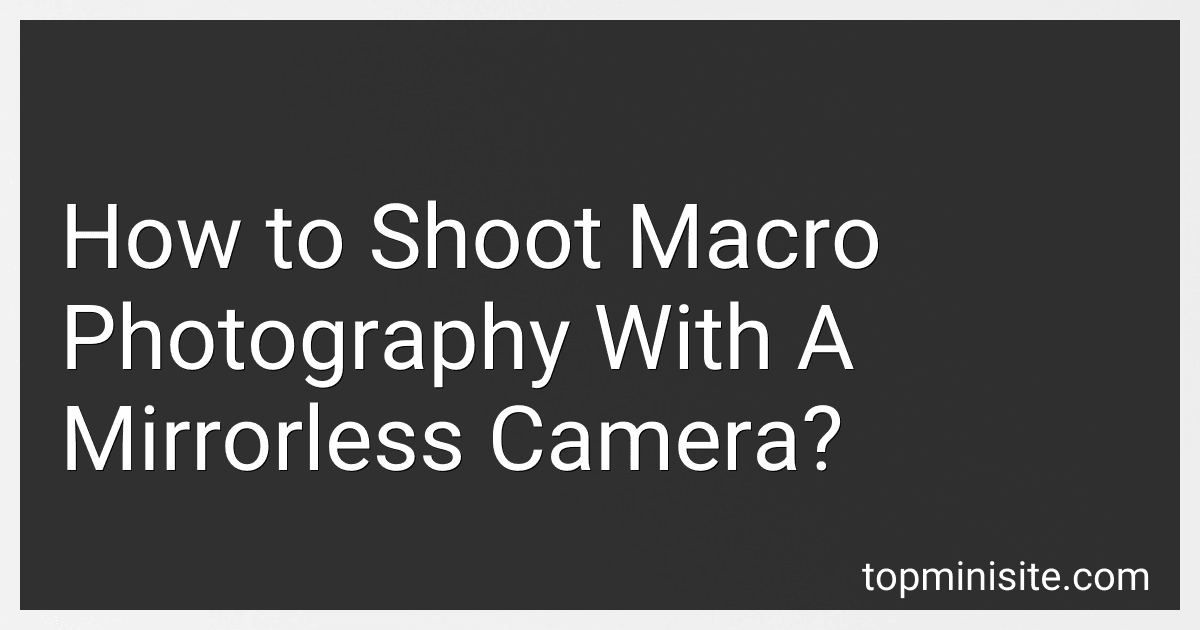
NEEWER 140mm Macro Focusing Rail Slider with 360° Rotation, 4 Directional Locking, Retractable Feet, Acra Type QR Plate, 1/4" & 3/8" Screw for Camera Macro Photography Close Up Shooting, GM-MP2
-
PRECISION CONTROL: 360° ROTATION & LOCKING FOR FLAWLESS MACRO SHOTS.
-
STABLE SUPPORT: DOUBLE SLIDERS ENSURE SMOOTH MOVEMENTS UNDER ANY LOAD.
-
QUICK SETUP: FAST ARCA TYPE RELEASE FOR EASY, SECURE CAMERA MOUNTING.


SmallRig RM 03 Macro Photography LED Light, Adjustable Beam Angle, 5 Colors CRI95 TLCI92, Bendy Light for Camera with Cold Shoe Adapter, Clamp, Diffuser, Spotlight, Barndoor, Gobos, IP54 Rating - 5480
- ACHIEVE PRECISION LIGHTING WITH ADJUSTABLE BEAM ANGLE (4°-32°).
- DURABLE & WEATHER RESISTANT: SHOOT IN ANY CONDITION, ANYWHERE!
- ALL-IN-ONE MACRO KIT: READY TO USE-NO COMPLICATED SETUP NEEDED!
NEEWER 4-Way Macro Focusing Rail Slider with Quick Release Plate, 1/4”-20 Thread for Macro Photography and Close-Up Shooting, Compatible with Canon Nikon Fujifilm Sony DSLR Mirrorless Camera
- PRECISION FOCUSING FOR MACRO MASTERY: IDEAL FOR CLOSE-UPS AND TIME-LAPSES.
- DURABLE YET LIGHTWEIGHT DESIGN: SUPPORTS 5.5LB CAMERAS, EASY TO TRANSPORT.
- QUICK & EASY CAMERA SETUP: COMPATIBLE WITH MAJOR DSLR BRANDS FOR CONVENIENCE.
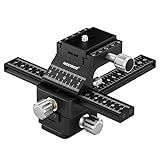
AK DIFFUSER - Macro Photography Backgrounds, 5 Double-Sided 5x7 in Portable Backgrounds with Clip Holder
- 10 VIBRANT DOUBLE-SIDED BACKDROPS ENHANCE YOUR MACRO PHOTOGRAPHY.
- LIGHTWEIGHT, DURABLE, AND WATER-RESISTANT FOR EASY PORTABILITY.
- PROFESSIONAL QUALITY ENSURES RICH COLORS FOR STUNNING IMAGES.
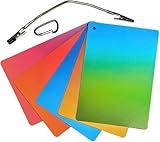
LED Macro Arm Light with 10 Level Ajustable Brightness,CRI 95+ 5600K Macro Photography Lighting Support Type-C Charge for DSLR Mirrorless Camera for Insect Plant Jewelry Close-up Shooting
-
FLEXIBLE 14-INCH ARM: EASILY ILLUMINATES OBJECTS FOR MACRO PHOTOGRAPHY.
-
10 BRIGHTNESS LEVELS: CUSTOMIZE LIGHTING WITH 3 MODES FOR PERFECT SHOTS.
-
DURABLE COLD SHOE MOUNT: SECURELY ATTACHES TO CAMERAS FOR STABLE USE.
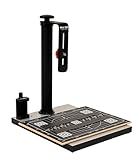
COPY STAND # MINI300, A USA Made Compact & Mini Tool for Digitizing Documents, Old Photos and Macro Photography with Today's DSLR Super Megapixel Cameras
- QUICK SETUP: ASSEMBLE IN UNDER A MINUTE FOR HASSLE-FREE USE.
- VERSATILE COMPATIBILITY: SUPPORTS CAMERAS AND SMARTPHONES FOR DIGITIZING.
- PRECISION ALIGNMENT: MAGNETIC BOARD ENSURES YOUR ORIGINALS STAY FLAT.
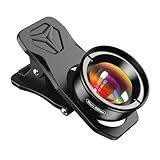
APEXEL Professional Macro Photography Lens for Smartphone, Macro Lenses for iPhone, Samsung, Galaxy, Oneplus, Android Phone(Fits for Almost All Phone), Cell Phone Lens Attachment for iPhone
- CAPTURE STUNNING HD CLOSE-UPS WITH HIGH-QUALITY OPTICAL LENS.
- ENJOY PROFESSIONAL-QUALITY BOKEH BACKGROUNDS FOR STRIKING IMAGES.
- EFFORTLESSLY ATTACH TO ANY PHONE, NO APP OR SPECIAL CASE NEEDED!
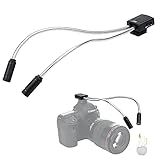
JJC 10 Inch Long Portable Shoe-Mount LED Macro Arm Light, CRI 95+ 5600K, 5 Level Adjustable, Flexible Fill Lights, USB-C, White
- PERFECT FOR MACRO PHOTOGRAPHY: 2 LED LIGHTS & HEAT-FREE DESIGN!
- 5 ADJUSTABLE BRIGHTNESS LEVELS FOR IDEAL LIGHTING CONDITIONS.
- COMPACT & FLEXIBLE ARM MOUNTS DIRECTLY TO CAMERAS OR CAMCORDERS.
To shoot macro photography with a mirrorless camera, first, you need to understand the capabilities of your camera's lens and sensor. Many mirrorless cameras have built-in macro modes or close focusing capabilities that allow you to get up close to your subject.
Next, choose a macro lens or lens adapter that allows you to focus closely on small subjects. This will allow you to capture fine details and textures that are not easily visible to the naked eye.
When shooting macro photos, use a tripod to stabilize your camera and prevent any camera shake. This is especially important when shooting at close distances, where even the slightest movement can result in a blurry image.
Consider using a remote shutter release or the camera's self-timer to further reduce the risk of camera shake.
Experiment with different lighting techniques, such as natural light, artificial light, or a combination of both, to find the best lighting for your macro shots. Additionally, consider using a diffuser or reflector to soften harsh shadows and create a more pleasing lighting effect.
Finally, don't be afraid to experiment with different angles, compositions, and settings to capture unique and creative macro photos. Have fun and let your creativity take over as you explore the fascinating world of macro photography with your mirrorless camera.
What is the difference between close-up and macro photography?
Close-up photography typically refers to capturing subjects at a close distance, but not necessarily at a 1:1 ratio. It can be done with regular camera lenses and does not require specialized equipment. On the other hand, macro photography specifically refers to capturing subjects at a 1:1 ratio or higher, where the subject appears life-size or larger on the camera sensor. This requires specialized macro lenses or extension tubes to achieve the close focusing capabilities needed for true macro photography.
What is macro photography?
Macro photography is a type of close-up photography that focuses on capturing extreme close-up images of small subjects at a very close range. This type of photography allows photographers to capture intricate details and fine textures that may not be visible to the naked eye.Macro photography typically requires the use of a macro lens or extension tubes to achieve high levels of magnification and sharpness.
What is bokeh and how can it enhance macro photography?
Bokeh refers to the aesthetic quality of the out-of-focus areas in a photograph, specifically the way the background and foreground are rendered when they are blurred. In macro photography, bokeh can enhance the image by creating a sense of depth and drawing attention to the subject by isolating it from the background. This can help to create a more visually appealing and impactful image. By using a wide aperture, such as f/2.8 or wider, you can achieve a shallow depth of field that results in a pleasing bokeh effect in your macro photographs.
How to use a tripod for macro photography?
Using a tripod for macro photography is essential for achieving sharp, detailed images due to the close focusing distance and shallow depth of field involved in macro photography. Here are some tips on how to use a tripod effectively for macro photography:
- Choose a sturdy tripod: Make sure you use a sturdy tripod that can support the weight of your camera and lens while remaining stable. A lightweight or flimsy tripod may not provide the necessary stability for macro photography.
- Adjust the height: Set up your tripod at a height that allows you to comfortably view and photograph your subject at eye level. This will help you avoid strain on your back and neck while shooting.
- Use a spirit level: In order to keep your images straight, use a spirit level or the built-in level in your camera to ensure that your camera is perfectly level before taking the shot.
- Use a remote shutter release or self-timer: To prevent camera shake when pressing the shutter button, use a remote shutter release or the self-timer function on your camera. This will help you avoid blurriness in your images.
- Use live view: Use the live view mode on your camera to focus and compose your shots when shooting macro subjects. This will help you to see more clearly what your final image will look like and make fine adjustments to the composition.
- Lock down the tripod: Make sure to lock down the tripod securely once you have composed your shot to ensure that it does not move during the exposure. This will help you achieve sharp, detailed images.
- Consider using a macro focusing rail: A macro focusing rail can be used to make fine adjustments to the focus of your lens without having to physically adjust the tripod. This can be especially useful when shooting extremely close-up subjects.
By following these tips and using a tripod effectively, you can achieve sharp, detailed macro images with ease.