Best Photo Scanners for Scanning Negatives and Slides to Buy in July 2026
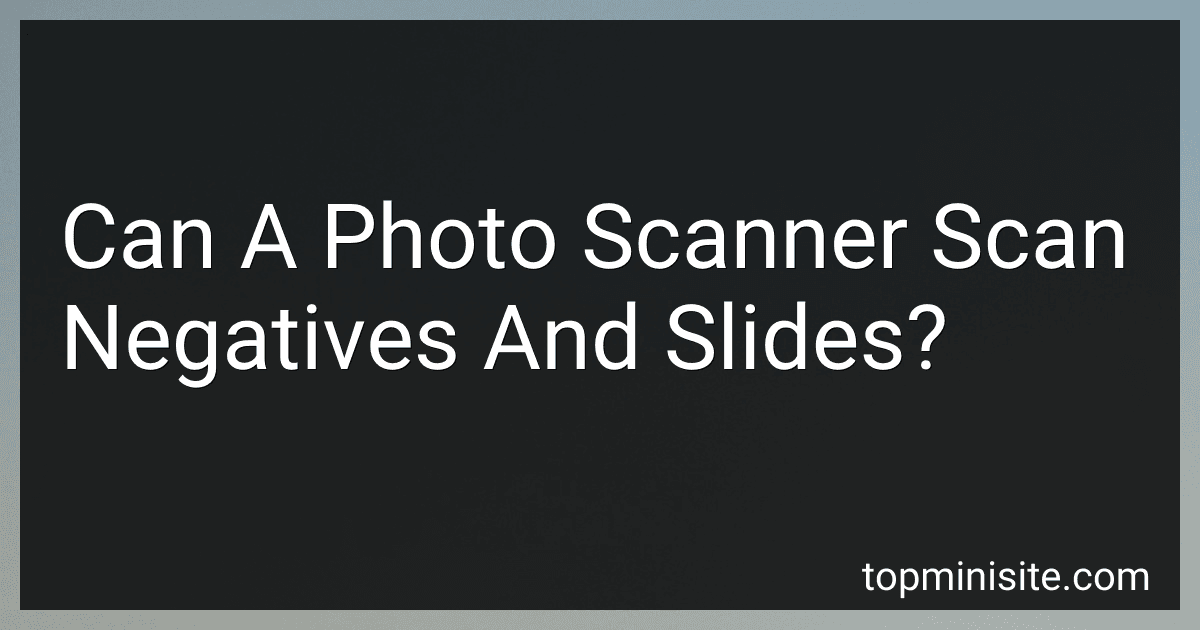
Plustek Photo Scanner ePhoto Z300, Scans 4x6 inch Photos in 2 Seconds, Auto crop and deskew with CCD Sensor, Supports Mac and PC
-
SCAN PHOTOS IN SECONDS: FAST 4X6 SCANS IN JUST 2 SECONDS!
-
HIGH-QUALITY RESOLUTION: UP TO 600 DPI FOR STUNNING IMAGE CLARITY.
-
EASY TO USE: JUST INSERT PHOTOS-NO FLATBED NEEDED!


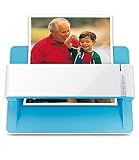
Epson FastFoto FF-680W Wireless High-Speed Photo and Document Scanning System, Black
-
SCAN 36 PHOTOS IN 1 MINUTE - WORLD’S FASTEST PHOTO SCANNER AT 300 DPI!
-
ENHANCE & PRESERVE - RESTORE IMAGES AND HANDWRITTEN NOTES WITH EASE.
-
INSTANT SHARE OPTIONS - AUTO-UPLOAD TO DROPBOX AND GOOGLE DRIVE WHILE SCANNING.
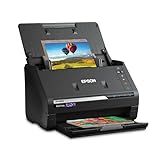
Epson Perfection V19 II Color Photo and Document Flatbed Scanner with 4800 dpi Optical Resolution, USB Power and High-Rise, Removable Lid
- STUNNING 4800 DPI CLARITY FOR PERFECT PHOTO ENLARGEMENTS.
- ONE-TOUCH SCANNING SIMPLIFIES YOUR WORKFLOW IN SECONDS.
- EASILY CREATE EDITABLE OFFICE DOCUMENTS FROM SCANNED FILES.

Canon imageFORMULA RS40 - Photo and Document Scanner, Auto Document Feeder, Windows and Mac, Scans Old and New Photos in Varying Sizes, USB Interface
- DIGITIZE MEMORIES: EFFORTLESSLY CREATE DIGITAL SCRAPBOOKS & MONTAGES.
- FAST SCANNING: SCAN 40 ITEMS/MIN, BOTH SIDES, WITH ONE TOUCH!
- VERSATILE FORMATS: SUPPORTS VARIOUS SIZES; SAVES IN MULTIPLE FORMATS!
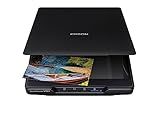
Canon Canoscan Lide 300 Scanner (PDF, AUTOSCAN, COPY, SEND)
- AUTO SCAN MODE FOR EFFORTLESS, ACCURATE DOCUMENT DETECTION.
- FAST USB CONNECTIVITY FOR QUICK AND EASY SETUP.
- DIGITIZE DOCUMENTS AND IMAGES WITH HIGH-QUALITY CLARITY.
Epson - Perfection V39 II - Color Photo and Document Flatbed Scanner - 4800 dpi Optical Resolution - High-Rise, Removable Lid - Scan to Cloud - USB Power - Image Scanning - Black
-
HIGH-RESOLUTION SCANS: ACHIEVE STUNNING CLARITY WITH 4800 DPI RESOLUTION.
-
VERSATILE SCANNER: SCAN PHOTOS, ARTWORK, AND DOCUMENTS EFFORTLESSLY.
-
PHOTO RESTORATION: REVIVE FADED IMAGES INSTANTLY WITH EASY PHOTO FIX.
ScanSnap iX2500 Wireless or USB High-Speed Cloud Enabled Document, Photo & Receipt Scanner with Large 5" Touchscreen and 100 Page Auto Document Feeder for Mac or PC, Black
- FAST & EFFICIENT: 45PPM DOUBLE-SIDED SCANNING WITH 100-SHEET FEEDER.
- SEAMLESS CONNECTIVITY: WI-FI 6 AND USB-C FOR STABLE, SECURE SCANS.
- SMART ORGANIZATION: AUTOMATIC FILE MANAGEMENT FOR EFFORTLESS ACCESS.
KODAK Slide N SCAN Film & Slide Scanner Digitizer with 5” LCD Screen, Quickly Convert Negatives & Slides to Digital 22MP JPEG Photos, Compatible with 135, 126 and 110 Film & Slides
-
EFFORTLESSLY CONVERT OLD PHOTOS TO DIGITAL FILES FOR LASTING MEMORIES.
-
5” LCD DISPLAY OFFERS EASY EDITING AND STUNNING GALLERY PREVIEWS.
-
FAST SCANNING WITH EASY-LOAD TRAYS FOR A HASSLE-FREE EXPERIENCE.
Yes, a photo scanner can scan negatives and slides. In order to do so, you will need a special scanner that is equipped with a transparency unit or a built-in backlight. This unit helps to illuminate the negative or slide, allowing the scanner to capture a high-quality digital image. By using a photo scanner that is designed for scanning negatives and slides, you can preserve and digitize your old film photographs with ease.
What are the most common file sizes for scanned negatives and slides?
The most common file sizes for scanned negatives and slides vary depending on the resolution and format of the scan. However, some typical file sizes are:
- Low-resolution scans (around 1500-2000 pixels per inch): 2-5 MB per image
- Medium-resolution scans (around 3000-4000 pixels per inch): 10-20 MB per image
- High-resolution scans (around 5000-6000 pixels per inch): 30-50 MB per image
These file sizes are just estimates, and actual file sizes may vary depending on the image content and the scanning process.
What is the cost of a high-quality photo scanner for scanning negatives and slides?
The cost of a high-quality photo scanner for scanning negatives and slides can vary depending on the brand, features, and quality of the scanner. On average, you can expect to pay anywhere from $200 to $800 for a high-quality photo scanner specifically designed for scanning negatives and slides. Some high-end models can even cost upwards of $1000 or more. It is important to research and compare different brands and models to find the best option that fits your budget and scanning needs.
How to achieve accurate color reproduction when scanning negatives and slides with a photo scanner?
- Use a high-quality scanner: Invest in a good quality scanner that offers high resolution and color accuracy.
- Clean your negatives and slides: Make sure to clean your negatives and slides before scanning to remove any dust or debris that may affect the color reproduction.
- Calibrate your scanner: Make sure to calibrate your scanner properly before scanning to ensure accurate color reproduction. Many scanners have built-in calibration tools that you can use.
- Use proper scanning settings: Adjust the scanning settings on your scanner to match the type of film you are scanning. Make sure to choose the correct color profile and resolution for optimal results.
- Monitor your image: After scanning, review the image on your computer monitor and make any necessary adjustments to color and exposure using editing software.
- Use a color chart: Consider using a color chart to help calibrate your scanner and ensure accurate color reproduction. This can help you achieve consistent colors across different scans.
- Save your files in a high-quality format: Save your scanned images in a high-quality format such as TIFF or RAW to preserve as much color information as possible.
- Experiment with different settings: Don't be afraid to experiment with different scanning settings, as each scanner and film type may require slightly different adjustments to achieve accurate color reproduction.
- Consider professional scanning services: If you are not satisfied with your results, consider using a professional scanning service that specializes in color correction and restoration. They may have the expertise and equipment to achieve optimal color reproduction for your negatives and slides.
How to remove dust and scratches from scanned negatives and slides using a photo scanner?
- First, clean the surface of the scanner bed and the surface of the negatives or slides to remove any loose dust particles that could potentially be scanned along with the image.
- Place the negatives or slides into the scanner according to the manufacturer's instructions.
- Open the scanning software on your computer and select the option to scan the negatives or slides.
- Once the image has been scanned, open the image editing software on your computer.
- Use the healing brush tool or clone stamp tool to manually remove any visible dust and scratches from the scanned image. This can be a time-consuming process, but it allows for precise removal of imperfections.
- Alternatively, there are automated tools and filters available in most image editing software that can help to remove dust and scratches from scanned negatives and slides. These tools work by analyzing the image and removing imperfections based on their size, shape, and color.
- After you have finished cleaning up the image, save it as a new file to preserve the original scanned image.
- Repeat this process for each negative or slide that you scan to ensure that all of your images are free from dust and scratches.