Best External Web Cameras for Zoom to Buy in July 2026
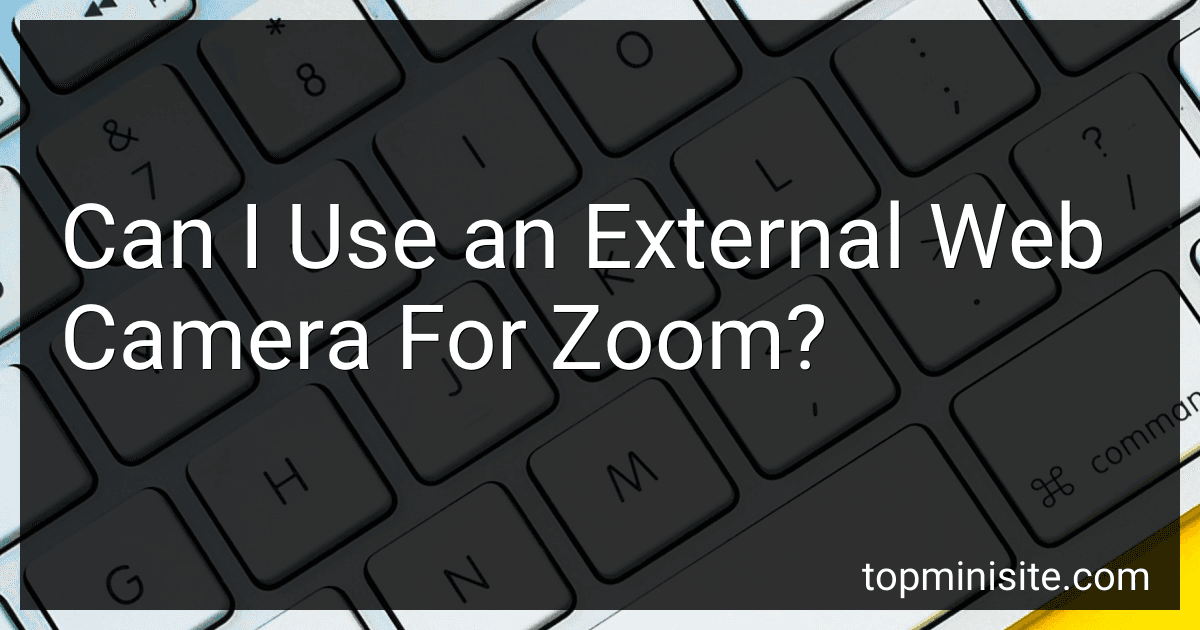
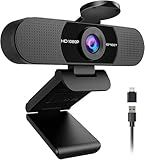
Shcngqio 1080P HD Webcam with Microphone, Noise Cancellation, Privacy Cover, Wide-Angle Lens, Auto Light Correction, Plug & Play USB Webcam for Laptop, Desktop, PC, Mac, Zoom, Skype, Streaming (Black)
- STUNNING 1080P HD CLARITY FOR EXCEPTIONAL VIDEO QUALITY!
- NOISE-CANCELING MIC ENSURES CRISP VOICE IN ANY ENVIRONMENT!
- EASY PLUG-AND-PLAY SETUP FOR INSTANT VIDEO STREAM CAPABILITY!


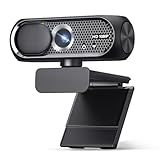
Tewiky Full HD Webcam with Built-in Microphone and Rotatable Tripod, 1080P Video and Wide Angle Camera, Privacy Cover, for Desktop PC or Laptop Computer
-
CRISP 1080P VIDEO AT 30FPS FOR FLAWLESS STREAMING & CALLS.
-
BUILT-IN NOISE-CANCELLING MIC ENSURES CLEAR VOICE IN ANY SETTING.
-
UNIVERSAL COMPATIBILITY WITH EASY PLUG-AND-PLAY SETUP.
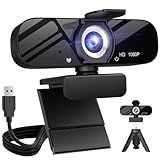
Logitech Brio 101 Full HD 1080p Webcam for Meetings, Streaming, Desktop, Laptop, PC - Built-in Mic, Shutter, Works with Zoom, Microsoft Teams, Nintendo Switch 2’s new GameChat Mode, USB-A,-Black
- ENHANCE GAMECHAT ON NINTENDO SWITCH 2 FOR SEAMLESS TEAM PLAY.
- ENJOY STUNNING VISUALS WITH 50% MORE BRIGHTNESS AND REDUCED SHADOWS.
- ENSURE PRIVACY WITH A CONVENIENT WEBCAM COVER FOR TOTAL PEACE OF MIND.
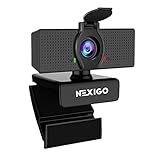
EMEET 1080P Webcam with Microphone, C960 Web Cam, 2 Mics, 90° FOV, USB Type-A & A-to-C Adapter, Plug&Play Computer Camera for Online Calling, Zoom/Teams/Facetime, Switch 2 Camera Support, 2025 Version
-
CRYSTAL CLEAR 1080P VIDEO: ENJOY PROFESSIONAL-QUALITY VIDEO CLARITY.
-
BUILT-IN MICS FOR CLEAR AUDIO: EXPERIENCE EXCEPTIONAL VOICE CLARITY WITH DUAL MICS.
-
EASY SETUP & WIDE COMPATIBILITY: PLUG-AND-PLAY WITH USB-A & USB-C FOR ALL DEVICES.
NexiGo N60 1080P Webcam with Microphone, Software Control & Privacy Cover, USB HD Computer Web Camera, Plug and Play, for Zoom/Skype/Teams, Conferencing and Video Calling
- STUNNING 1080P CLARITY: EXPERIENCE CRYSTAL-CLEAR VIDEO WITH 30FPS.
- UNIVERSAL COMPATIBILITY: PLUG-AND-PLAY WITH MOST DEVICES, NO DRIVERS NEEDED.
- PRIVACY FIRST: PROTECT YOUR SECURITY WITH A BUILT-IN LENS COVER.
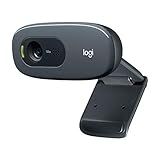
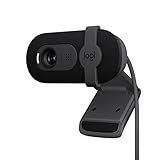
Logitech C270 HD Webcam, 720p, Widescreen HD Video Calling, Light Correction, Noise-Reducing Mic, Works with Zoom, Nintendo Switch 2’s New GameChat Mode, PC/Mac/Laptop/MacBook/Tablet - Black
-
GAMECHAT MODE COMPATIBILITY ENHANCES GAMING COMMUNICATION EXPERIENCE.
-
CRISP HD 720P VIDEO AND NOISE-REDUCING MIC FOR CLEAR CALLS.
-
ADJUSTABLE CLIP FOR VERSATILE PLACEMENT ON SCREENS OR SHELVES.
Yes, you can use an external web camera for Zoom. To do this, first, connect the external camera to your computer using a USB port or any other connection method the camera supports. Once connected, ensure the camera is properly installed and recognized by your computer. Open the Zoom application and go to the settings menu. Under the "Video" tab, you'll see an option to select the camera you want to use. From the drop-down menu, choose your external web camera. This selection will make the external camera the default video source for your Zoom meetings. You can verify the camera image in the preview window to ensure it's working correctly. Adjust any additional settings, such as resolution or angle, according to your preferences before you start or join a Zoom meeting.
How can I switch between my laptop's internal camera and an external webcam on Zoom?
Switching between your laptop's internal camera and an external webcam in Zoom is quite straightforward. Here’s how you can do it:
- Connect Your External Webcam: First, ensure that your external webcam is properly connected to your laptop. Plug it into an available USB port and allow any necessary drivers to install.
- Open Zoom: Launch the Zoom application on your laptop.
- Join or Start a Meeting: You can switch cameras either before joining a meeting or during a meeting. If you're not already in a meeting, you can start a new meeting to adjust your settings.
- Access Video Settings: If you're in a meeting, click the small arrow (^) next to the “Stop Video” or “Start Video” button in the bottom-left corner of the Zoom window. Select “Video Settings…” from the dropdown menu. This will open the Video tab in Zoom's settings.
- Choose Your Camera: In the Video Settings window, there will be a drop-down menu labeled “Camera”. Click on this drop-down menu and you’ll see a list of available cameras. It will list your internal camera and the external webcam. Select the camera you want to use (either the internal or external webcam).
- Confirm Your Selection: Ensure that the correct camera is selected. You should see the preview from the chosen camera in the Video Settings window.
- Close the Settings Window: Once you've selected your desired camera, you can close the settings window and return to your meeting.
If you’re not currently in a meeting:
- Open Zoom and go to the Settings by clicking on your profile picture or the gear icon (usually at the top-right corner).
- Choose the "Video" tab on the left side, where you can select your preferred camera in the same way as described above.
By following these steps, you should be able to easily switch between your laptop's internal camera and an external webcam. If you encounter any issues, make sure your external webcam is properly connected and recognized by the system, and try restarting your computer if necessary.
How can I share my screen and use an external webcam simultaneously on Zoom?
To share your screen and use an external webcam simultaneously on Zoom, follow these steps:
- Setup Your Webcam: Connect your external webcam to your computer using a USB cable. Ensure it's properly installed and recognized by your system. Test the webcam to ensure it's functioning and selected as the default camera in Zoom.
- Start a Zoom Meeting: Open the Zoom application and either start or join a meeting.
- Select Your Webcam: In the meeting window, find the video icon in the lower-left corner. Click the arrow next to the camera icon. Select your external webcam from the list of camera options.
- Share Your Screen: Click on the "Share Screen" button, usually centered at the bottom of the Zoom meeting window. You’ll see a window where you can select which screen or application to share. Choose the screen or specific window you want to share. Click "Share" to start sharing the selected content with meeting participants.
- Use Dual Monitors (Optional): If you are using dual monitors, this will enhance your ability to manage screen sharing and view participants without overlap. Enable "Use Dual Monitors" in the Zoom settings under the "General" tab.
- Adjust Video Layout (Optional): While screen sharing, you have options to change the view. Click on "View Options" at the top of the screen sharing panel to adjust how participants are displayed. You can choose to view the participants in a side-by-side view or floating window.
By following these steps, you should be able to screen share while using your external webcam to display your video. If you encounter any issues, double-check that your webcam drivers are up-to-date and that you have permitted Zoom to access your camera in your system settings.
What is the recommended resolution for an external webcam for Zoom?
The recommended resolution for an external webcam for Zoom typically depends on your specific needs and setup. Here are some general guidelines:
- 1080p (Full HD): This is a common and recommended resolution for professional use, such as business meetings or webinars. A 1080p webcam provides clear video quality and is sufficient for most purposes.
- 720p (HD): This is generally acceptable for basic video calls and offers decent quality. It's a good option if you have bandwidth limitations or if the higher quality isn't necessary.
- 4K (Ultra HD): While not commonly required, 4K webcams are available and offer extremely high video quality. However, you'd need a strong internet connection and a compatible display to fully utilize this resolution.
If you're using Zoom for professional purposes, a 1080p webcam is typically recommended. For improved performance, ensure your internet connection is stable and offers sufficient bandwidth to support the resolution of your webcam.
How can I improve my video quality using an external webcam?
Improving your video quality using an external webcam can make a significant difference in the appearance of your video calls or recordings. Here's how you can enhance the video quality:
- Choose a High-Quality Webcam: Start with a good quality webcam that offers a high resolution (at least 1080p HD or higher) and good frame rates (30fps or more).
- Lighting: Proper lighting can dramatically improve video quality. Make sure you are well-lit with even, soft lighting. Using a dedicated ring light or LED panel can help reduce shadows and create more flattering lighting.
- Positioning: Position your webcam at eye level for the most natural angle. Center yourself in the frame and ensure that the webcam captures your head and shoulders.
- Background: Clean up your background to make it less distracting. A tidy backdrop or a virtual background (if supported by your software) can help maintain focus on you.
- Focus and Exposure Settings: Adjust the focus and exposure settings on your webcam. Many webcams come with software that allows you to fine-tune these settings for optimal image quality.
- Resolution Settings: Ensure your webcam software is set to the highest possible resolution. This setting might be adjusted in the video call software or through the webcam's dedicated app.
- Webcam Software: Use any software that comes with your webcam to adjust settings like sharpness, contrast, and white balance.
- Update Drivers and Software: Make sure your webcam drivers and any associated software are up-to-date to ensure optimal performance.
- Stability: Use a tripod or a sturdy mount for the webcam to eliminate shaking and keep the video steady.
- Internet Connection: A strong, reliable internet connection can help maintain the quality when streaming or video calling. Consider using a wired connection if possible.
- Audio: Although unrelated to video quality, using a good microphone can enhance the overall quality of your recordings or calls, making sure that you are both seen and heard clearly.
By following these steps, you can maximize the potential of your external webcam and significantly improve the overall quality of your videos.