Best Blogging Tools to Buy in July 2026
ProBlogger: Secrets for Blogging Your Way to a Six-Figure Income


Blogging All-In-One for Dummies
- QUALITY ASSURANCE: VERIFIED GOOD CONDITION AT AN AFFORDABLE PRICE!
- ECO-FRIENDLY CHOICE: SUPPORT SUSTAINABILITY BY BUYING USED BOOKS.
- UNIQUE FINDS: DISCOVER RARE AND OUT-OF-PRINT TITLES EASILY!
Blogging Blueprint from Idea to Income: How to Start a Profitable Blog and Generate Passive Income with Ease, Even If You're Not Tech-Savvy
Six Figure Blogging Blueprint: How to Start an Amazingly Profitable Blog in the Next 60 Days (Even If You Have No Experience) (Digital Marketing Mastery Book 3)
- DURABLE DESIGN ENSURES LONG-LASTING PERFORMANCE AND RELIABILITY.
- ECO-FRIENDLY MATERIALS APPEAL TO ENVIRONMENTALLY CONSCIOUS BUYERS.
- USER-FRIENDLY INTERFACE ENHANCES CUSTOMER SATISFACTION AND ENGAGEMENT.
Make a Killing With Content: Turn content into profits with a strategy for blogging and content marketing.
Lifestyle Blogging Basics: A How-To for Investing in Yourself, Working With Brands, and Cultivating a Community Around Your Blog

Free Tools for Writers, Bloggers and Solopreneurs
Podcasting Hacks: Tips and Tools for Blogging Out Loud
- AFFORDABLE PRICES FOR HIGH-QUALITY USED BOOKS.
- ECO-FRIENDLY CHOICE: REDUCE WASTE BY BUYING USED!
- THOROUGHLY INSPECTED FOR GOOD CONDITION & READABILITY.

The AI Content Creator: Mastering ChatGPT for Blogging and Social Media
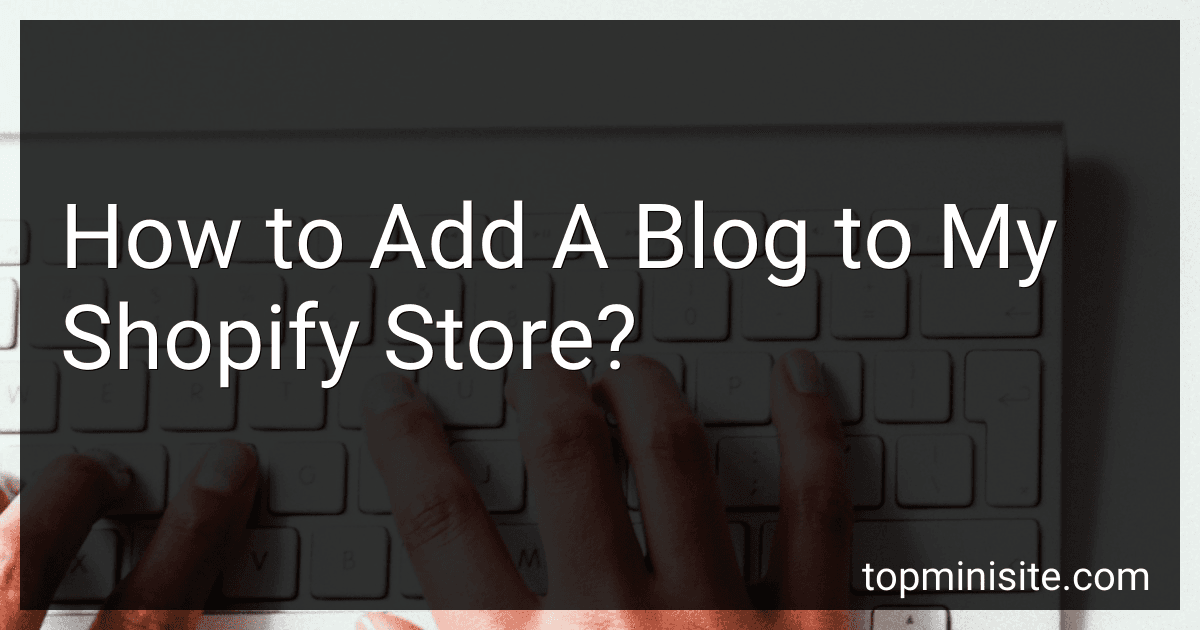
To add a blog to your Shopify store, you can follow these steps:
- Log in to your Shopify account and go to the Admin panel.
- Click on the Online Store section in the sidebar.
- Select Blog Posts from the drop-down menu.
- Click on the Add Blog Post button to create a new blog post.
- Fill in the title, content, and other necessary information for your blog post.
- You can also customize the layout and design of your blog post using the built-in editor.
- Once you are satisfied with your blog post, click on the Save button to publish it on your store.
- You can also add categories and tags to help organize your blog posts and make it easier for customers to find relevant content.
- Your blog post will now be live on your Shopify store, and you can continue to add more blog posts as needed to engage with your customers and drive traffic to your store.
What is the process for linking blog posts to products on Shopify?
To link blog posts to products on Shopify, you can follow these steps:
- Log in to your Shopify admin dashboard.
- Navigate to the 'Blog posts' section in the 'Online store' menu.
- Select the blog post that you want to link to a product.
- In the blog post editor, select the text or image that you want to link to a product.
- Click the 'Insert link' button in the toolbar.
- In the pop-up window, select the 'Products' tab.
- Search for the product that you want to link to and select it.
- Click 'Insert link' to save the link.
- Save and publish your blog post.
Now, when customers click on the linked text or image in your blog post, they will be directed to the product page for the linked product on your Shopify store.
How do I create a blog post template for my Shopify store?
Creating a blog post template for your Shopify store allows you to maintain a consistent look and feel across all your blog posts. Here's how you can create a blog post template for your Shopify store:
- Log in to your Shopify admin panel and navigate to the "Online Store" section.
- Click on "Blog posts" to access your existing blog posts or create a new one.
- Create a new blog post and add all the necessary content, such as title, images, text, and links.
- Before publishing the blog post, click on the "Edit HTML/CSS" button to access the template editor.
- In the template editor, you can customize the blog post template by adding HTML and CSS code to define the layout and styling of your blog posts.
- You can include placeholders or variables in your template code to dynamically display content from each blog post, such as the title, date, author, and featured image.
- Make sure to save your changes and preview the blog post template to ensure that it looks as expected.
- Once you are satisfied with the blog post template, you can publish the blog post and all future blog posts will automatically use the same template.
By creating a blog post template for your Shopify store, you can save time and effort in formatting each blog post individually, and maintain a consistent brand identity across all your content.
How to add social sharing buttons to my Shopify blog posts?
To add social sharing buttons to your Shopify blog posts, you can follow these steps:
- Choose a social sharing app: There are several Shopify apps available that offer social sharing buttons for your blog posts. Some popular options include Social Sharing Buttons, Social Sharing App by GetSocial, and Social Share Buttons & Social Sharing Icons.
- Install the app: Once you have selected an app, you can install it on your Shopify store by following the app's installation instructions. This usually involves clicking a few buttons to add the app to your store.
- Customize the buttons: After installing the app, you can customize the appearance and placement of the social sharing buttons on your blog posts. Most apps will allow you to choose which social media platforms to include, as well as customize the design and position of the buttons.
- Add the buttons to your blog posts: Once you have customized the social sharing buttons to your liking, you can add them to your Shopify blog posts. The specific steps for adding the buttons will depend on the app you are using, but it usually involves copying and pasting a snippet of code into your blog post template.
- Test the buttons: Before publishing your blog posts with the social sharing buttons, be sure to test them to make sure they are functioning correctly. You can do this by clicking on the buttons and verifying that they properly share your blog post to the selected social media platforms.
By following these steps, you can easily add social sharing buttons to your Shopify blog posts and encourage your readers to share your content on their social media channels.