Best Wireless Printer Connectivity Solutions to Buy in July 2026
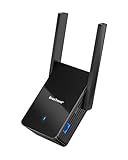
BrosTrend AC1200 WiFi to Ethernet Adapter, 1200Mbps Dual Band Universal Wireless Bridge for Printer, Smart TV, Blu-Ray Player, PlayStation, Xbox, etc, WPS Easy Setup, Connect a Wired Device to Wi-Fi
-
ENABLE WIRED DEVICES TO ACCESS WI-FI EFFORTLESSLY-NO SETUP NEEDED!
-
ACHIEVE AC1200 SPEEDS: PERFECT FOR STREAMING, GAMING, AND BROWSING.
-
ENJOY BETTER WI-FI SIGNALS WITH ADJUSTABLE ANTENNAS FOR OPTIMAL RANGE.


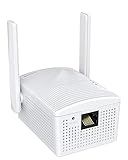
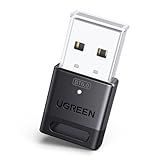
UGREEN USB Bluetooth 5.3 Adapter for PC, Plug & Play for Windows 11/10/8.1, Bluetooth Receiver & Transmitter for Keyboard/Mouse/Headphone/Speakers/Printer
-
FAST & STABLE: BOOSTS CONNECTION SPEED WITH UPGRADED BLUETOOTH 5.3 TECH.
-
MULTI-DEVICE CONNECTIVITY: CONNECTS UP TO 5 DEVICES SEAMLESSLY AT ONCE.
-
COMPACT DESIGN: MINI SIZE ALLOWS HASSLE-FREE, PORTABLE USE WITHOUT BLOCKAGES.
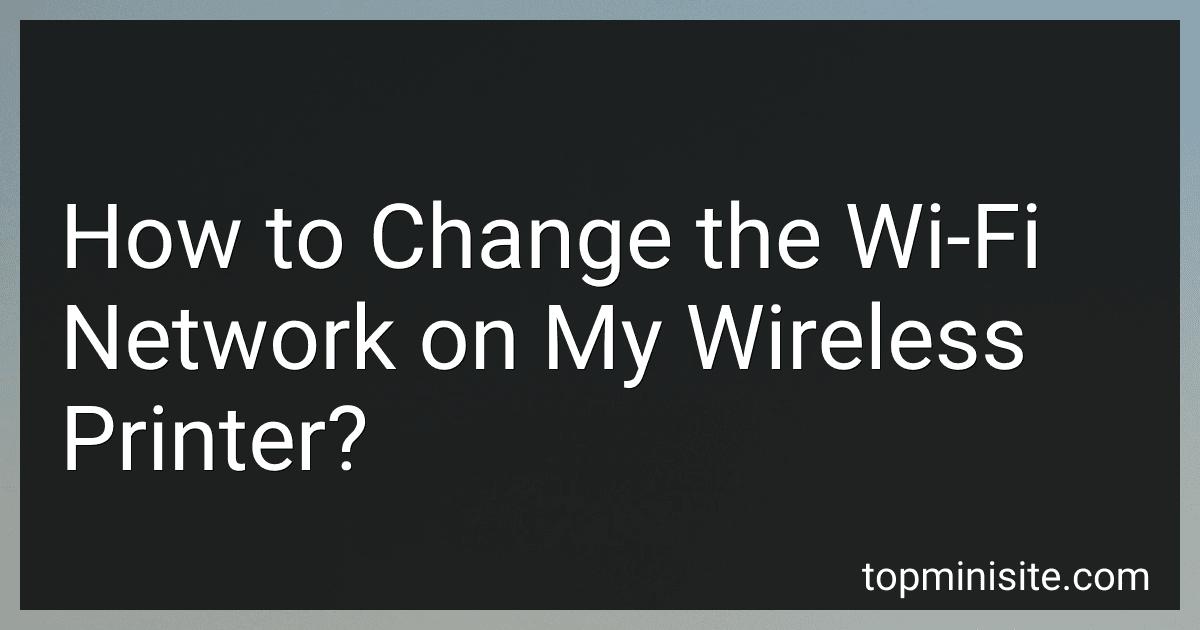
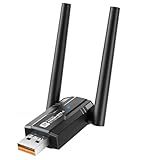
VONETS VAP11G-300 WiFi Bridge 2.4GHz WiFi to Ethernet Convert/WiFi Repeater/Point to Point with RJ45 Male DC/USB Powered for PLC IP Camera Printer Medical Devices Network Devices
-
TRANSFORM NETWORK EASILY: CONVERT WIFI TO WIRED & VICE VERSA AT 300MBPS.
-
VERSATILE APPLICATIONS: SUPPORTS WIFI REPEATER, BRIDGE, AND HOTSPOTS.
-
LONG-DISTANCE CONNECTIVITY: UP TO 100M RANGE FOR VARIOUS MONITORING DEVICES.
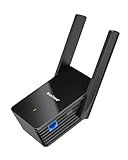
BrosTrend WiFi 6 AX3000 WiFi to Ethernet Adapter with RJ45 Gigabit Port, Dual Band Wireless Bridge for PC, Smart TV, Xbox, PlayStation, Printer, Blu-Ray Player, DVR etc. WiFi to Wired Ethernet Adapter
- ENJOY WIFI 6 SPEEDS UP TO 3000MBPS FOR SUPERIOR DEVICE PERFORMANCE.
- EXPERIENCE 10X FASTER STREAMING AND GAMING WITH GIGABIT ETHERNET.
- EFFORTLESS WPS SETUP ENSURES QUICK CONNECTION WITH NO SOFTWARE HASSLE.
USB WiFi 6 Adapter with Bluetooth 5.4 Dual Band 2.4/5GHz, AX900Mbps USB Wireless Network Adapter with 5dBi Antenna for Desktop/Laptop, 802.11ax, WPA3, Compatible with Windows 11/10/8.1/8/7
-
ULTRA-FAST SPEEDS: ENJOY 900MBPS FOR LAG-FREE GAMING & 4K STREAMING!
-
ADVANCED WIFI 6 & SECURITY: EXPERIENCE LESS CONGESTION WITH WPA3 SUPPORT.
-
EXTENDED RANGE: DUAL 5DBI ANTENNAS BOOST SIGNAL STRENGTH ANYWHERE!
BrosTrend AX1500 WiFi 6 Universal WiFi to Ethernet Adapter with RJ45 Gigabit Port, Dual Band WiFi Bridge for PC, Printer, Smart TV, Blu-Ray Player, PlayStation, DVR, etc. Wireless to Wired Convert
-
UNLOCK WIFI 6: CONNECT WIRED DEVICES FOR 1GBPS SPEED GAINS.
-
VERSATILE USE: WORKS WITH TVS, CONSOLES, AND MORE FOR SEAMLESS PLAY.
-
EFFORTLESS SETUP: WPS PAIRING MAKES UPGRADING QUICK AND EASY!
UGREEN USB Bluetooth Adapter for PC, Bluetooth 6.0 Dongle Receiver EDR & BLE, Plug & Play for Windows 11/10/8.1, for Headphone/Keyboard/Mouse/Speakers/Printer
-
EXPERIENCE BLAZING-FAST DATA TRANSFER WITH BLUETOOTH 6.0 EDR TECH!
-
CONNECT UP TO 5 DEVICES SIMULTANEOUSLY FOR SEAMLESS MULTITASKING!
-
PLUG AND PLAY SETUP FOR WINDOWS-NO DRIVERS NEEDED; HASSLE-FREE!
Avantree DG45 USB Bluetooth Adapter Dongle for PC, Computer, Desktop & Laptop, Compatible with Windows 11/10/8.1/8 Only - Connects Bluetooth Headphones, Speakers, Keyboards, Mice & Printers (Not 2.4G)
-
NEXT-GEN BLUETOOTH 5.0: FOUR TIMES THE RANGE AND EIGHT TIMES THE CAPACITY.
-
FAST DATA TRANSFERS: ENJOY SPEEDS UP TO 3 MBPS OVER 33FT RANGE.
-
COMPACT DESIGN: STAYS PLUGGED IN WITHOUT BLOCKING ADJACENT USB PORTS.
To change the Wi-Fi network on your wireless printer, follow these steps:
- Ensure that your printer is turned on and connected to the current Wi-Fi network.
- Locate the control panel or display screen on your printer. The exact location may vary depending on the printer model.
- Look for the settings or menu button on the control panel and press it.
- Navigate through the options and find the "Network" or "Wi-Fi" settings.
- Select the option that allows you to set up a new Wi-Fi network.
- Your printer may now show a list of available Wi-Fi networks. Choose the network you want to connect to.
- If the network you select is password-protected, your printer may prompt you to enter the network password. Use the keypad or on-screen keyboard to enter the Wi-Fi password.
- After entering the correct password, select the "Connect" or "Apply" option to establish the connection.
- Your printer will now try to connect to the new Wi-Fi network. This process may take a few moments.
- Once the connection is established, your printer should display a confirmation message or symbol indicating that it is connected to the new Wi-Fi network.
Congratulations! You have successfully changed the Wi-Fi network on your wireless printer. Make sure to test the connection by printing a test page or document to ensure everything is functioning correctly.
How do I change the wireless network settings on my printer?
To change the wireless network settings on your printer, you can follow these general steps:
- Power on the printer and make sure it is properly connected to the same network as your computer.
- Open the printer's control panel or access its settings through a web browser on your computer.
- Navigate to the network or wireless settings menu. The location and name of this menu may vary depending on your printer model.
- Within the network settings, you will find options to either connect to a new network or modify the existing network connection.
- If you want to connect to a new network, select the option to search for available networks. Choose your desired network from the provided list.
- If you want to modify the existing network connection, select the option to modify or edit the connection.
- Enter the required information, such as the network name (SSID) and password (if applicable). Some printers may have additional settings for specifying the security type or encryption method.
- Once you have entered the necessary information, save the changes. The printer will attempt to connect to the new or modified network. It may take a few moments to establish the connection.
- Test the connection by printing a network status report or any other document to ensure that the printer is successfully connected to the new network.
Note: The specific steps may differ for different printer models, so it is recommended to consult your printer's user manual or visit the manufacturer's support website for detailed instructions tailored to your device.
How can I change the Wi-Fi network on my wireless printer using the WPS method?
To change the Wi-Fi network on your wireless printer using the WPS (Wi-Fi Protected Setup) method, follow these steps:
- Ensure that your printer is turned on and connected to a power source.
- Press the WPS button on your printer. This button may be located on the control panel or on the back of the printer. Refer to your printer's documentation if you're unsure about its location.
- Within a specified timeframe (usually a few minutes), locate the WPS button on your Wi-Fi router. This button is typically labeled "WPS" or may have the WPS symbol (two arrows forming a circle).
- Press the WPS button on your Wi-Fi router within the specified timeframe mentioned by your printer.
- The printer will establish a connection with the new Wi-Fi network automatically, and a confirmation message or indicator light will appear on the printer.
- Check if the printer is connected to the new Wi-Fi network by printing a test page or attempting to access the printer settings via its web interface.
Remember that the WPS method may vary slightly depending on the printer model and router you are using. If you encounter any issues, refer to the user manual or manufacturer's website for specific instructions relevant to your device.
What is the procedure for changing the wireless network on my printer?
The procedure for changing the wireless network on a printer may vary depending on the specific make and model of the printer. However, here is a general step-by-step guide you can follow:
- Start by ensuring that your printer is turned on and connected to your current wireless network.
- Locate the printer's control panel or display screen. It is usually found on the front or top of the printer.
- Navigate through the printer's menu or settings using the control panel or display screen. Look for options related to wireless or network settings.
- Find the option to change or configure the wireless network settings. It may be labeled as "Wireless Setup," "Network Setup," "Wi-Fi Setup," or similar.
- Once you have selected the appropriate option, your printer may display a list of available wireless networks. Choose the desired network you want to connect to.
- If the network is secured with a password, you will be prompted to enter the network's password. Use the on-screen keyboard or physical buttons on the printer to input the password.
- After entering the correct password, your printer will attempt to connect to the new wireless network. This process may take a few moments.
- Once the connection is established, your printer should display a message confirming the successful connection to the new wireless network.
- To ensure that the connection is working correctly, you can perform a test print or scan operation. This will confirm that your printer is now connected to the new network and functioning properly.
Keep in mind that these steps are generalized, and it is essential to consult your printer's user manual or the manufacturer's website for specific instructions tailored to your printer's make and model.