Best Wireless Printer Connectors to Buy in July 2026
BrosTrend AC1200 WiFi to Ethernet Adapter, 1200Mbps Dual Band Universal Wireless Bridge for Printer, Smart TV, Blu-Ray Player, PlayStation, Xbox, etc, WPS Easy Setup, Connect a Wired Device to Wi-Fi
- CONNECT WIRED DEVICES TO WI-FI EASILY, NO DRIVERS NEEDED!
- AC1200 SPEEDS FOR SEAMLESS STREAMING AND GAMING EXPERIENCES.
- UNIVERSAL COMPATIBILITY WITH ALL 802.11 WI-FI ROUTERS AVAILABLE.


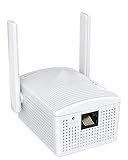
UGREEN USB Bluetooth 5.3 Adapter for PC, Plug & Play for Windows 11/10/8.1, Bluetooth Receiver & Transmitter for Keyboard/Mouse/Headphone/Speakers/Printer
-
BLUETOOTH 5.3 TECH: ENJOY FASTER, STABLE CONNECTIONS & LESS POWER USE.
-
CONNECT 5 DEVICES: PAIR WITH MULTIPLE DEVICES SIMULTANEOUSLY, HASSLE-FREE!
-
PLUG & PLAY: EASY SETUP ON WINDOWS 11/10/8.1-NO DRIVERS NEEDED!
BrosTrend Dual Band 1200Mbps WiFi Bridge, Convert Your Wired Device to Wireless Network, Works with Any Ethernet-Enabled Devices, WiFi to Ethernet Adapter with Standard RJ45 LAN Port, Easy Setup
-
CONVENIENT WIFI ACCESS: CONNECT WIRED DEVICES EASILY, NO LONG CABLES NEEDED.
-
UNIVERSAL COMPATIBILITY: WORKS WITH ALL LAN DEVICES-TVS, PCS, CONSOLES, AND MORE.
-
FAST & SECURE: ENJOY 3X FASTER SPEEDS WITH ADVANCED ENCRYPTION FOR SAFETY.
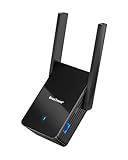
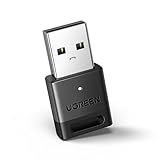
BrosTrend WiFi 6 AX3000 WiFi to Ethernet Adapter with RJ45 Gigabit Port, Dual Band Wireless Bridge for PC, Smart TV, Xbox, PlayStation, Printer, Blu-Ray Player, DVR etc. WiFi to Wired Ethernet Adapter
-
UNLOCK WIFI 6 PERFORMANCE: ENHANCE WIRED DEVICES WITH LIGHTNING-FAST SPEEDS.
-
LIGHTNING-FAST GIGABIT SPEEDS: EXPERIENCE 10X FASTER STREAMING AND GAMING.
-
ROBUST CONNECTION ANYWHERE: STRONGER SIGNAL WITH POWERFUL ANTENNAS FOR FLEXIBILITY.
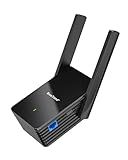
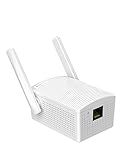
BrosTrend AX1500 WiFi 6 Universal WiFi to Ethernet Adapter with RJ45 Gigabit Port, Dual Band WiFi Bridge for PC, Printer, Smart TV, Blu-Ray Player, PlayStation, DVR, etc. Wireless to Wired Convert
- BOOST SPEEDS UP TO 1GBPS: EXPERIENCE LIGHTNING-FAST INTERNET ON WIRED DEVICES.
- VERSATILE DEVICE COMPATIBILITY: WORKS WITH TVS, PCS, CONSOLES, AND MORE.
- EFFORTLESS SETUP: WPS PAIRING FOR QUICK, DRIVER-FREE INSTALLATION.
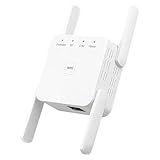
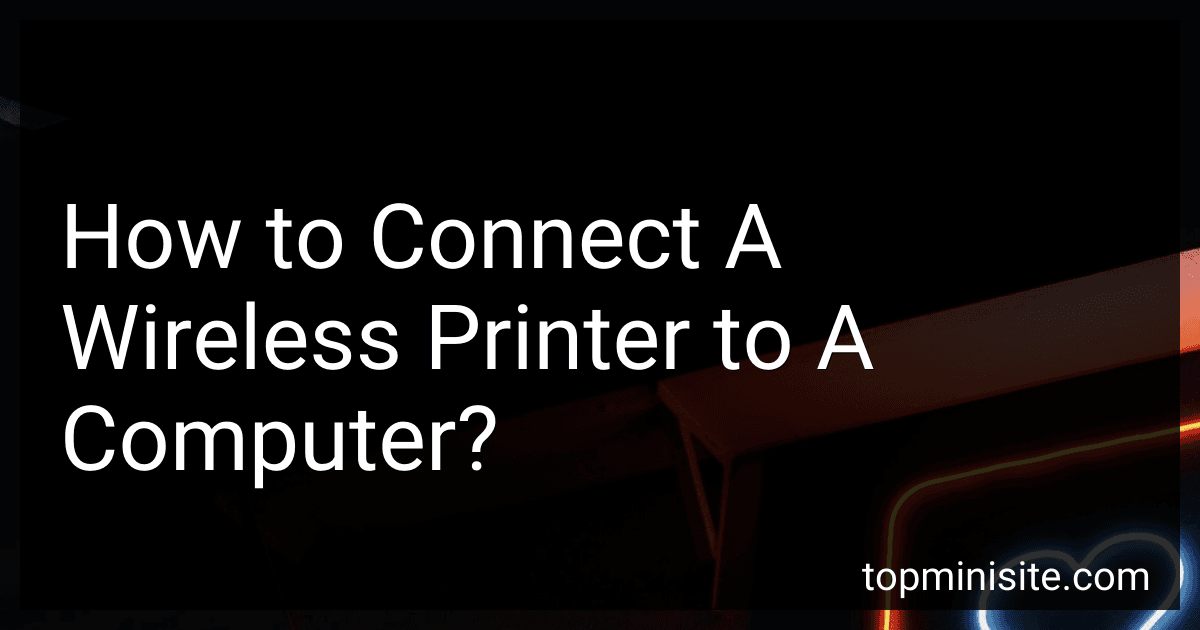
Quxas 1200mbps WiFi Extender.WiFi Repeater.Universal Ethernet Adapter: Dual-Band WiFi Bridge with Bridge, Client, AP Modes, Converts Wireless to Wired, for PCs, Printers, TVs, Consoles.
-
DUAL-BAND SPEEDS UP TO 1200MBPS FOR SEAMLESS STREAMING AND GAMING.
-
TRANSFORM ETHERNET DEVICES INTO WIFI WITH EASY ACCESS POINT MODE.
-
ONE-CLICK WPS FOR SECURE, HASSLE-FREE WIRELESS CONNECTIONS.
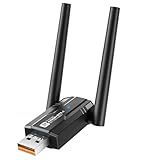
USB WiFi 6 Adapter with Bluetooth 5.4 Dual Band 2.4/5GHz, AX900Mbps USB Wireless Network Adapter with 5dBi Antenna for Desktop/Laptop, 802.11ax, WPA3, Compatible with Windows 11/10/8.1/8/7
-
EXPERIENCE LIGHTNING-FAST SPEEDS UP TO 900MBPS FOR GAMING & STREAMING.
-
ENJOY SEAMLESS CONNECTIONS WITH ADVANCED WIFI 6 & BLUETOOTH 5.4 TECH.
-
DUAL HIGH-GAIN ANTENNAS EXTEND RANGE FOR STABLE INTERNET IN WEAK AREAS.
Kinivo USB Bluetooth Adapter for PC (BT5.0, Plug & Play Wireless Dongle Receiver for Ubuntu, Windows 11/10/8.1) – Works with Laptops, Headsets, Speakers, Mouse, Keyboard, Printers, Gaming Controllers
- BLUETOOTH 5.0: ENHANCED STABILITY & FAST 3MBPS DATA TRANSFER.
- PLUG & PLAY: SIMPLE SETUP FOR WINDOWS 11/10, NO DRIVERS NEEDED!
- EXTENDED RANGE: CONNECT UP TO 66 FEET AWAY FOR ULTIMATE FREEDOM!
Ethernet LAN to WiFi Bridge Universal Wireless Adapter for PLC, PS4, Xbox, Printer, Smart TV, Blu-Ray Player, Game Console, 2.4GHZ RJ45 Cable Extender
-
POWER-ONLY USB PORT: USE USB SOLELY FOR POWER, NOT DATA.
-
NECESSARY SETUP: REQUIRES INSTALLATION; NOT A PLUG-AND-PLAY DEVICE.
-
VERSATILE USAGE: CONNECTS VARIOUS DEVICES VIA ETHERNET, EXPANDING OPTIONS.
TP-Link AC600 USB WiFi Adapter for PC (Archer T2U Plus)- Wireless Network Adapter for Desktop with 2.4GHz, 5GHz High Gain Dual Band 5dBi Antenna, Supports Win11/10/8.1/8/7/XP, Mac OS 10.9-10.14, Black
- EXPERIENCE LIGHTNING-FAST SPEEDS WITH DUAL-BAND VERSATILITY!
- ENJOY SEAMLESS GAMING AND STREAMING WITHOUT ANY BUFFERING!
- UNIVERSAL COMPATIBILITY ENSURES SMOOTH SETUP ON ANY DEVICE!
Sure! Here's a brief explanation of how to connect a wireless printer to a computer:
- Start by ensuring that your printer and computer are in close proximity and turned on.
- Check if your wireless printer has a built-in display panel or a touch screen. If it does, navigate through its menu to locate the wireless settings.
- On your computer, go to the "Settings" or "Control Panel" menu and select "Devices" or "Printers and Scanners."
- Click on the option to add a printer or device and wait for your computer to detect the wireless printer.
- Once the printer is detected, select it from the list of available devices.
- If required, your computer may prompt you for the printer's manufacturer and model. Enter the information accurately to proceed.
- Follow any on-screen instructions that pop up on your computer to complete the installation process. This may include downloading and installing the necessary printer drivers.
- After the installation is complete, the wireless printer should be successfully connected to your computer.
Now you should be able to print wirelessly from your computer to the connected printer. Remember, these steps may vary slightly depending on your operating system and printer model, but the general process remains similar.
What is AirPrint and how to use it to connect a wireless printer to an Apple device?
AirPrint is a feature that allows Apple devices, such as iPhones, iPads, and Macs, to wirelessly connect and print to compatible printers without the need for any additional software or drivers. It is built-in to the iOS and macOS operating systems and makes printing from Apple devices convenient and easy.
To use AirPrint to connect a wireless printer to an Apple device, follow these steps:
- Ensure that both your Apple device and the wireless printer are connected to the same Wi-Fi network.
- Verify that your printer supports AirPrint. Most modern printers from popular brands like HP, Canon, Brother, and Epson are AirPrint-compatible. Refer to your printer's manual or manufacturer's website to confirm compatibility.
- On your Apple device, open the app or document you want to print from.
- Tap the Share button, usually indicated by a square with an arrow pointing up, or look for a Print option within the app's menu.
- In the Share menu or Print options screen, select the Print icon or the Print button.
- Your Apple device will automatically detect and display a list of available AirPrint printers on the network. Tap on your wireless printer's name to select it.
- Configure any print settings or preferences, such as the number of copies or paper size.
- Finally, tap the Print button to start printing your document or file wirelessly to the selected printer.
Note: It is crucial to ensure that your printer is connected and powered on before attempting to print using AirPrint.
How to connect a wireless printer to a computer running on Windows 10?
To connect a wireless printer to a computer running on Windows 10, you can follow these steps:
- Ensure that your printer is in range with a stable Wi-Fi network and powered on.
- On your Windows 10 computer, go to the "Start" menu and open "Settings."
- In the Settings menu, click on "Devices."
- On the Devices page, select "Printers & scanners" from the left-hand side panel.
- Click on the "Add a printer or scanner" option.
- Windows will start searching for available printers. Wait for a moment until your wireless printer appears in the list of available printers.
- Once your printer is detected, click on its name and then click on the "Add device" button.
- Windows will automatically download the required drivers for your printer, but it may take some time. Ensure that your computer is connected to the internet during this process.
- Once the drivers are installed, your printer will be added to the list of installed printers on your computer. You can set it as the default printer if desired.
- To test the printer, open any document or file, click on "File" in the top left corner, and choose the "Print" option. Select your wireless printer from the list and click on the "Print" button.
Congratulations! Your wireless printer is now connected to your Windows 10 computer.
What is a subnet mask and how to configure it for a wireless printer?
A subnet mask is a 32-bit number that is used to divide an IP address into two parts - the network address and the host address. It helps to identify which part of the IP address represents the network and which part represents the individual device.
To configure a subnet mask for a wireless printer, you need to access the printer's settings through its web interface or control panel. The exact steps may vary depending on the printer model, but generally, you can follow these steps:
- Connect the printer to your wireless network according to the manufacturer's instructions.
- Find the IP address of your wireless printer. You can usually locate this information in the printer's network settings or by printing a network configuration page.
- Open a web browser on your computer and enter the IP address into the address bar to access the printer's web interface.
- Login to the printer's web interface using the necessary credentials.
- Look for the network or TCP/IP settings section within the printer's web interface.
- Locate the subnet mask field and enter the appropriate subnet mask value. This value will likely be provided by your network administrator or can be determined based on your network configuration.
- Save or apply the changes to configure the subnet mask for the wireless printer.
It is worth noting that not all wireless printers may have the ability to set the subnet mask manually. In such cases, the printer may automatically obtain the subnet mask and other network settings from the wireless router through DHCP (Dynamic Host Configuration Protocol).
What is Google Cloud Print and how to set it up for a wireless printer?
Google Cloud Print is a service provided by Google that allows you to print documents wirelessly from any compatible device to a printer connected to the internet. It eliminates the need for a physical connection between the device and the printer.
To set up Google Cloud Print for a wireless printer, follow these steps:
- Check compatibility: Ensure that your printer is compatible with Google Cloud Print. Most modern printers, especially those designed for home and office use, have built-in support for it. You can check the printer's documentation or visit the manufacturer's website for compatibility information.
- Connect the printer to the internet: Make sure your printer is connected to the same network as your computer or mobile device. If your printer has a screen, navigate to its network settings, select your network, and enter the Wi-Fi password if required.
- Enable Google Cloud Print on the printer: Access your printer's settings menu either through the built-in screen or a web interface. Look for the option to enable Google Cloud Print. Enable it, and the printer will generate a unique code.
- Connect the printer to your Google account: Go to the Google Cloud Print website (www.google.com/cloudprint) on a computer or mobile device that has the Google account you want to associate with the printer. Sign in to your Google account if prompted. Click on the "Printers" section, then "Add Printer". Choose the printer you want to set up and click "Add".
- Verify the printer: After adding the printer, Google may ask you to verify it. This typically involves printing a verification code or document. Follow the on-screen instructions to complete the verification process.
- Install Google Cloud Print on your devices: To print using Google Cloud Print, you need to install the necessary software on your device. If you're using a computer, make sure you have the latest version of Google Chrome browser installed. If you're using an Android device, the Google Cloud Print feature is built-in and should be available in the print options of compatible apps. For iOS devices, download the Google Cloud Print app from the App Store.
- Print using Google Cloud Print: With everything set up, you can start printing wirelessly using Google Cloud Print. Open a document or picture on your device that you want to print, go to the print options, select the Google Cloud Print printer, and follow the prompts to complete the print job.
Note that some printers may have slight variations in the setup process, so it's always a good idea to consult the printer's manual or manufacturer's website for specific instructions.
What is a wireless printer server and how to set it up for network printing?
A wireless printer server, also known as a print server, is a device or software that enables printers to be shared and accessed wirelessly on a network. It eliminates the need for every computer on the network to connect directly to a printer.
To set up a wireless printer server for network printing, you can follow these general steps:
- Choose the type of wireless printer server: There are hardware-based print servers that connect printers directly to the network, and software-based print servers that use a computer as a server.
- Hardware-based wireless print server setup: Connect the print server to the printer using a USB or Ethernet cable, depending on the server's interface. Connect the print server to your network router or switch using an Ethernet cable. Power on the print server and the printer. Configure the print server by following the instructions provided by the manufacturer. Typically, this involves accessing the print server's web interface through a web browser and providing network settings.
- Software-based wireless print server setup: Install print server software on the desired computer that will act as the print server. Connect the printer to the computer via USB, if not already done. Configure the print server software, which usually involves selecting the printer and setting up network sharing options. Make sure the computer hosting the print server software is connected to the network.
- Test the wireless printer server: On any computer connected to the network, add a network printer by searching for available printers. The wireless printer server should appear as a network printer. Select the printer, install the necessary drivers, and set it as the default printer. Print a test page to ensure the printer is functioning properly.
Note: The specific steps may vary depending on the brand and model of the wireless printer server you are using. It's recommended to consult the manufacturer's instructions or user manual for detailed setup procedures.
How to disable the firewall temporarily to connect a wireless printer?
To disable the firewall temporarily to connect a wireless printer, you can follow these steps:
- Click on the "Start" button or press the "Windows" key on your keyboard.
- Type "Windows Defender Firewall" in the search bar and select the matching result to open the Windows Defender Firewall settings.
- In the left-hand panel, click on the "Turn Windows Defender Firewall on or off" option.
- Select the radio button for "Turn off Windows Defender Firewall (not recommended)" for both private and public network settings.
- Click on the "OK" button to save the changes.
Once the firewall is disabled, you can try to connect your wireless printer. Remember to enable the firewall once your printer is successfully connected for enhanced security.