Best Headphone Accessories to Buy in July 2026
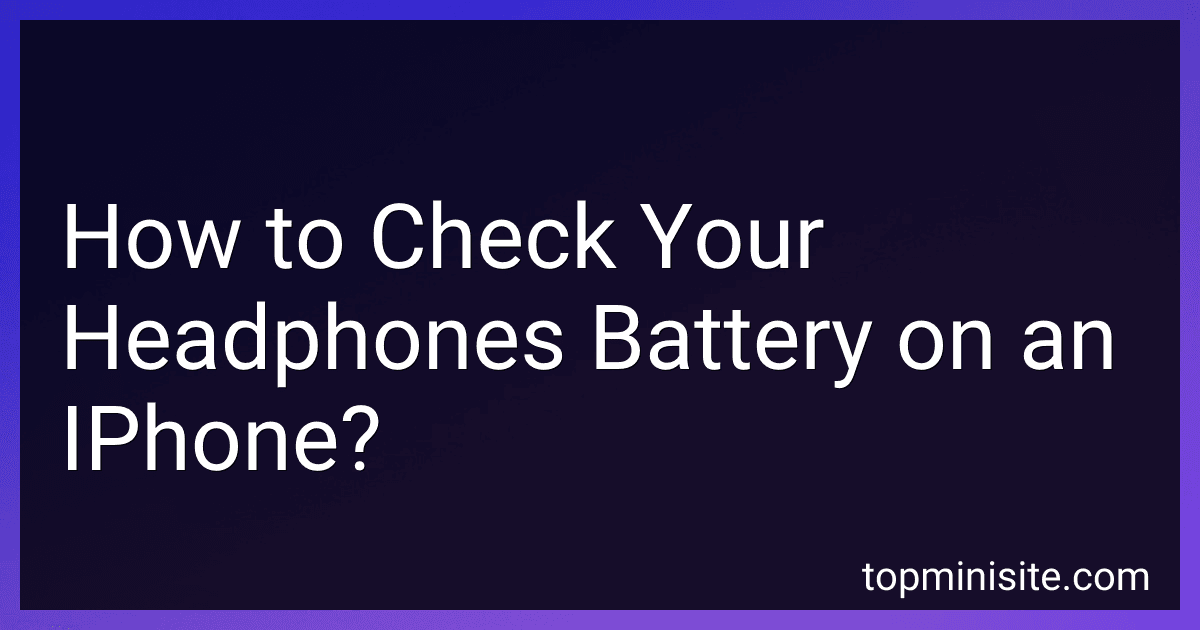
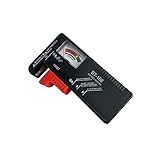
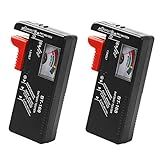
2Pcs Battery Tester Checker, Universal Battery Checker for AA AAA C D 9V 1.5V Button Cell Household Batteries Smal Electrical Monitor Meter Equipment (Requires No Battery for Operating)
-
TEST ALL BATTERY TYPES: SUITABLE FOR AA, AAA, C, D, 9V, & BUTTON BATTERIES.
-
NO EXTRA POWER NEEDED: OPERATES USING THE BATTERY YOU’RE TESTING.
-
USER-FRIENDLY DESIGN: CLEAR ANALOG DISPLAY FOR QUICK STATUS CHECKS.


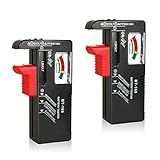
Battery Tester, Dlyfull LCD Display Universal Battery Checker for AA AAA C D 9V CR2032 CR123A CR2 CRV3 2CR5 CRP2 1.5V/3V Button Cell Batteries, 1x AAA Batteries Included
-
VERSATILE TESTING: COMPATIBLE WITH A WIDE RANGE OF BATTERY TYPES.
-
CLEAR LCD DISPLAY: EASY-TO-READ STATUS FOR BATTERY HEALTH ASSESSMENT.
-
PORTABLE DESIGN: LIGHTWEIGHT AND COMPACT FOR CONVENIENT USE ANYWHERE.
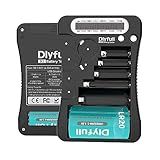
D-FantiX Battery Tester, Universal Battery Checker Small Battery Testers for AAA AA C D 9V 1.5V Button Cell Household Batteries Model BT-168
- COMPACT & LIGHTWEIGHT: PERFECT FOR EFFORTLESS HOME AND ON-THE-GO TESTING.
- UNIVERSAL COMPATIBILITY: WORKS WITH ALL HOUSEHOLD BATTERY TYPES EASILY.
- NO BATTERIES NEEDED: EASY-TO-READ DISPLAY FOR QUICK BATTERY STATUS CHECKS.
Battery Tester Checker, Universal Small Battery Tester for AAA AA C D 9V 1.5V, Button Cell Batteries Checker - Small Volt Checker for All Batteries - 1 Pack
-
INSTANT BATTERY HEALTH: CLEAR STATUS INDICATOR LETS YOU KNOW INSTANTLY.
-
COMPACT & PORTABLE: LIGHTWEIGHT DESIGN FITS EASILY IN YOUR POCKET.
-
WIDE COMPATIBILITY: WORKS WITH ALL STANDARD AND RECHARGEABLE BATTERIES.
2 Pack Battery Tester, Universal Battery Checker for AA/AAA/C/D / 9V / 1.5V Button Cell Batteries Household Battery Life Level Testers Power Monitor Meter (Requires No Battery for Operation)
-
ACCURATE VOLTAGE READINGS FOR AA, AAA, C, D, 9V, AND BUTTON CELL BATTERIES.
-
LIGHTWEIGHT AND PORTABLE DESIGN FOR ON-THE-GO BATTERY TESTING.
-
ELIMINATE GUESSWORK AND SAVE MONEY BY IDENTIFYING GOOD BATTERIES EASILY.
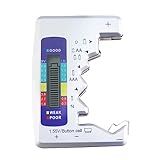
Battery Tester Universal Battery Checker with LCD Display Digital Multi Purpose Small Battery Checker for All Battery C AA AAA D N 9V 6F22 1.5V Button Cell Batteries
- QUICK DIAGNOSTICS: EASY-TO-READ LCD FOR INSTANT BATTERY HEALTH CHECKS.
- ADJUSTABLE DESIGN: FITS VARIOUS BATTERY SIZES, NO EXTERNAL POWER NEEDED.
- USER-FRIENDLY: SIMPLE OPERATION PREVENTS UNNECESSARY BATTERY RECHARGES.
To check the battery level of your headphones on an iPhone, follow these steps:
- Make sure your headphones are connected and paired with your iPhone. This can usually be done via Bluetooth.
- Unlock your iPhone and go to the home screen.
- Swipe down from the top-right corner of the screen to open the Control Center. On some iPhone models, you may need to swipe up from the bottom instead.
- In the Control Center, look for the "Hearing" section. If your headphones support battery level display, you should see the battery icon or a headphone icon along with the battery percentage.
- If you don't see the battery percentage, tap on the "Hearing" section to expand it. This might reveal additional options such as volume control and battery status.
- Once expanded, you should be able to see the battery percentage of your connected headphones.
Note that not all headphones support battery level display on iPhones. Some models require you to use specialized apps or check the battery level directly on the headphones themselves. Refer to your headphones' user manual for specific instructions if you cannot see the battery percentage in the Control Center.
How to charge wireless headphones?
To charge wireless headphones, you can follow these general steps:
- Read the instruction manual: Every pair of wireless headphones may have different charging methods, so it's always helpful to refer to the user manual before charging.
- Locate the charging port: Most wireless headphones come with a micro USB or USB-C charging port. Look for it on the headphones, usually on the bottom or sides.
- Connect the charging cable: Take the appropriate charging cable (micro USB or USB-C) and plug it into the charging port on the headphones. The other end of the cable should be inserted into a power source like a wall adapter or USB port.
- Check the charging indicator: Once connected to power, check if the headphones have a charging indicator light. It could be a small LED that turns on or changes color when charging. The light might stay solid or blink to indicate the charging status.
- Let it charge: Leave the headphones connected to power until they are fully charged. Depending on the device, it may take a few hours. Avoid disconnecting and reconnecting repeatedly as it might impact the battery life over time.
- Disconnect and enjoy: After the headphones are fully charged, disconnect them from the power source. They should now be ready for use, allowing you to enjoy your wireless audio experience.
Remember, these steps are general guidelines, and it's always recommended to consult the user manual for specific charging instructions for your wireless headphones.
How to change the language settings on your headphones?
The process of changing the language settings on headphones can vary depending on the brand and model. However, here are general steps that might help you:
- Turn on your headphones and put them in pairing mode. This typically involves pressing and holding the power button or a specific combination of buttons.
- Once the headphones are in pairing mode, check if there is a physical button or a touchpad on the headphones that enables language settings. If so, locate that button.
- Press and hold the language settings button until you hear a voice prompt or see LED indicators showing that the language settings mode is activated.
- Follow the instructions provided by the voice prompts or LED indicators to navigate through the available language options.
- Use the volume buttons or navigation controls on the headphones to scroll through the list of languages and select your preferred one.
- Confirm your selection by pressing the language settings button again or by following any additional instructions provided.
- Once the language change is made, the headphones may automatically restart, or you may need to manually turn them off and then on again for the changes to take effect.
If these steps do not match your headphones' specific model, it is recommended to consult the user manual or contact the customer support of the headphone manufacturer for detailed instructions.
What is the optimal frequency response range for headphones?
The optimal frequency response range for headphones can vary depending on the intended use and personal preferences of the listener. However, a general guideline is that headphones with a frequency response range of 20 Hz to 20,000 Hz (or 20 kHz) are considered ideal. This range covers the entire spectrum of human hearing, from the deep bass tones to the high treble tones. Headphones within this range can provide a well-balanced sound representation across various musical genres and audio content. It is important to note that some high-end headphones may offer extended frequency response ranges, but whether these additional frequencies are perceptible or beneficial to the average listener is subjective. Ultimately, choosing headphones with a frequency response range that aligns with your specific listening preferences is crucial.