Best Wireless Printers to Connect to Your Laptop to Buy in July 2026
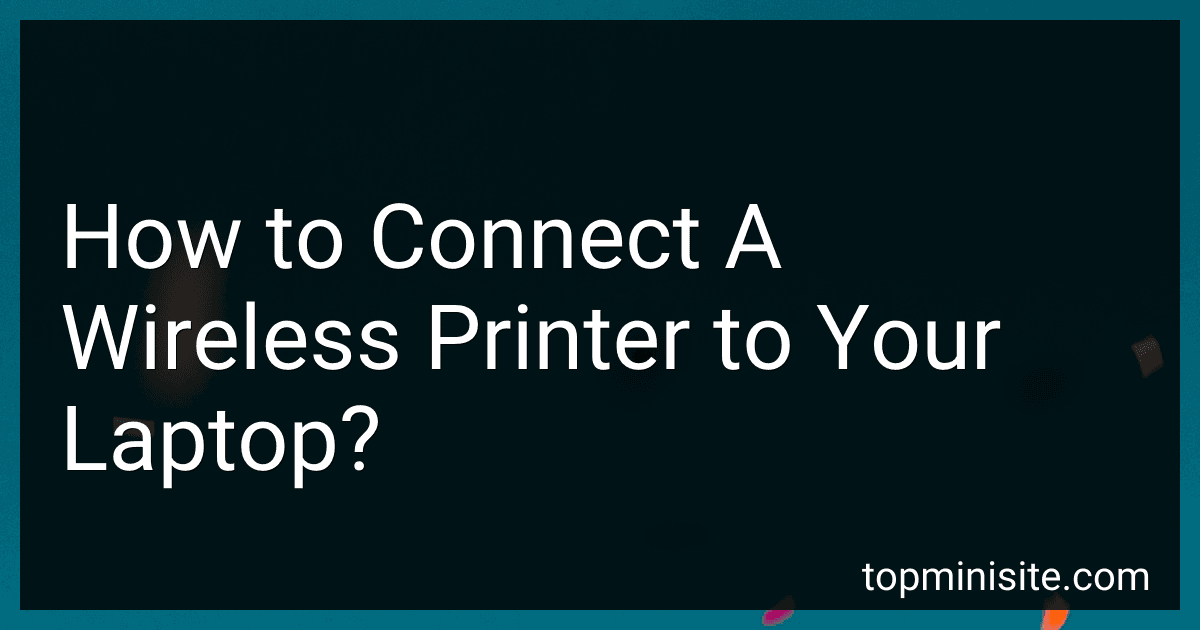
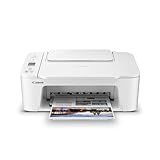
Canon PIXMA TS4320 Wireless Color Inkjet Printer for Duplex Printing, White – Cost Efficient Home Printer with Copier/Scanner, Compact Design, Easy Setup, 1 Year Limited Warranty
-
AFFORDABLE ALL-IN-ONE: BUDGET-FRIENDLY PRINTER PERFECT FOR HOME AND HYBRID USE.
-
STUNNING PRINT QUALITY: ENJOY CRISP TEXT AND VIBRANT PHOTOS WITH HYBRID INK.
-
EASY MOBILE PRINTING: EFFORTLESS SETUP FOR SMARTPHONES, TABLETS, AND COMPUTERS.


Canon PIXMA TS6520 Wireless Color Inkjet Printer Duplex Printing, White – Home Printer with Copier/Scanner, 1.42” OLED Display, Intuitive Control Panel, Compact Design
-
BUDGET-FRIENDLY ALL-IN-ONE: AFFORDABLE PRINTER FOR HOME AND HYBRID USE.
-
CRISP PRINTS & VIVID COLORS: ENJOY EXCEPTIONAL QUALITY FOR DOCUMENTS AND PHOTOS.
-
EFFORTLESS SETUP & WIRELESS: QUICK TO SET UP WITH RELIABLE WI-FI ACCESS.
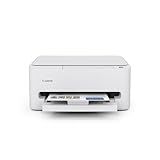
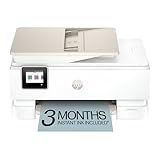
HP Envy 6155e Wireless All-in-One Color Inkjet Printer, Portobello, Print, scan, copy, Duplex printing Best-for-home, 3 month Instant Ink trial included, AI-enabled (714L5A)
- EFFORTLESS PRINTING WITH HP AI FOR PERFECTLY FORMATTED DOCUMENTS.
- WIRELESS CONVENIENCE WITH DUAL-BAND WI-FI FOR SEAMLESS CONNECTIVITY.
- ENJOY 3 MONTHS OF INSTANT INK DELIVERED TO YOUR DOOR WITH HP+.
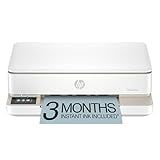
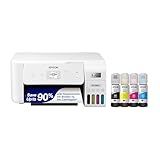
Epson EcoTank ET-2800 Wireless Color All-in-One Cartridge-Free Supertank with Scan and Copy, The Ideal Basic Home Printer - Black
-
CARTRIDGE-FREE PRINTING: SAVE ON COSTS WITH INNOVATIVE INK BOTTLES!
-
HUGE INK SAVINGS: PRINT UP TO 4,500 PAGES BLACK, 7,500 COLOR!
-
ECO-FRIENDLY: REDUCE LANDFILL WASTE WITH ECOTANK'S DESIGN!
HP Envy Photo 7975 Wireless Color Inkjet Photo Printer, Print, scan, Copy, Easy Setup, Mobile Printing, Best-for-Home, 3 Month Trial of Instant Ink Included, AI-Enabled (B63K3A)
-
HIGH-QUALITY BORDERLESS PHOTOS WITH SEAMLESS WIRELESS PRINTING.
-
SMART AI FEATURES FOR PRECISE AND EFFICIENT PRINTING LAYOUTS.
-
MULTIFUNCTION CAPABILITIES: PRINT, COPY, SCAN, AND MORE IN ONE.
Canon PIXMA TS3720 Wireless All-in-One Printer for Basic Home Printing, White
- ALL-IN-ONE FUNCTIONALITY: PRINT, COPY, SCAN-TOTAL CONTROL AT HAND!
- LIGHTNING-FAST PRINT SPEEDS: 7.7 PPM BLACK, 4 PPM COLOR!
- EASY WIRELESS CONNECTIVITY: SET UP AND PRINT IN MINUTES!

HP DeskJet 4227e Wireless All-in-One Color Inkjet Printer, Scanner, Copier, Best-for-Home, 3 Month Instant Ink Trial Included, AI-Enabled (6W7F0A)
-
EFFORTLESS WIRELESS PRINTING – ENJOY RELIABLE WI-FI FOR SEAMLESS CONNECTIONS.
-
SMART AI FORMATTING – GET PERFECTLY LAID-OUT PRINTS, NO WASTED PAGES.
-
3 MONTHS FREE INK – SUBSCRIBE FOR INSTANT INK & NEVER RUN OUT AGAIN!
Epson EcoTank ET-2803 Wireless Color All-in-One Cartridge-Free Supertank Printer with Scan, Copy and AirPrint Support
NDYIN Portable Printers Wireless for Travel, N80 Wireless Thermal Printer Bluetooth Inkless Printer Support 8.5" X 11" US Letter & A4, Compatible with iOS, Android, Laptop
-
ULTRA-PORTABLE DESIGN: LIGHTWEIGHT AT 1.5 LBS; PERFECT FOR ON-THE-GO PRINTING.
-
INK-FREE TECHNOLOGY: ECO-FRIENDLY, COST-EFFECTIVE, NO INK, TONER, OR RIBBONS.
-
VERSATILE COMPATIBILITY: PRINT FROM PHONES, TABLETS, AND LAPTOPS EFFORTLESSLY.
Canon PIXMA TR160 Wireless Portable Printer, 50-Sheet Paper Tray and 1.44" Display
- PRINT ANYWHERE, ANYTIME WITH A LIGHTWEIGHT, PORTABLE DESIGN.
- ENJOY HIGH-QUALITY, VIBRANT PRINTS UP TO 8.5” X 11” ON THE GO.
- QUICK CONNECTIVITY VIA CANON APP, AIRPRINT, OR WIRELESS DIRECT.
Connecting a wireless printer to your laptop can be a convenient way to print documents without the hassle of cables. Here's how to go about it:
Firstly, make sure that both your laptop and wireless printer are connected to the same Wi-Fi network. This is essential for them to communicate with each other.
Next, turn on your wireless printer and ensure that it is in the setup or configuration mode. The method to activate this mode may vary depending on the printer model, so refer to the printer's manual for specific instructions.
On your laptop, open the "Settings" or "Control Panel" menu, usually accessible through the Start menu or the taskbar. Look for the section related to printers or devices.
In the printer section, you should see an option to add a new printer. Click on it to begin the printer installation process.
Your laptop will now search for available printers on the network. It may take a few moments for the wireless printer to appear on the list. Once it does, select the printer and click "Next" or "Add."
If prompted, your laptop may ask you to install the necessary printer drivers. These drivers are specific to your printer model and enable your laptop to communicate effectively with the printer. You can usually find the drivers on the manufacturer's website or through a provided software CD.
Follow the on-screen instructions to complete the installation process. You may need to enter any additional details specific to your printer, such as its IP address or network name. This information can usually be found in your printer's manual or settings menu.
Once the installation is complete, your laptop should be able to communicate wirelessly with the printer. You can now print documents, photos, or any other files directly from your laptop without the need for any cables.
Remember, it is important to keep both your laptop and printer connected to the same Wi-Fi network for seamless communication. In case you face any issues or have specific requirements, refer to your printer's manual or contact the manufacturer's support for assistance.
What is the fastest way to connect a laptop and a wireless printer?
The fastest way to connect a laptop and a wireless printer is to follow these general steps:
- Ensure that both the laptop and the printer are connected to the same Wi-Fi network.
- Make sure the printer is turned on and the Wi-Fi is enabled.
- On your laptop, go to the "Settings" or "Control Panel" and open the "Devices" or "Printers & Scanners" settings.
- Click on the "Add Printer" or "Add Device" option.
- Your laptop should start searching for available printers. When your wireless printer appears in the list, select it and click "Next".
- Follow any additional on-screen instructions to complete the printer setup process.
- Once the laptop and printer are successfully connected, you can begin printing wirelessly from your laptop.
Note: The specific steps may vary slightly depending on your laptop's operating system and the printer brand/model. It is recommended to refer to the laptop and printer's respective user manuals or manufacturer's website for detailed instructions specific to your devices.
What is required to connect a laptop wirelessly to a printer?
To connect a laptop wirelessly to a printer, you will need the following:
- Wireless Printer: Make sure your printer is equipped with built-in wireless capabilities or has a wireless adapter/card installed. If your printer doesn't have wireless capabilities, you may need to purchase a wireless print server to connect it to your wireless network.
- Wi-Fi Network: Ensure that your laptop and printer are connected to the same Wi-Fi network. You need to have an active Wi-Fi network at the location where both devices are present.
- Printer Software/Drivers: Install the necessary printer software or drivers on your laptop. You can download the latest drivers from the printer manufacturer's website. The software is required to establish a connection and enable communication between your laptop and the printer.
- Printer Setup: Follow the instructions provided with your printer to set it up wirelessly. Typically, this involves configuring Wi-Fi settings, network connectivity, and establishing a connection with your wireless network.
- Laptop Configuration: On your laptop, navigate to the "Settings" or "Control Panel" and look for the "Printers & Scanners" or "Devices and Printers" option. Add a new printer, select the wireless printer from the list of available printers, and follow the on-screen prompts to complete the setup.
Once the setup is complete, you should be able to print wireless from your laptop to the connected printer. Remember that specific setup steps and software may vary depending on the printer brand, model, and operating system of your laptop.
What is the recommended distance between a laptop and a wireless printer for reliable connection?
The recommended distance between a laptop and a wireless printer for a reliable connection can vary depending on several factors such as the specific brand and model of the wireless printer, the type of wireless network being used, and any potential obstacles or interference in the environment. However, in general, it is recommended to keep the laptop and wireless printer within 30 feet (approximately 9 meters) of each other to ensure a stable and reliable connection. It's also advisable to place the printer in an open area without too many physical barriers like walls or large objects that could obstruct the wireless signal.
How to connect a laptop and a wireless printer on a public Wi-Fi network?
Connecting a laptop and a wireless printer on a public Wi-Fi network can be a bit more challenging than on a private network because public networks usually have additional security measures in place. Nevertheless, here are the general steps you can follow:
- Ensure that both your laptop and the wireless printer are connected to the same Wi-Fi network (the public network in this case).
- On your laptop, open the web browser and navigate to the printer manufacturer's website.
- Download and install the printer driver software for your specific printer model. This software is essential for the printer to communicate with your laptop.
- Launch the printer driver software and follow the on-screen instructions to set up the printer. Usually, the software will guide you through a series of prompts.
- During the setup process, the printer driver software should detect the presence of your wireless printer on the network. Make sure to select the correct printer when prompted.
- Once the printer is connected, you may need to enter the Wi-Fi network's password or authentication details within the printer driver software to establish a successful connection.
- After the connection is established, try printing a test page from your laptop to ensure that the printer and laptop are interacting properly.
Note: Connecting a wireless printer on a public network might have limitations or restrictions imposed by network administrators, so it's always a good idea to check with them regarding any specific requirements or guidance.
What is the process to connect a laptop to a wireless printer with an ad-hoc network?
To connect a laptop to a wireless printer with an ad-hoc network, you can follow these general steps:
- Make sure the laptop and the wireless printer are in close proximity to each other.
- Turn on the wireless printer and ensure it is connected to a power source.
- On the printer, navigate to the settings or network menu and look for an option to set up an ad-hoc network or create a wireless network. This option may vary depending on the printer model, so refer to the printer's user manual for specific instructions.
- Create a new ad-hoc network on the printer by following the on-screen instructions. Typically, you'll need to choose a network name (SSID) and set a password (if required). Make a note of these details.
- On your laptop, ensure the Wi-Fi is enabled and search for available networks. You should see the ad-hoc network name you created on the printer.
- Select the ad-hoc network by clicking on it.
- If prompted, enter the password you set up during the printer's ad-hoc network setup.
- Once the laptop is connected to the ad-hoc network, open the Control Panel on your laptop and go to "Devices and Printers" or "Printers & Scanners".
- Click on "Add a printer" or "Add a device". Your laptop will search for available printers.
- Select your wireless printer from the list of discovered devices and click "Next" to proceed with the printer installation.
- Follow the on-screen instructions to complete the printer installation. This may involve downloading and installing the necessary printer drivers on your laptop.
- Once the installation is complete, your laptop should be connected to the wireless printer via the ad-hoc network. You can now print directly from your laptop to the wireless printer.
Note: Ad-hoc networks are less common today, and many newer printers allow you to connect via standard Wi-Fi networks or directly through Bluetooth or USB. It is recommended to check your printer's documentation for instructions specific to your printer model.