Best Studio Subwoofers to Connect to Buy in July 2026
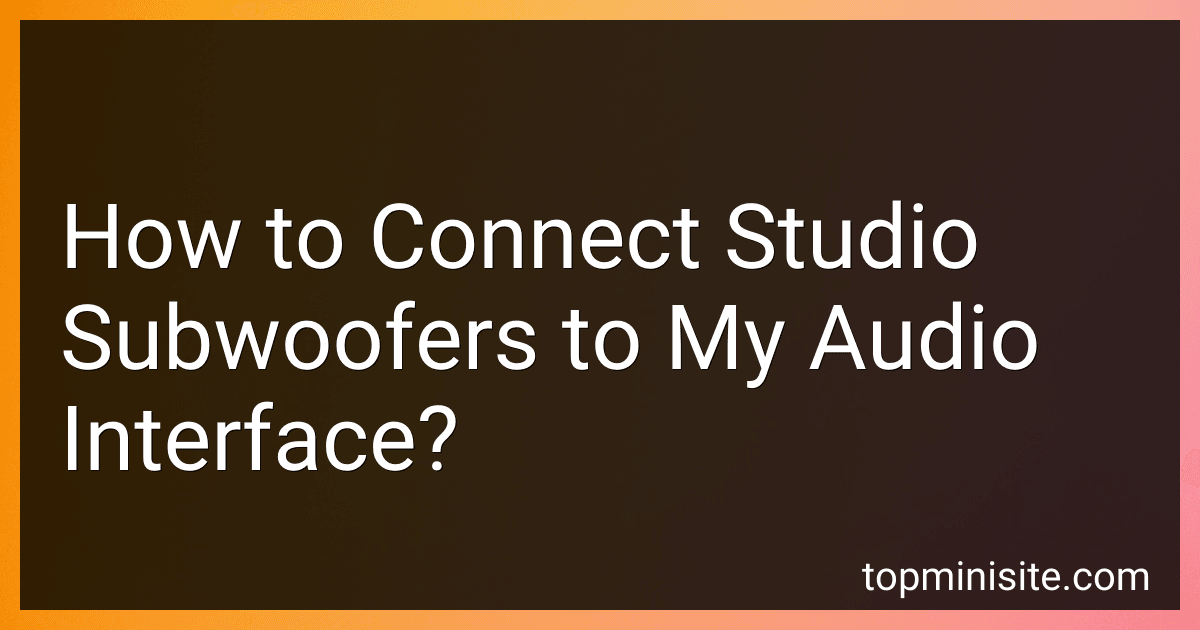
Yamaha HS8 Studio Subwoofer,Black
- DEEP BASS RESPONSE: 22HZ-150HZ FOR IMMERSIVE AUDIO EXPERIENCE.
- POWERFUL 150W AMPLIFIER DELIVERS RICH, IMPACTFUL SOUND.
- FLEXIBLE CONTROLS WITH LOW CUT AND HIGH CUT FOR TAILORED PERFORMANCE.


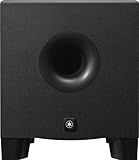
PreSonus Eris Sub 8BT — 8" Inch Powered Subwoofer, Powered Sub, Active Subwoofer, Wireless, Bluetooth, Home Audio, Bass Speaker, Home Theater, Music Production, Gaming
- STUDIO-QUALITY SOUND: PERFECT FOR PRODUCTION AND HI-FI LISTENING!
- POWERFUL 100W OUTPUT: EXPERIENCE DEEP BASS DOWN TO 30 HZ!
- VERSATILE CONNECTIVITY: WI-FI, WIRED, AND HEADPHONE OPTIONS GALORE!
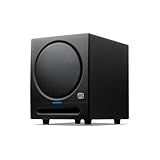
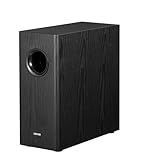
JBL Professional LSR310S - Studio Monitor Subwoofer, 10-Inch, Black
- PATENTED PORT DESIGN DELIVERS DEEP, DYNAMIC BASS AT ALL LEVELS.
- XLF SETTING EMULATES CLUB BASS, PERFECT FOR DANCE MUSIC PRODUCTION.
- CUSTOM DRIVER ENSURES POWERFUL, RELIABLE LOW FREQUENCY OUTPUT.
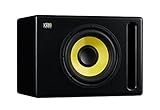
KRK S10.4 S10 Generation 4 10" 160 Watt Powered Studio Subwoofer
- DEEP BASS EXTENSION TO 28HZ FOR IMMERSIVE SOUND EXPERIENCE.
- FLEXIBLE PLACEMENT WITH CURVED DESIGN AND FRONT-FIRING BASS PORT.
- EASY CONTROL OVER SOUND WITH OPTIONAL FOOTSWITCH FUNCTIONALITY.
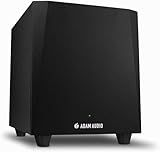
ADAM Audio T10S Studio Subwoofer for recording, mixing and mastering, Studio Quality Sound (Single)
- POWERFUL BASS EXTENSION FOR UNMATCHED LOW-FREQUENCY CLARITY.
- SEAMLESSLY PAIRS WITH T5V AND T7V MONITORS FOR OPTIMAL SOUND.
- EASY SETUP AND CALIBRATION ENSURES PERFECT FIT FOR YOUR STUDIO.

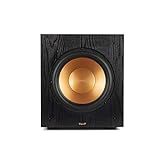
Klipsch R-120SW Subwoofer, Black
- DEEP BASS RESPONSE: 29HZ – 120HZ FOR POWERFUL SOUND QUALITY.
- HIGH OUTPUT: 116DB MAX ACOUSTIC PERFORMANCE FOR IMPRESSIVE CLARITY.
- DUAL POWER: 200W CONTROL, 400W PEAK FOR ROBUST AUDIO DELIVERY.
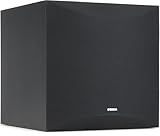
Edifier T5s Powered Active Subwoofer with 70W RMS, 8" Long-Throw Woofer, Deep Bass (35Hz) Speaker, Built-in Amp, Low Distortion, Phase Selector & Energy-Efficient for Home & Studio Audio, Black
-
DEEP 35HZ BASS AND 70W OUTPUT ENHANCE YOUR HOME AUDIO EXPERIENCE.
-
PRECISION CONTROLS LET YOU CUSTOMIZE SOUND FOR ANY SETUP EFFORTLESSLY.
-
SLIM, STYLISH DESIGN FITS ANYWHERE AND MINIMIZES DISTORTION.
Mackie CR8SBT 8” Powered Subwoofer with Desktop Remote, Bluetooth, TRS, RCA, Crossover and Polarity Controls, Compatible with CR Series Powered Studio Monitors
-
PROFESSIONAL SOUND: EXPERIENCE POWERFUL BASS FOR STUDIO OR HOME USE.
-
EASY BLUETOOTH STREAMING: EFFORTLESSLY PAIR DEVICES FOR SEAMLESS PLAYBACK.
-
SLEEK DESIGN: COMPLEMENTS ANY ROOM WITH A STYLISH, PROFESSIONAL LOOK.
Yamaha Audio 10" 100W Powered Subwoofer - Black (NS-SW100BL)
- CLEAR, TIGHT BASS WITH INNOVATIVE TWISTED FLARE PORT DESIGN.
- EXPERIENCE SUPERIOR SOUND WITH YAMAHA ACTIVE SERVO TECHNOLOGY II.
- SLEEK AND STYLISH DESIGN THAT ENHANCES ANY ROOM'S DECOR.
Klipsch Synergy Black Label Sub-100 10” Front-Firing Subwoofer with 150 Watts of continuous power, 300 watts of Dynamic Power, and All-Digital Amplifier for Powerful Home Theater Bass
- POWERFUL 10-INCH DRIVER DELIVERS DEEP, DYNAMIC BASS PERFORMANCE.
- ALL-DIGITAL AMPLIFIER ENSURES TRUE-TO-SOURCE SOUND ACCURACY.
- STYLISH DESIGN BLENDS SEAMLESSLY WITH ANY HOME DECOR.
To connect studio subwoofers to your audio interface, you will need to first determine if your audio interface has a dedicated subwoofer output or if you need to use a separate method. If your interface has a dedicated subwoofer output, simply connect one end of an RCA cable to the subwoofer output on your interface and the other end to the input on your subwoofer.
If your interface does not have a dedicated subwoofer output, you can still connect your subwoofer using the main outputs. Use a pair of balanced XLR or TRS cables to connect the main outputs on your interface to the inputs on your subwoofer. Make sure to set your audio interface to output a full-range signal to the subwoofer.
Once connected, adjust the volume and crossover frequency on your subwoofer to integrate it properly with your studio monitors. You may need to experiment with placement and settings to achieve the best sound balance in your studio.
How to troubleshoot latency issues when connecting studio subwoofers to an audio interface?
- Check the audio interface settings: Make sure that the audio interface is set to the appropriate sample rate and buffer size. Lowering the buffer size can help reduce latency but may also cause audio glitches if set too low.
- Update drivers: Ensure that the drivers for both the audio interface and studio subwoofers are up to date. Outdated drivers can cause latency issues and other performance problems.
- Check for software conflicts: Close any unnecessary programs or applications that may be running in the background and causing latency.
- Use Direct Monitoring: Some audio interfaces have a direct monitoring feature that allows you to hear the input signal directly without going through the computer. This can help reduce latency when monitoring in real-time.
- Optimize system performance: Make sure your computer’s performance settings are optimized for audio production. Disable any unnecessary background processes and adjust power-saving settings to prioritize performance.
- Test different cables: Sometimes faulty or low-quality cables can cause latency issues. Try using different cables to see if that improves the situation.
- Use a dedicated audio interface: If you are experiencing consistent latency issues, it may be worth investing in a dedicated audio interface with low latency performance.
- Contact technical support: If you have tried all the above steps and are still experiencing latency issues, contact the manufacturer’s technical support for further assistance. They may be able to provide more specific troubleshooting steps or identify any hardware issues that need to be addressed.
What is the optimal placement for studio subwoofers in relation to an audio interface?
The optimal placement for studio subwoofers in relation to an audio interface is typically on the floor in front of the mixing console or desk, preferably in the corners of the room or along the walls for enhanced bass response. It is important to ensure that the subwoofers are placed symmetrically in the room to avoid imbalances in sound and to maintain an optimal listening position. Additionally, it is recommended to experiment with different placement options and to use acoustic treatment to minimize reflections and bass build-up in the room.
How to position studio subwoofers for the best sound when connected to an audio interface?
- Place the subwoofers at equal distance from each other and the listening position. This will ensure a balanced sound distribution throughout the room.
- Position the subwoofers away from walls and corners to prevent any unwanted resonances or reflections that can distort the sound.
- Experiment with different placement options to find the optimal position for the subwoofers. Try placing them along the front wall, side walls, or even in the corners of the room to see which location produces the best sound quality.
- Use a subwoofer calibration tool or software to help determine the best placement for the subwoofers. This will ensure that they are properly integrated with the rest of your audio setup and provide a seamless low-frequency response.
- Avoid placing the subwoofers too close to your listening position or other audio equipment, as this can create interference and affect the overall sound quality.
- Make sure to secure the subwoofers in place to prevent any vibrations or movement that can disrupt the sound output. Use isolation pads or stands to help absorb any unwanted vibrations and maintain a stable setup.
- Monitor the sound output and make adjustments as needed to fine-tune the placement of the subwoofers for the best sound quality. Experiment with different settings and configurations to find the perfect setup for your studio environment.
How to calibrate studio subwoofers when connected to an audio interface?
- Place the subwoofer in the desired location within your studio, ideally in a corner or along a wall for optimal bass response.
- Connect the subwoofer to your audio interface using an appropriate cable. Make sure the connections are secure.
- Set the crossover frequency on the subwoofer to match the low-frequency capabilities of your main studio monitors. This will ensure a seamless transition between the speakers and subwoofer.
- Adjust the volume level of the subwoofer to match the output level of your main studio monitors. Use a SPL meter or a reference track with known bass levels to help in this process.
- Play a variety of audio tracks through your studio monitors and subwoofer to assess the overall sound balance. Make note of any inconsistencies or areas where the bass may be overpowering.
- Use the subwoofer's built-in controls, such as phase and low-pass filter settings, to fine-tune the bass response. Experiment with different settings to achieve a balanced sound.
- Use a room calibration software or hardware device, such as a room measurement microphone, to further refine the subwoofer's performance in your studio space. Follow the instructions provided with the calibration tool to ensure accurate results.
- Continue to listen to different types of audio material and make adjustments as needed to achieve a balanced and accurate bass response in your studio setup.
- Periodically re-calibrate your subwoofer to account for any changes in your studio environment or equipment. This will ensure that your bass response remains consistent over time.