Best Plotting Tools to Buy in July 2026
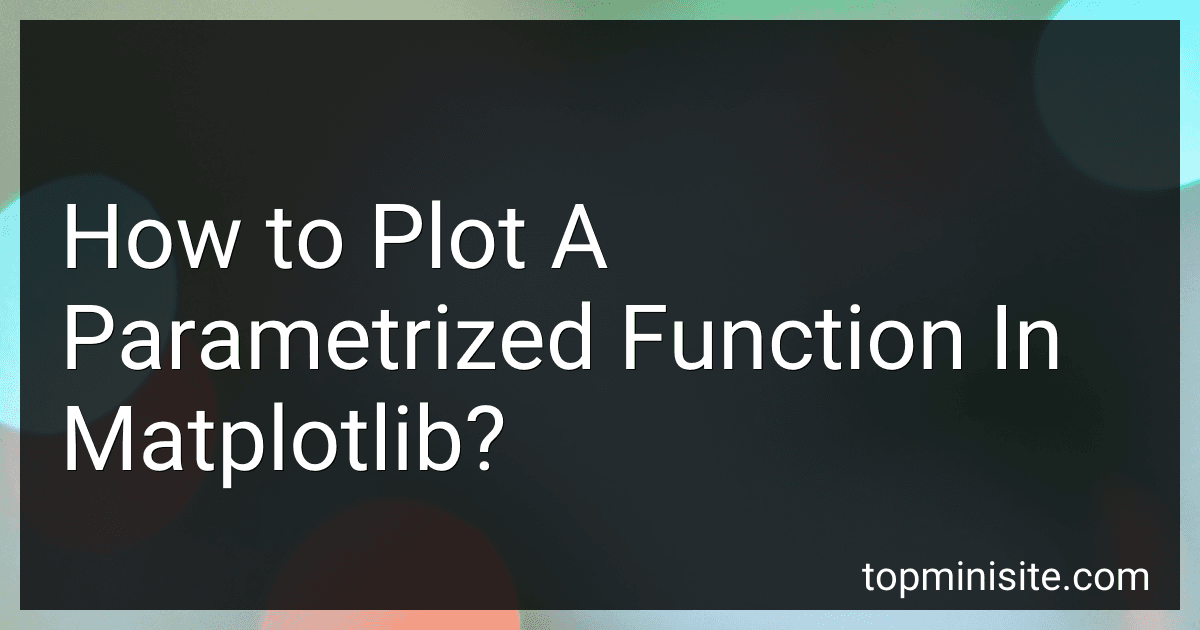
Dunzoom 3 Pcs Marine Navigation Kit, Basic Navigation Set Include 18" Marine Parallel Ruler with Clear Scales, 8" Diameter Nautical Plotter Protractor, 6" Fixed Point Divider for Boat Accessories
-
ALL-IN-ONE NAVIGATION KIT: COMPLETE TOOLS FOR SEAMLESS MARINE NAVIGATION.
-
DURABLE & ACCURATE TOOLS: CONSTRUCTED FOR PRECISION AND LONG-LASTING USE.
-
USER-FRIENDLY DESIGN: CONVENIENT, EASY-TO-USE TOOLS FOR ANY SAILOR’S NEEDS.


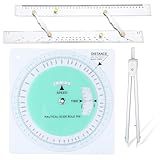
Weems & Plath #176 Marine Navigation Ultralight Divider
- CORROSION-RESISTANT MARINE ALLOY FOR LASTING DURABILITY.
- EFFORTLESS USE WITH CENTER GEAR MECHANISM DESIGN.
- GERMAN CRAFTSMANSHIP BACKED BY A LIFETIME WARRANTY.
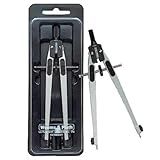
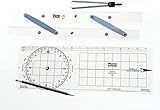
Mariners Chart Plotting Tool Kit - Marine Navigation Equipment, Weems and Plath Parallel Rulers, Dividers & Accessories for Nautical Charts, Sailing and Boating Exam Preparation
-
MASTER NAVIGATION TECHNIQUES EVEN WITHOUT GPS AND ENHANCE SKILLS.
-
COMPLETE TOOLKIT FOR PRECISE PLOTTING: RULERS, DIVIDERS, AND MORE!
-
IDEAL FOR MARITIME STUDENTS PREPPING FOR CERTIFICATION AND EXAMS.
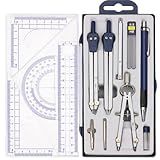
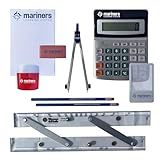
13 Pieces Geometry Set Compass Geometry Tools Math Compass and Protractors Set Metal Drawing Compass Precision Set Graphic Compasses Triangle Rulers Pencils Protractor with Storage Case
- COMPLETE 13-PIECE SET: EVERYTHING NEEDED FOR GEOMETRY IN ONE KIT.
- DURABLE & RELIABLE: MADE FROM ZINC ALLOY FOR PRECISION AND LONGEVITY.
- IDEAL FOR ALL USERS: PERFECT FOR STUDENTS, TEACHERS, AND DIY ENTHUSIASTS.
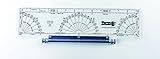
Weems & Plath Marine Navigation Tool Set (Basic)
- ACCURATE MEASUREMENTS WITH WEEMS PROTRACTOR FOR PERFECT PLOTTING.
- VERSATILE 15-INCH PARALLEL RULE FOR PRECISE STRAIGHT LINES.
- DURABLE LIFETIME WARRANTY ENSURES LONG-TERM CUSTOMER SATISFACTION.
Weems & Plath Marine Navigation Parallel Plotter
- PREMIUM CRAFTSMANSHIP ENHANCES DURABILITY AND RELIABILITY.
- COMPACT DESIGN FOR EASY PORTABILITY AND STORAGE.
- USER-FRIENDLY FEATURES SIMPLIFY NAVIGATION AND USAGE.
ASA Rotating Plotter - Aviation Navigation Tool - 13" Analog Display - Waterproof
- SIMPLIFY FLIGHT PLANNING WITH 360° ROTATING AZIMUTH FEATURE.
- ENHANCE ACCURACY IN NAVIGATION FOR SMOOTHER FLIGHT EXPERIENCES.
- STREAMLINE OPERATIONS, SAVING TIME AND REDUCING PILOT WORKLOAD.
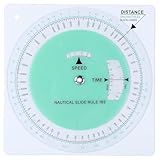
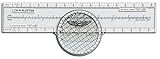
Saypacck Marine Navigation Slide Rule Nautical Plotter Protractor Ship Navigation Tools Course Plotter Divider
-
ACCURATE MARINE NAVIGATION: PRECISION PLOTTING FOR SAFE ROUTE MANAGEMENT.
-
DURABLE FLEXIBILITY: CLEAR PVC CONSTRUCTION WITHSTANDS HARSH MARINE CONDITIONS.
-
QUICK CALCULATIONS: SOLVE SPEED, TIME, AND DISTANCE EFFORTLESSLY AT SEA.
To plot a parametrized function in matplotlib, you first need to define the function using a parameter. This can be done using a lambda function or a regular function definition. Once you have the function defined, you can use numpy to create an array of values for the parameter.
Next, you can evaluate the function for each value of the parameter array to generate the corresponding y-values. Finally, you can plot the parametrized function using plt.plot() or any other plotting function in matplotlib. Make sure to label your axes and add a title to the plot for clarity.
How to plot a parametrized function over a specific domain in matplotlib?
To plot a parametrized function over a specific domain in matplotlib, you can follow these steps:
- Define the parametrized function as a function of a parameter (usually denoted as 't').
- Generate an array of values for the parameter 't' over the desired domain.
- Evaluate the function at each value of 't' to get the corresponding x and y coordinates.
- Plot the x and y coordinates using the matplotlib library.
Here's an example code that plots the parametrized function x = cos(t), y = sin(t) over the domain 0 <= t <= 2*pi:
import numpy as np import matplotlib.pyplot as plt
Define the parametrized function
def parametric_function(t): x = np.cos(t) y = np.sin(t) return x, y
Generate values for the parameter 't' over the desired domain
t = np.linspace(0, 2*np.pi, 1000)
Evaluate the function at each value of 't' to get the x and y coordinates
x, y = parametric_function(t)
Plot the parametric function
plt.figure() plt.plot(x, y) plt.xlabel('x') plt.ylabel('y') plt.title('Parametric Function: x = cos(t), y = sin(t)') plt.axis('equal') plt.show()
This code will generate a plot of the parametric function x = cos(t), y = sin(t) over the domain 0 <= t <= 2*pi. You can modify the function and the domain as needed to plot different parametrized functions.
What is the process for saving a matplotlib plot as an image file?
To save a matplotlib plot as an image file, you can follow these steps:
- Create your matplotlib plot using the plt module and its functions to customize the plot as desired.
- Once you have the plot ready, you can save it as an image file by calling the savefig() function from plt and passing the filename with the desired format as an argument.
Here is an example code snippet showing how to save a plot as a PNG file:
import matplotlib.pyplot as plt
Create a sample plot
plt.plot([1, 2, 3, 4], [10, 20, 25, 30]) plt.xlabel('X-axis') plt.ylabel('Y-axis') plt.title('Sample Plot')
Save the plot as a PNG file
plt.savefig('sample_plot.png')
This will save the plot as a PNG file named 'sample_plot.png' in the same directory as your Python script. You can also specify the directory path if you want to save the file in a specific location.
You can also save the plot in different image formats such as JPG, PDF, and SVG by specifying the file extension in the savefig() function.
How to create subplots in matplotlib?
To create subplots in matplotlib, you can use the subplot() function. This function allows you to divide the figure into a grid of rows and columns, and specify which subplot you want to work with.
Here's a simple example to create subplots in matplotlib:
import matplotlib.pyplot as plt
Create a figure with 2 subplots in one row
plt.figure(figsize=(10, 5))
Create subplot 1
plt.subplot(1, 2, 1) # 1 row, 2 columns, subplot 1 plt.plot([1, 2, 3, 4], [1, 4, 9, 16]) plt.title('Subplot 1')
Create subplot 2
plt.subplot(1, 2, 2) # 1 row, 2 columns, subplot 2 plt.plot([1, 2, 3, 4], [1, 2, 3, 4]) plt.title('Subplot 2')
plt.show()
In this example, we create a figure with 1 row and 2 columns of subplots. We then use plt.subplot() function to create and specify the location of each subplot within the grid. Finally, we plot data and set titles for each subplot.
You can adjust the number of rows and columns in the grid by changing the arguments in plt.subplot() function. And you can customize each subplot independently by plotting different data or setting different properties.
How to adjust the scale of axes in a matplotlib plot?
To adjust the scale of axes in a matplotlib plot, you can use the xlim() and ylim() functions to set the minimum and maximum values for the x-axis and y-axis, respectively. Here is an example code snippet that shows how to adjust the scale of axes in a matplotlib plot:
import matplotlib.pyplot as plt
Create some data
x = [1, 2, 3, 4, 5] y = [10, 20, 15, 25, 30]
plt.plot(x, y) plt.xlabel('X-axis') plt.ylabel('Y-axis')
Adjust the scale of the x-axis
plt.xlim(0, 6)
Adjust the scale of the y-axis
plt.ylim(0, 35)
plt.show()
In the example above, the xlim(0, 6) function sets the minimum and maximum values for the x-axis to be 0 and 6, respectively. Similarly, the ylim(0, 35) function sets the scale of the y-axis to be between 0 and 35. You can adjust these values according to your data and visualization needs.